Gardening Made Easy With Straw Bales!
Turn an inexpensive bale of straw into a fruitful planter. This thrifty, fun, and easy way to garden means no weeding. No kidding!
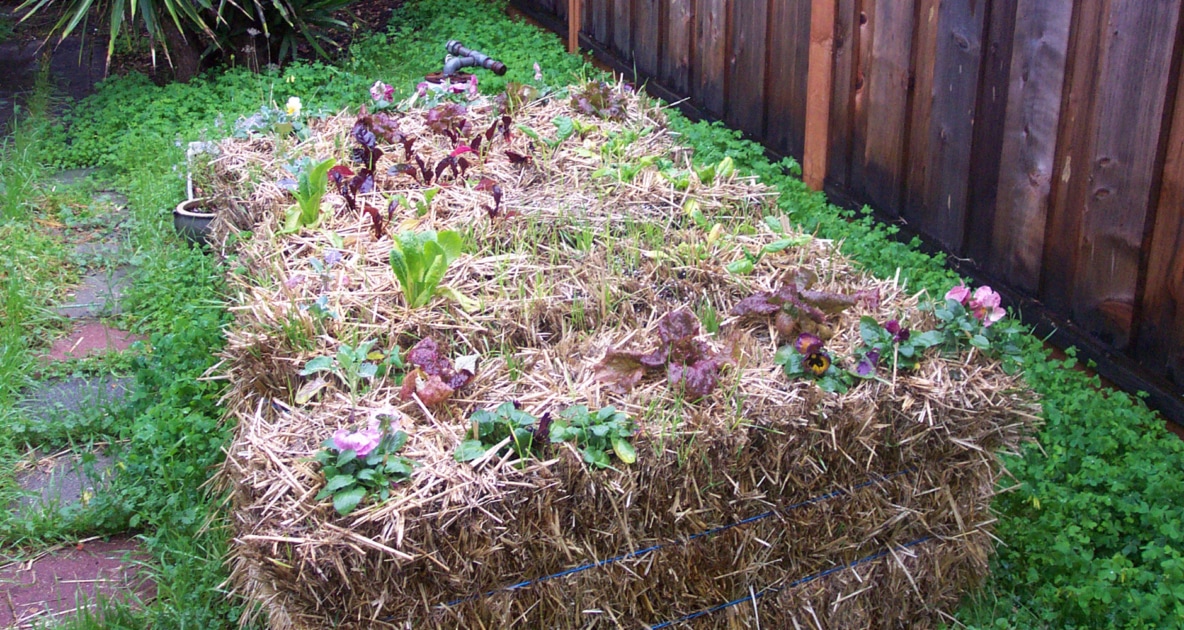
Image credit: Ruth Temple @ Flickr
Gardening can be tricky even when you are graced with good soil, but what if you’re dealing with unpleasant growing conditions? Or does the very idea of endless weeding give you a backache? Starting a straw bale garden this spring may be the answer to all your gardening prayers. This method of gardening uses bales of straw as your garden beds — with no soil — and is a versatile, thrifty, and easy way to garden.
What Is Straw Bale Gardening?
Straw bale gardening is essentially a form of container gardening with the container being the bale of straw itself. Straw’s hollow tube design helps to soak up and hold moisture, making it an ideal material for growing vegetables. These mud-free and weed-free gardens can be started anywhere that gets six to eight hours per day of direct sunlight. Arrange as few or as many bales as you wish right on your lawn, or even in your driveway (maybe you will inspire a neighbor or two!).
The Benefits of Using Straw Bales
Straw bale gardens are an ideal alternative for those with physical impairments. You can make them as tall as you’d like, which means no bending over – good news for sufferers of back pain. Lugging and digging heavy soil and wedding is also a thing of the past. And the best part of all: straw bale gardening can result in a 25% higher crop yield. This is mainly attributed to the excellent root run and air circulation. The bales also heat up much quicker than soil making them a perfect option for northern climates with shorter growing seasons. Building a garden out of bales of straw creates a whole new range of possibilities!
What Can You Grow In A Straw Bale Garden?
Almost any vegetable, herb, or annual flower can be grown in a straw bale. As the straw begins to break down, it is transformed into a rich, compostable planter ideal for growing. As a bonus, straw bale gardens are a biodegradable equivalent of a raised bed. After your crops are harvested, the straw can be used as a top soil dressing to your garden beds or an excellent addition to your compost pile. Do not confuse straw bale gardening with using loose straw on your garden for mulch or compost.
How To Get Started!
Step 1 – Choose Your Straw
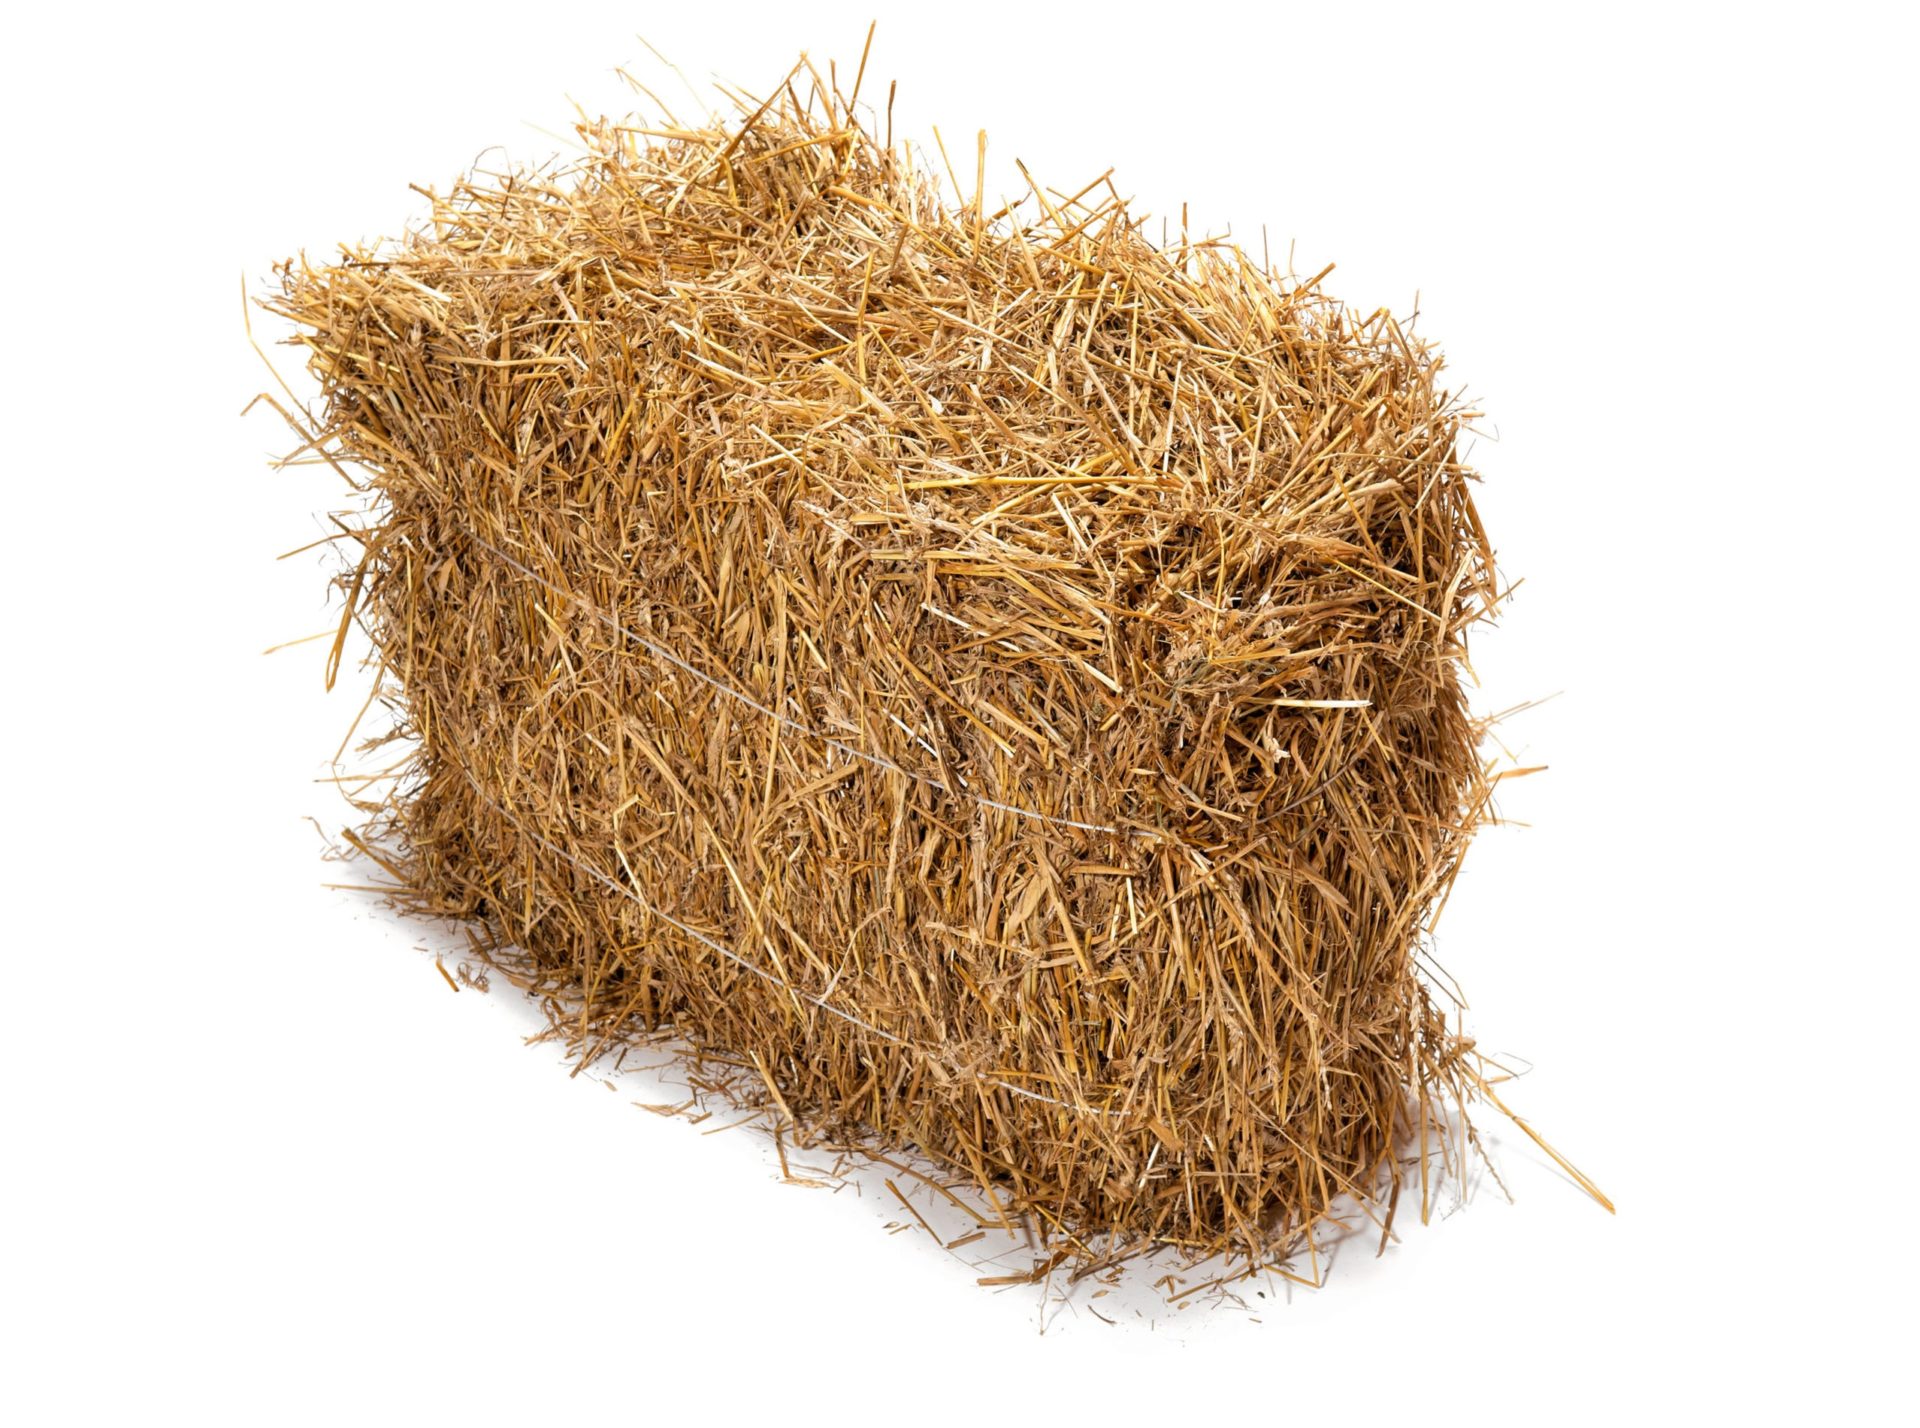
When planting a straw bale garden, you will obviously need bales of straw. They can be bales of wheat, oats, barley, alfalfa or rye. Local garden centers and nurseries usually sell straw bales, however if you want to garden organically it is best to go directly to the source. Find a local farmer who does not use pesticides on his or her crops.
Note: Don’t be tempted to buy hay in place of straw to save a few dollars! Hay tends to be very seedy which can create a weed problem in your garden.
Step 2 – Choose A Location
You will need to pick a spot in your yard that receives at least six hours of bright, direct sunlight a day. While some veggies such as lettuce and green beans can grow in partial shade, most need full sun to thrive. Be sure to choose a spot with access to water. Once you water your bales, they will become too heavy to move, so decide on your location before you get started.
Your bales can be configured however you wish. You can create square or rectangular shaped raised beds, or arrange them in rows. If you decide to lay your bales side by side in rows, be sure to leave enough space to mow your lawn in between. Set up the bales so that the twine holding them together runs horizontally to the ground, with the cut side facing up (see Fig. A) — this allows the open stems to absorb water and fertilizer your plants need more easily. If you have physical limitations and would prefer to garden standing up — straw bale gardening is perfect, as you can stack the bales on top of each other, or on wooden pallets.
Step 3 – Condition Your Bales
Before you start planting you will need to prepare your bales. Conditioning the bales is an essential part of the process and takes about two to three weeks for the initial decomposition process to be complete and for the temperature inside the bales to cool down. You don’t want to cook your seeds and seedlings! Moisture is required for the decomposition process, so you will need to water your bales thoroughly.
A nitrogen source, such as an organic fertilizer or blood meal is suggested to jump start the composting process and to create an ideal environment for plant roots. Choose a fertilizer with a minimum of five percent active nitrogen content.
- Week 1: water the bales thoroughly every day (you should see water running out the bottom). Then, every other day, sprinkle the surface of each bale with fertilizer prior to watering (half cup per bale of a nitrogen source fertilizer, or three cups of blood meal).
- Week 2: Apply half of the amount of nitrogen source for three days, followed by a watering. The following three days, water daily. At the end of the two weeks, your bales should be ready for planting.
- Take the Temperature: Stick your finger into the bale. It should feel warm, but not hot. If it feels hot, wait another couple of days before you begin planting. You can also use a compost thermometer to check the temperature. It should be between 75-80 degrees F. If you wish to build trellises or install posts for tomatoes or assorted vine vegetables, this would be a good time to do it. You may also want to consider laying a soaker hose on the top of your bales to efficiently irrigate your bales.
Step 4 – Planting
Growing From Seeds: You can grow from seeds in your straw bales. If you do this, it will help if you lay one to three inches of compost and potting soil mix onto the top of the bales. This will help the seeds to germinate and to prevent the seeds from falling down the porous straw bale. Be sure to not use soil from your yard as you don’t want to introduce weeds and disease to your bales. When sowing seeds directly, do as you normally would and follow the instructions on your seed pack.
Growing from Transplants: To plant seedlings in the bales, simply take a sharp trowel and stick it into the bale and wiggle to make a crack large enough for your seedling to fit into. Per bale, you should be able to fit two to three tomato plants; four pepper plants; two to four squash plants; two to three zucchini plants; four to six cucumber plants; and three to four strawberry plants.
Caring for Your Straw Bale Garden
Maintaining your straw bale garden is painless. Regular watering is necessary to keep the straw bales moist. In the summer heat, you should water daily. It is best to water in the morning, making sure to water the bales and not the leaves. And great news! Since the water drains out the bottom of the bales, you can’t over water your garden.!
You will also need to feed your plants frequently. Fertilize your plants every two weeks while they are young, and every week once they start bearing fruit.
If you see mushrooms popping up in your garden — don’t panic! This is a sign that your bales are working as they should; decomposing slowly. You can pick them out if you like, but do not eat them.
Once your garden is done, you can spread the used straw on your compost pile so that nutrients can be returned to the soil. Straw bale gardens are a great way to reap more, weed less, and garden just about anywhere!
Check out this quick video on conditioning your straw bales:
If you get a straw bale garden growing, we’d love to see your photos! Share them with us on our Facebook page.


Natalie LaVolpe
Natalie LaVolpe is a freelance writer and former special education teacher. She is dedicated to healthy living through body and mind. She currently resides on Long Island, New York, with her husband, children, and dog.
-
Natalie LaVolpe#molongui-disabled-link

-
Natalie LaVolpe#molongui-disabled-link
-
Natalie LaVolpe#molongui-disabled-link
-
Natalie LaVolpe#molongui-disabled-link


Really excited to try this method.
I can’t move whole straw bales, so I pull one apart and stack the sheaves up two at a time across the back of the garden. I water well and let the fungus and seeds sprout then plant potatoes under them. I use store bought sprouted potatoes. Then I put good soil on top, just enough to make me happy that there is soil to plant in, make holes and plant seeds and seedlings. I have grown squash, tomatoes, greens, peas, onions, and cukes this way. Just like having containers, but don’t have to water every day as the straw keeps moisture in. As the sheaves break down, I just put more on top.
I think this is a great idea and it would make gardening in a deer populated area easier. One could easily encase the area around a straw bale with chicken wire to keep deer from browsing on the plants. It would be easier than encasing an entire garden. Plus I bet one could plant on the sides of the bale too, not just the top.
This is why I spend so much time insisting my students cite their sources. The purpose seems to be lost on them. Maybe I should lead them here to see a real life example of theft of intellectual property.
Your straw bale gardening article was amazing! I was especially excited that you mentioned strawberries as a viable option to grow. Any tips on strawberry gardening?
Hi Terri Sue, we’re glad you enjoyed the article. We have some tips on growing strawberries in pots, but these tips can be applied to any gardening bed.
Can I use straw bales for 2 years
Hi Dave, you can reuse straw bales for up to two years depending on how well it fared the first year.
I am planning to use my straw bales for one more season. It will be season 3 straw bale gardening. I love it & it cuts down on amount of lawn to mow!
Also, everything grows better because the roots can grow deeper than in most prepared gardens.
Just be very car3ful of pesticides and herbicides. Most farms use either or both now. I looked into doing this and read for months. That was the clincher. Autumn best time to buy bales. RBest wish3s finding organic or no pesticides start ( not hay). 🙂 Look forward to reading your success stories.
“Lugging and digging heavy soil and wedding is also a thing of the past” is a typo 🙂
weeding
Me again: Can plants be transplanted to the areas, or put in hanging baskets?
Two questions: Could I grow giant sunflowers and pumpkins in a straw bale? If so, should it hamper how big they are able to get? Oh, and a third question:Are vegetables grown in straw just as nutritious as vegetables grown in soil?