Trench Composting: The Lazy Way to Compost Kitchen Scraps Directly in Your Garden
Known as the "lazy man's" method" of composting, trench composting may be just what you're looking for. We've got the basics and start getting nutrients into your garden soil!
Quick Reference: Trench Composting
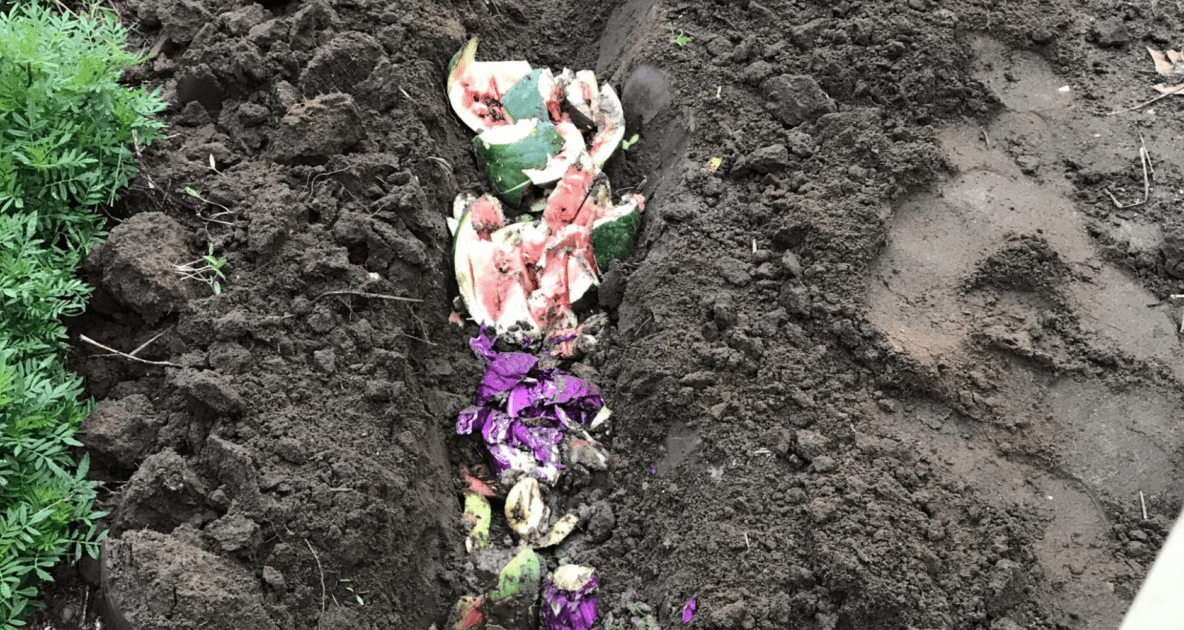
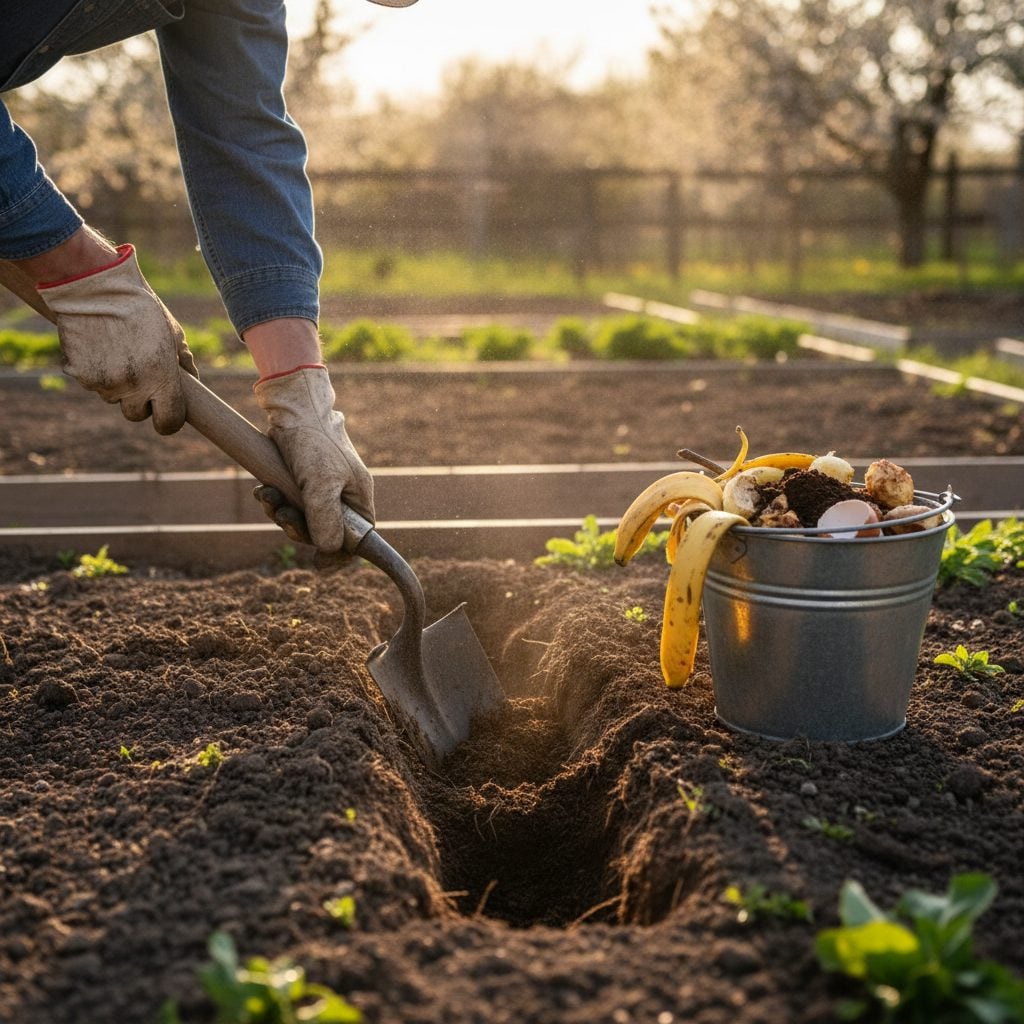
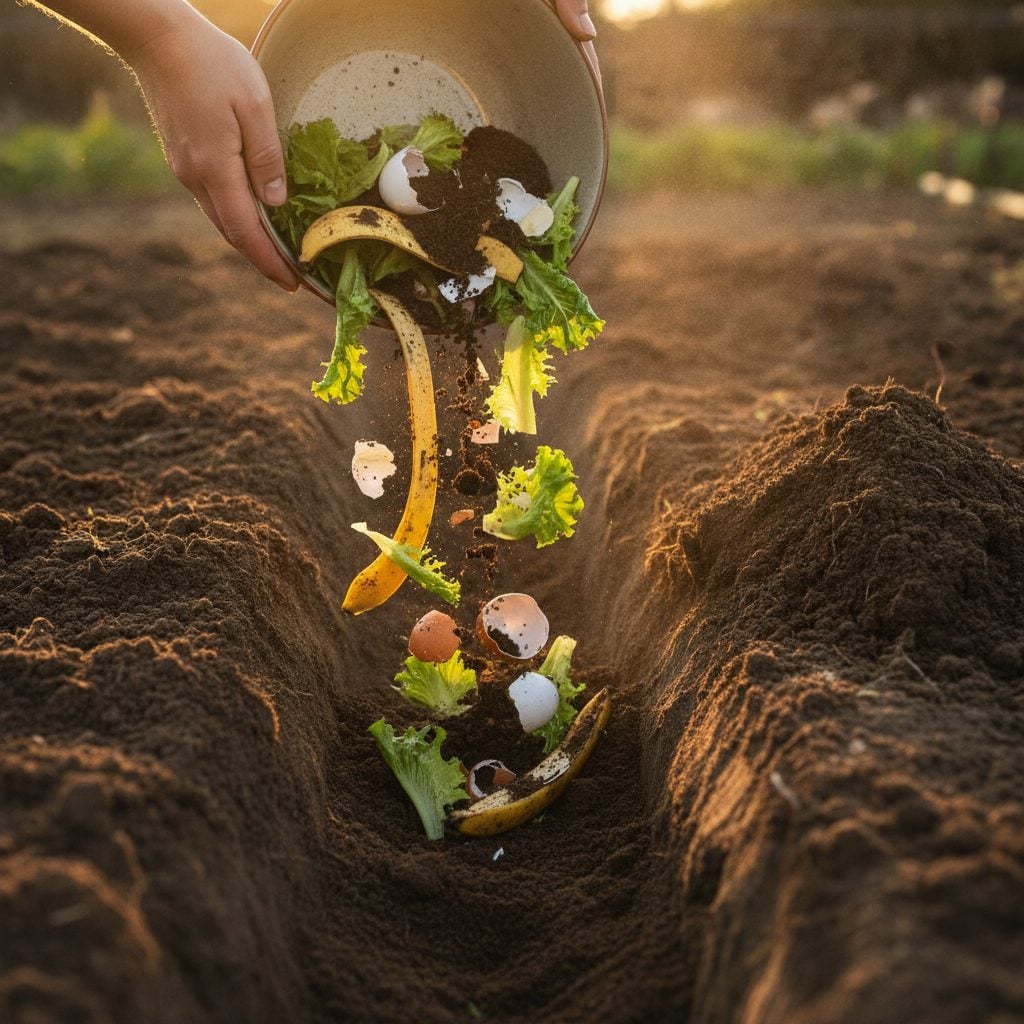
- What it is: dig a hole or trench, drop kitchen scraps in, cover with soil. The earthworms and soil microbes do the rest.
- Where you can do it: any garden bed not currently growing food. Between rows of established crops also works.
- Time to finished compost: 6 to 12 weeks in warm season, 4 to 8 months in cold season.
- Best for: small yards, no compost bin, busy gardeners who want zero turning.
- Tool: the Almanac’s Best Days planting calendar for moon-aligned digging windows.
On this page
Related Almanac guides
Trench composting is bin composting without the bin. You dig a hole, drop kitchen scraps in, and cover with soil. Earthworms and soil microbes break down the material directly in the bed, where its nutrients become available to the next crop you plant on top. It is the lowest-effort composting method extension labs recommend for home gardens. This guide is the three trench variations, what you can and cannot bury, and how trench composting compares to a traditional bin on labor and yield.
Why Trench Composting Works (the Soil Biology)
Per UMN Extension and Cornell Cooperative Extension soil-incorporation research, trench composting is just an accelerated version of what soil already does to fallen organic matter.
- Earthworms. A healthy garden bed has 50 to 200 earthworms per square meter. They consume buried scraps and turn them into worm castings (one of the highest-quality soil amendments).
- Fungi and bacteria. Hyphal networks colonize buried plant material within days. They break down cellulose and lignin into plant-available forms.
- No turning required. Bin composting needs aeration. Trench composting uses the soil column’s natural drainage and earthworm activity instead.
- Heat is not needed. Soil-temperature composting is slower than hot-pile composting but reaches the same end state.
- Pest control. Burying 8+ inches deep keeps raccoons, rats, and dogs out of the scraps, the main complaint about pile or bin composting.
How Trench vs Bin Composting Compares
Per Penn State Extension’s composting basics, each method has strengths.
- Labor. Trench wins. No turning, no monitoring, no relocation.
- Speed. Bin wins. Hot composting finishes in 6 to 12 weeks year-round; trench is faster in summer and much slower in winter.
- Yield-per-effort. Trench wins for small home gardens because the nutrients deposit directly where the next crop will grow.
- Volume capacity. Bin wins. You can compost a whole summer’s kitchen waste in a 3 ft x 3 ft bin; trench requires open ground.
- Aesthetic. Trench wins (no visible bin); bin wins for kitchen access in winter.
3 Trench Composting Methods and What to Add (Detail)
Below are the original detail sections covering the lazy-man’s intro, why choose trench composting, the 3 method variants, what to add, what not to add, tips, and downsides.


Trench Composting FAQ
What is trench composting?
Trench composting is burying kitchen and yard waste directly in a garden trench or hole, then covering with soil and letting earthworms and microbes break it down in place. No turning, no bin, no monitoring. Per UMN Extension, it is the lowest-effort home composting method.
How deep do you trench compost?
8 to 12 inches deep is the standard recommendation. Shallower than 6 inches risks animal disturbance. Deeper than 18 inches slows down decomposition because the soil column is colder and lower in oxygen.
What can you trench compost?
All fruit and vegetable scraps, coffee grounds, tea bags, eggshells, plain bread, plain rice and pasta, garden trimmings, dried leaves, grass clippings. Avoid: meat, dairy, oils, pet waste, weeds with mature seeds, diseased plant material.
How long does trench composting take?
Soft scraps (lettuce, apple cores, banana peels): 4 to 8 weeks in warm season. Harder material (corn cobs, eggshells): 4 to 12 months. Cold winter months slow everything down significantly. Per Cornell Extension, soil temperature is the main variable.
Can you plant directly over a trench compost?
Wait 6 to 8 weeks for nitrogen to stabilize. Planting too soon risks “nitrogen burn” on tender roots from the active decomposition. Crops planted over a 2-month-old trench typically out-yield the same crop in unsupplemented bed by 20 to 40 percent.
Will trench composting attract pests?
Properly buried (8+ inches deep) and covered, no. The buried scraps are not detectable by raccoons, rats, or dogs. Avoid burying meat or dairy, which can attract pests even at depth.


Natalie LaVolpe
Natalie LaVolpe is a freelance writer and former special education teacher. She is dedicated to healthy living through body and mind. She currently resides on Long Island, New York, with her husband, children, and dog.
- Natalie LaVolpe

- Natalie LaVolpe
- Natalie LaVolpe
- Natalie LaVolpe


Just saw an article where folks were praising the Johnson Wu method to make compost. Many measurements, lot of stuff to buy at hardware store, specific ingredients & methods of making pile, etc. The method I use of: store kitchen waste in plastic can, dig trench and pile soil nearby, shovel stored wastes into trench, cover with excavated soil, wait 6 weeks for earthworms to eat and poop it all out sure seems much simpler.
Yes, that does seem significantly easier (which will usually be our vote for best choice!)
We live in a region that usually does not get ground freezes but sometimes close which slows down my compost bin. If I notice it’s going slow, I’ll take as much of the slow stuff out as I’m willing to work with and trench compost it til the end of winter. Works like a charm and usually has something of a head start having been in the compost bin for a while to get started.
Trench composting. I save kitchen waste in a small bin in the pantry. No meat/grease/oil/cooked food, etc. When it is full, I empty it outside in a large plastic bin and layer it with browns, maybe 1/2″. I have a small garden 12′ x 4′ and I rotate two 12′ x 2′ sections. After I harvest 1 section, I dig a 12′ x 8″ trench and layer the collected waste in the bottom, and then cover with the soil I dug out to make the trench. Do not compact! Cover soil is 5-6′ and no pests. Earthworms love it–it’s their Earthworm Cafe–a 24/7 buffet! Six weeks later, the only things you can recognize are eggshells. I have been doing this for 3 years after we moved. I do have a problem–my tomato plants have taken over my garden.
Sounds like a terrible problem to have! Thank you for sharing how you compost – and we’re happy to hear that it works so well for you!
I had been planting 8 tomato plants in a line in my small garden for a few years. All was OK. In 2022, the plants were outgrowing the cages, so this year–2024–I planted only 6 plants. Trench composting has made the soil so rich that I used long wooden stakes/strings to “contain” the plants. The 6 plants are more crowded than the 8 plants of last year! I cannot enlarge the garden, but I will control those tomato plants at all costs. I will plant only 5 next year.
It’s my understanding that dryer lint is full of microplastics and should never be used the way you’re recommending here. It should also never be given to birds and squirrels as nesting materials for the same reason.
The squirrels dig up my trenches, I just rebury them and go about my business…
I have a big problem with ants getting into my compost. I have tried the the cat composting with single small holes and it didn’t seem to attract any but I wonder if this would?
We “trench” compost all year long (as long as the soil’s not frozen) using the dig and drop method. We don’t gather weeks worth of scraps, but instead compost as it’s created. Generally we use cereal bowls, sometimes small mixing bowls, and even plates to pile veggie and fruit peels from recipes and snacks, used tea bags, that half used zucchini that was forgotten in the back of the vegetable draw, etc. The bowls of compost then end up downstairs on the porch in our mini fridge, if not buried right away. To compost we simply go out into the garden, pick a spot that wasn’t recently used, dig just deep enough that it won’t be dug up, empty the bowl(s) of compost, and rebury. Sometimes more than one hole will be dug, as we have multiple gardens spread around the yard, to give each a little love.
Great information! Thanks for going deeper in explaining how to, and more than one way, to compost. While in no way an expert, I’ve been composting for years. Because my soil is mostly clay I have a limited garden area where I have amended the clay with many of the items you suggest. Therefore bin composting (on top of the clay beside the garden) has been the only method that I am able to use.
I like your list of “what you can’t add to your compost”. When I find myself explaining to others how they can compost it is sometimes easier when I tell them: 1) check if it is organic, and 2) I tell them the “don’t add” items.
Regarding your list of items not to add, I like that you included woods, I can’t believe how little this is mentioned by others. If you happen to have a chipper that does an excellent job shredding twigs, sticks and branches to small shavings they will decompose much faster, similar to dense leaves, but still no where near as fast as the kitchen scraps.
Also, dryer lint, I do not compost because it invariably contains synthetic fibers.
Thanks again!
Im not clear on when to cover the trench. If I read correctly, you said to place the compost in trench and then cover. In another area, I think I read to NOT cover the compost trench until all compost is decomposed. I like the idea of burying the compost so rodents nor deer get into my gardens. ALSO, I’m starting to use grow bags to accommodate my age and health limitations. I’m very hopeful this will work. I’m thinking of burying the compost in the bags along with dried crushed leaves and kitchen fertilizer earthworms and some soil. Please advise. I LOVE gardening and am hopeful I can continue to grow herbs and vegetables. Please advise
I started trench composting about a year ago. I keep a compost container next to my kitchen sink for coffee and tea grounds, egg shells and vegetable scraps. It’s so easy to just go out and dig a hole, dump it in and cover it back up with the soil. I never got into regular composting as it sounded to complicated to me! I’ve also added worm castings a few times. I have clay soil so this has been very helpful. Thanks for your post!