How To Grow Your Own Hops At Home
Give your homebrew a special homegrown touch by growing your own hops! You don't need a lot of space or a master green thumb. Here are the easy tips.
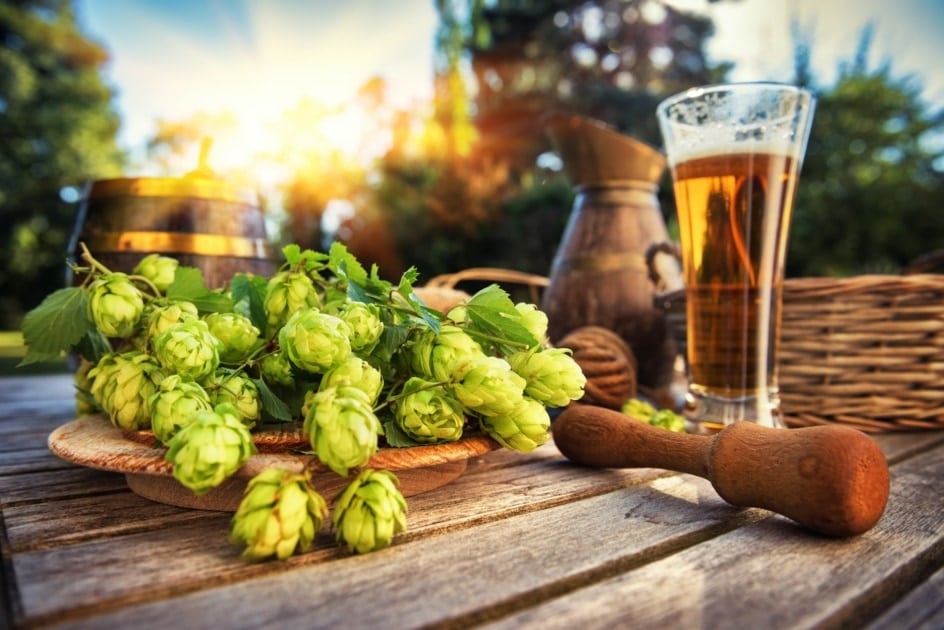
Unless you’re a home brewer, you probably know very little about hops, other than they’re an ingredient in beer. Since the start of pandemic, the home brewing hobby has exploded, as has gardening. So why not combine the two? Believe it or not, it’s easy to grow your own hops. You don’t need a master green thumb or a large parcel of land. And growing your own gives your homebrew an authenticity and personalization all its own. And if beer isn’t your thing, hops have many health properties, like helping you sleep by just smelling the cones. So what do you need to get growing?
What Are Hops?
Initially, beer makers added hops to their brews for their natural antibacterial properties, to help prevent spoilage. Today, however, the addition of hops is all about flavor. These cone-like fruits are what gives most beer its signature bitter flavor and aroma. Without hops, beer would be dull and slightly sweet. Hops give it, well, a bit of a hop.
Hops also have medicinal properties and have been used for centuries in Europe and by Native Americans. Many who suffer from insomnia purchase the dried cones because the scent is said to aid in sleep. As the story goes, field workers harvesting the crops began falling asleep on the job, which led researchers to conduct more studies on the plant. Hops help enhance GABA levels (gamma-aminobutyric acid) in the brain, which is naturally produced to help quiet the central nervous system, lower anxiety, and increase calmness. Simply sniffing a handful of dried cones can deliver benefits.
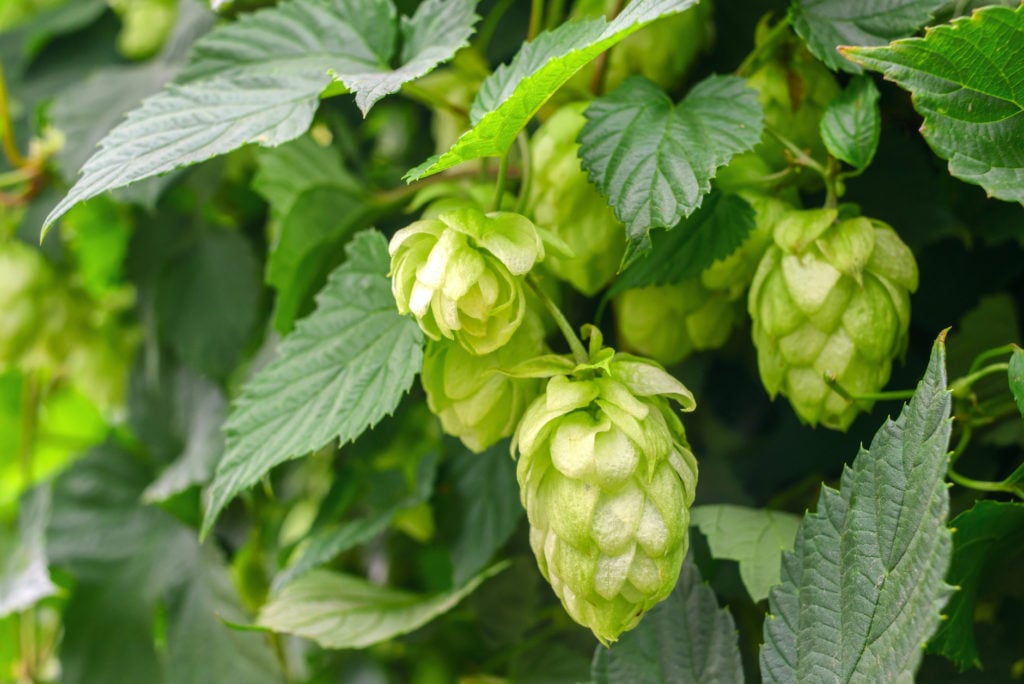
The Humulus lupulus plant, or “little wolf,” are vigorous growing perennial plants, with “bines” (a vine that climbs the main stem). Hops do not require a lot of room to flourish. If you have enough room to grow up (vertical), you have enough room to grow hops, making growing them in small spaces ideal.
How To Grow Hops
Before you get started growing, you’ll need to choose the right variety, pick your location, and have a pole or rellis for the bines to climb.
First, Choose Your Variety
There are over 120 different hop varieties so it can be overwhelming to decide which one is best for your brew. Hops can be narrowed down to these types:
Bittering Hops: If you have ever had an IPA with a distinct bite, this flavor comes from bittering hops. The thermally induced alpha acids in the hop flowers add to its bitterness. These flavoring hops are added to the boil during the final 15-20 minutes. The longer you boil the hops, the more bitter the beer tastes. And while these hops are mostly associated with India Pale Ales (IPAs), they are used in a wide variety of beers, adding grassy, floral, and citrusy flavors and aromas.
Aroma Hops: Aroma hops, on the other hand, are introduced to the brew at the last 5 minutes of the boiling process, or at “flame out” when the kettle comes off the heat; coining them the term, “finishing hops.”
Dual-Purpose Hops: Like the name says, some hop varieties can be used for bittering, flavoring, and finishing.
Of course, if you are planting hops for shade or aesthetic appeal, then any variety will do. However, if you are growing to harvest, be sure to choose a variety that will suit your specific needs. Different climate zones, regions, and soil structure tend to favor some varieties over others. Consult other hop farmers, your local agriculture extension, or small breweries (there are online forums) to find out what varieties have been successful.
How’s Your Growing Season?
If you have a shorter growing season, like in the Almanac’s home state of Maine, it is best to choose to choose a variety that will grow more quickly, ensuring they fully mature before the first frost.
Some of the more common hop varieties on the market are: Cascade and Centennial (ranked number 1 and 2 respectively), Chinook, Simcoe, Citra, Columbus, Mosaic, Crystal, Galaxy, Comet, Fuggle, Magnum, U.S. Goldings, Willamette, and Zeus.
Seeds, Rhizomes, or Plants: Which Should You Grow?
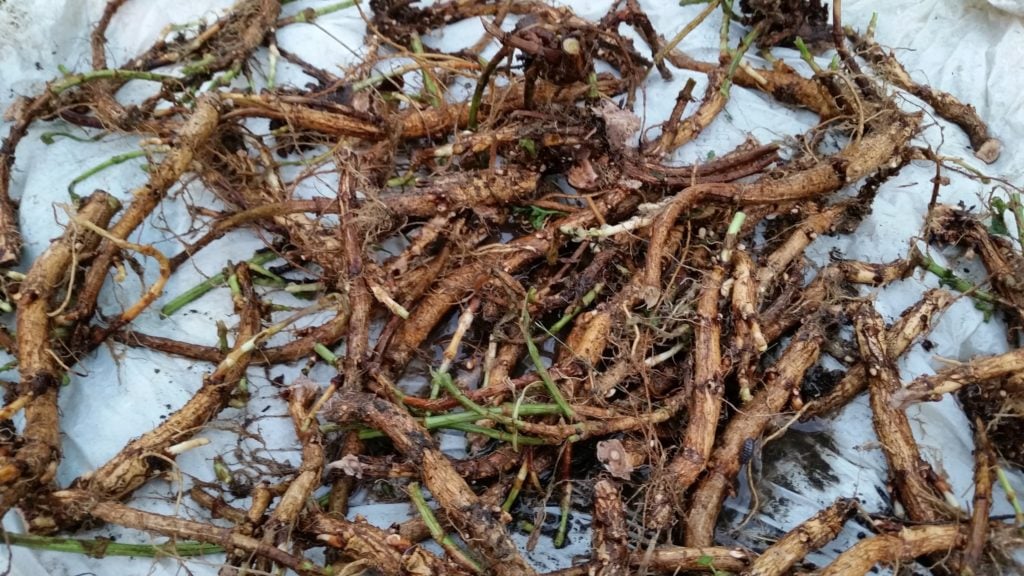
Hop plants are hardy perennials, meaning they’ll come back every year, and will thrive in most climates. They grow from rhizomes, or roots, which spread and grow by sending out side shoots from the main plant. The plants, called “crowns,” produce cones, which are what you will be harvesting. Both rhizomes and crowns can be ordered online, or you can check specialty garden shops, local hop farmers, or home brewing stores for availability. Rhizomes are less expensive than crowns, but either is a better option than trying to start hops from seeds.
Plants and rhizomes are only available in early spring when hop farmers begin digging up theirs to sell. Once you receive your rhizome, be sure to store it properly until you are ready to put it in the ground. Wrap the cut root in a moist paper towel and place in an airtight container, or Ziplock bag. You will want to keep them moist, not wet, to avoid mold. Place in the fridge and re-wet the paper towel, as necessary. While hops are resilient, you’ll need to wait until your last frost is gone and the soil is workable before planting.
Check our Average Frost Dates for your region here.
Proper Growing Conditions
Sun: For hops to thrive, choose a spot in your garden that receives a bare minimum of 6-8 hours of direct sunlight, ideally southern exposure.
Soil: Be sure that the soil drains well. While hops love water, they don’t love being wet, so don’t plant near areas where standing water is possible. The soil should be loose and free of weeds or large stones.
Fertilize with a bone or blood meal or organic compost, working it at least twelve inches deep. You can test your soil to ensure that it is nutrient rich and with neutral pH level between 6.0-8.0. Hops are strong feeders and eat nutrients up quickly, especially those grown in containers. They benefit from regular fertilizer feedings high in nitrogen and potassium and low in phosphorus.
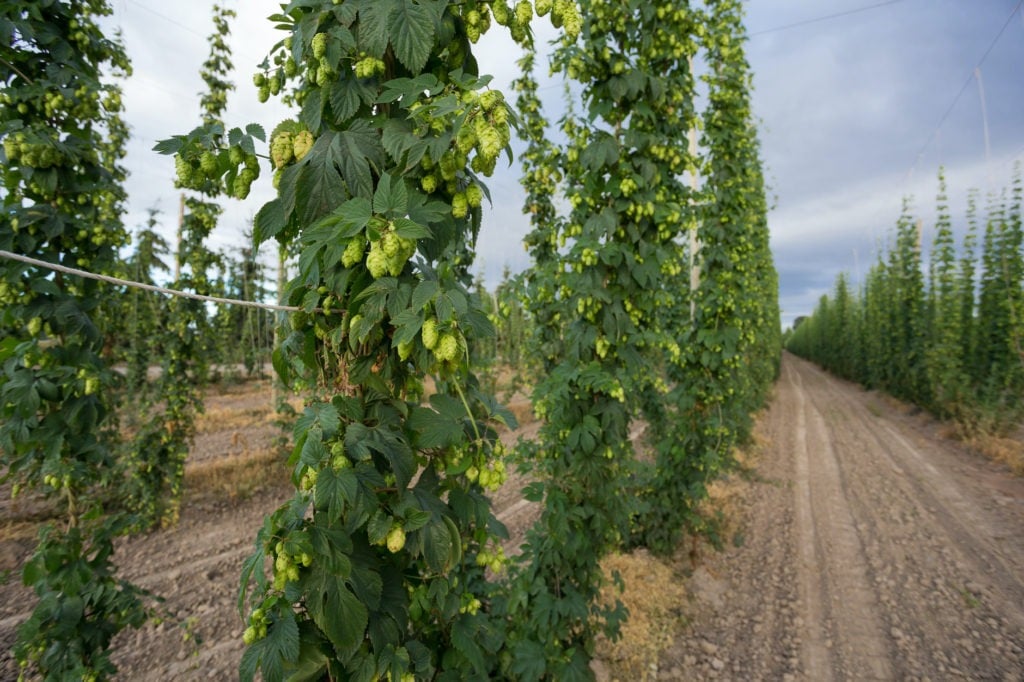
Space: Use a large trellis or pole for your plant. Once the bines begin to emerge from the ground, they will need to be “trained” by manually wrapping them clockwise around the pole or trellis. After a few days, they will begin to grow up the trellis on their own. Then they’ll start spreading out lateral shoots.
Containers: If you have limited space, hops have also been known to grow well in containers. Choose dwarf hop varieties (Cascade, Centennial, Galena, and U.S. Goldens), designed to only grow 8-10 feet. If you don’t have much room to go vertical, get creative, they can also grow horizontally along fences. But the taller the trellis the more your plant can expand and produce.
Plant: To plant the hop rhizome, create a mound of soil for each planting site, and dig a hole in the mound 4 inches deep. Space about 3 feet apart so they have room to grow. Lay the rhizome in the hole horizontally, with the root side facing down.
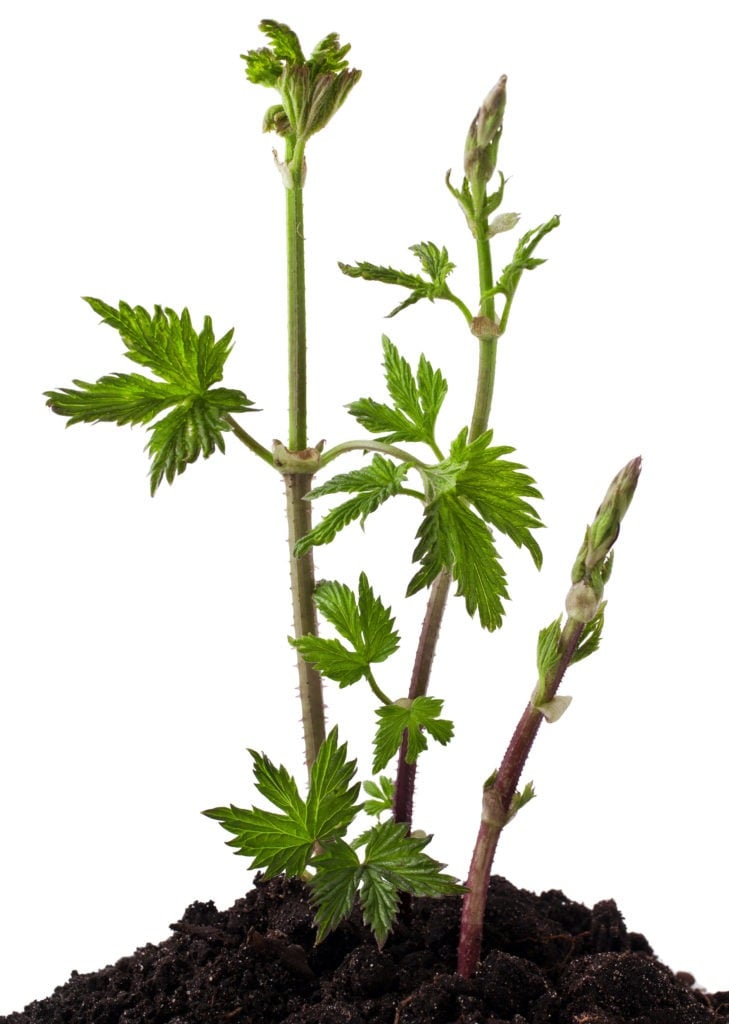
When planting established hop crowns, dig a hole several times wider than the root ball, adding organic compost to the backfill. Keep the soil moist, (not drenched) until the vines sprout, continuing to water frequently in late spring and early summer. Expect to see 4-6 bines sprouting from each hop plant.
Mulch: Loosely pack the soil over the plant and cover with straw or mulch to prevent weed growth. Adding an organic compost mulch around your plant will help to retain moisture.
Weed: Weed any surrounding areas and remove any damaged shoots. After a few months, trim the leaves off the bottom two feet of bines to help prevent disease and fungus.
Which is better for home brewing, pellet hops or whole hops?
Harvesting Hops
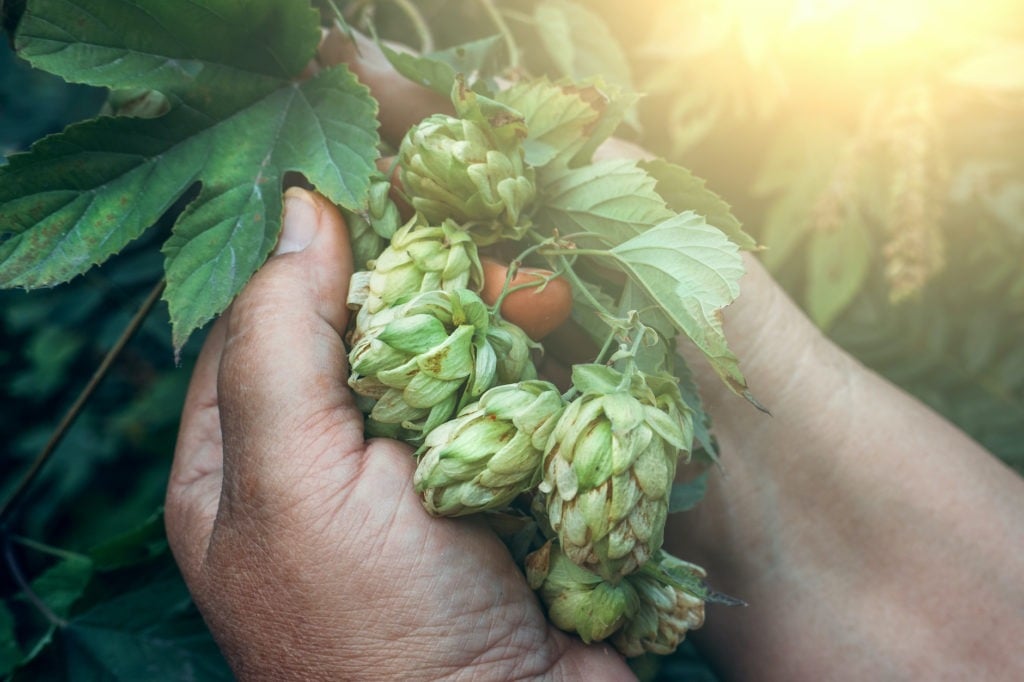
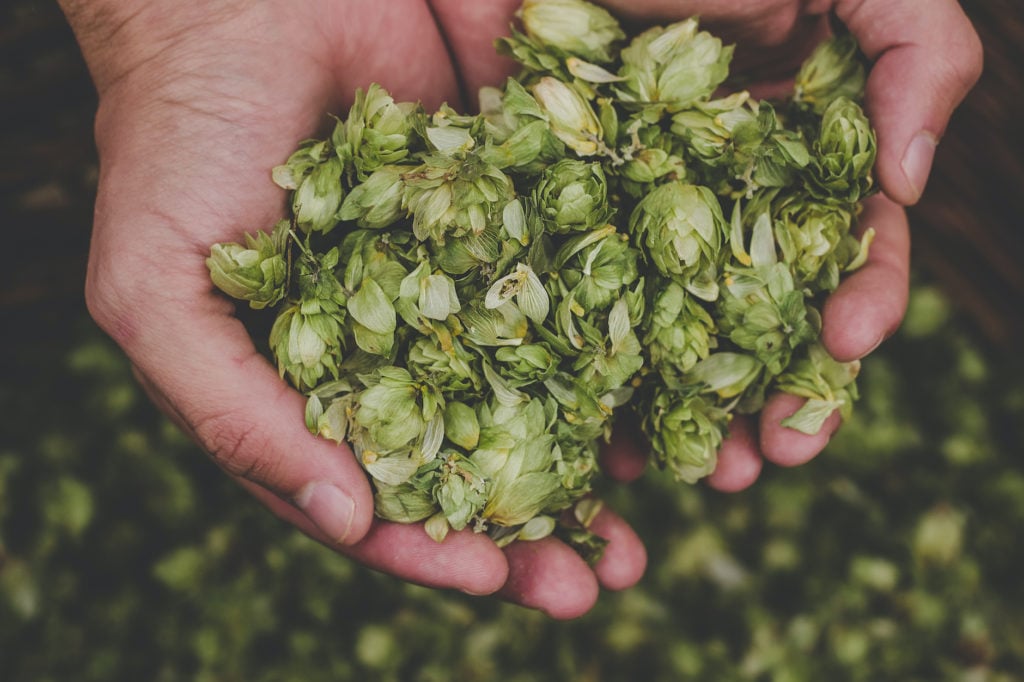
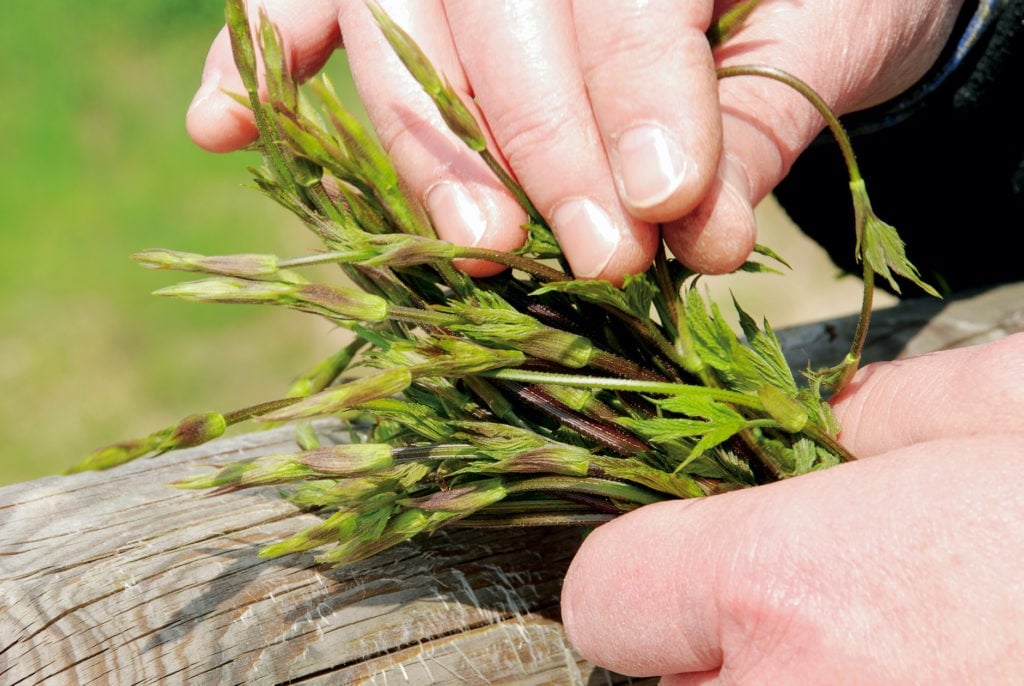
Your hops will be ready to harvest in late summer; the date will vary depending on your location and growing season. Give them the squeeze test: they’re ready when they “give” slightly. They’ll be a lighter shade of green with a papery feel. Hops that are ready to harvest may also have a strong scent, often resembling cut grass and onion. If you cannot safely access your taller bines to harvest, gently lower them from the trellis and lay them flat on the ground. Twist the ripe hop cones off the bine.
Do not expect much of a harvest your first year. The plants use most of their energy during the first year establishing their crowns and root systems. After that, you can expect to get ½ to 2 pounds of dried hops per plant. At the end of the season, cut the bines down to an inch above the ground and cover with mulch for next season.
Drying And Storing Your Hops
After your hops are picked, you will need to dry them. The key to drying hops is to do it quickly, without exposing them to too much heat. You can use a food dehydrator, or you can set your oven on the lowest temperature (not exceeding 140 degrees) and dry them on a pan, checking on them every 20 minutes. They are “ready” when their inner stem is brittle and breaks rather than bends, and the petals break off easily.
Once your hops are dried, it’s important to properly preserve them, and freezing is the easiest and best method. Separate them into one- or two-ounce packages, which helps make defrosting easier. Use freezer bags, food saver bags, or airtight jars, be sure to remove as much air as possible. If you have a vacuum sealer, all the better. Vacuum-sealed whole dry hops will last up to two years in the freezer and six months in the refrigerator. Label each package with the date and variety you used.
When it comes time to brew up a fresh batch of beer, your home-grown hops will be ready to go!
Interested in to brewing your own beer at home? Check out our Best Days To Brew Beer planner!
***IMPORTANT NOTE: If you choose to grow hops and have dogs, please note hops are dangerous to dogs if they ingest them. Take precautions to keep your four-legged friends away from your brewing materials. And if they do get into them, call your vet.


Natalie LaVolpe
Natalie LaVolpe is a freelance writer and former special education teacher. She is dedicated to healthy living through body and mind. She currently resides on Long Island, New York, with her husband, children, and dog.
- Natalie LaVolpe

- Natalie LaVolpe
- Natalie LaVolpe
- Natalie LaVolpe


Interesting! Thank you for your interest! Thank you for the information you have shared in this content.the formation you have shared in this content.