
Seed Saving 101: What to Collect Before Frost

Don’t let the first frost take next year’s garden with it. Here’s what to collect, dry, and save now for planting next spring.
For generations, gardeners have saved seeds from one season to plant the next. It’s an old-fashioned practice that makes just as much sense today as it did when the Farmers’ Almanac was first published in 1818.
Saving your own seeds can save money, preserve a favorite variety, keep a family heirloom growing for another generation, and help you become a little more self-reliant in the garden.
And as summer begins to wind down, there’s no better time to start.
Before cold weather arrives, check your average first frost date and take a walk through the garden. Some of those fading flowers, overripe vegetables, and brown bean pods are holding next year’s garden inside them.
Here’s what to look for—and how to save it.
First, Know Which Seeds Are Worth Saving
For beginners, the best seeds to save come from open-pollinated or heirloom varieties.
Open-pollinated plants can produce seed that grows into plants similar to their parents, provided they haven’t cross-pollinated with another compatible variety. Hybrid varieties, often labeled F1, may produce viable seed, but the next generation may look or perform very differently from the plant you grew this year.
That makes heirloom tomatoes, beans, peas, peppers, and lettuce especially good choices for first-time seed savers. You can learn more in our guide to harvesting, saving, and storing heirloom seeds.
One more rule: save seeds from your healthiest, strongest plants. Avoid plants or fruits showing signs of significant disease, since some plant diseases can be carried on seed.
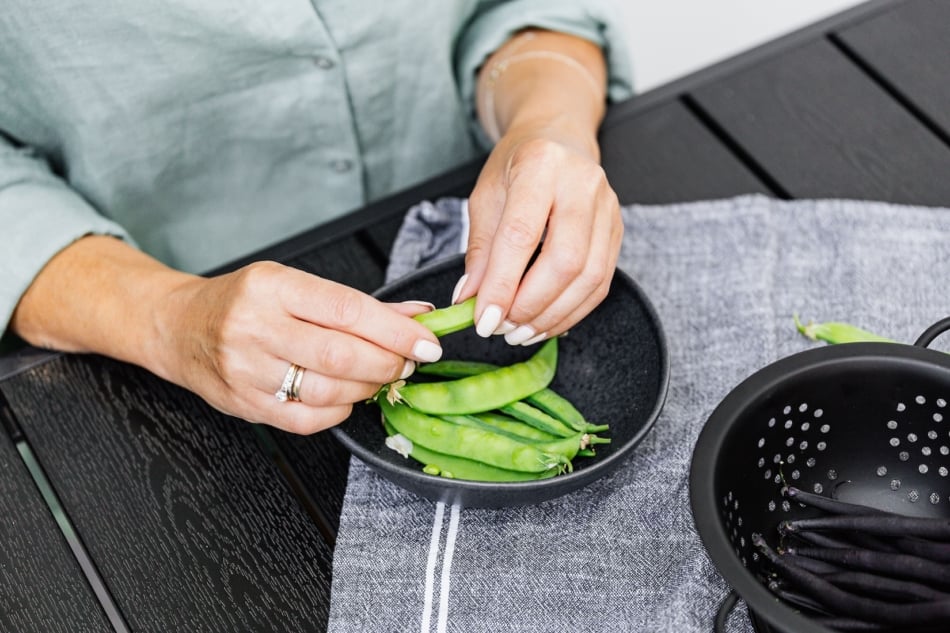
1. Beans and Peas: Wait for the Rattle
Beans and peas are among the easiest vegetables for beginning seed savers.
Instead of picking every pod while it is tender, leave several of the healthiest pods on your best plants. Allow them to grow old, dry, and brown on the vine.
When the seeds inside feel hard and begin rattling in their pods, they are ready.
If frost or prolonged wet weather threatens before the pods have completely dried, harvest the mature pods and let them finish drying in a warm, airy location indoors.
Once completely dry:
- Shell the beans or peas.
- Remove damaged or discolored seeds.
- Allow the seeds to air-dry a little longer before storage.
- Label them with the variety and year.
Seed-saving difficulty: Easy
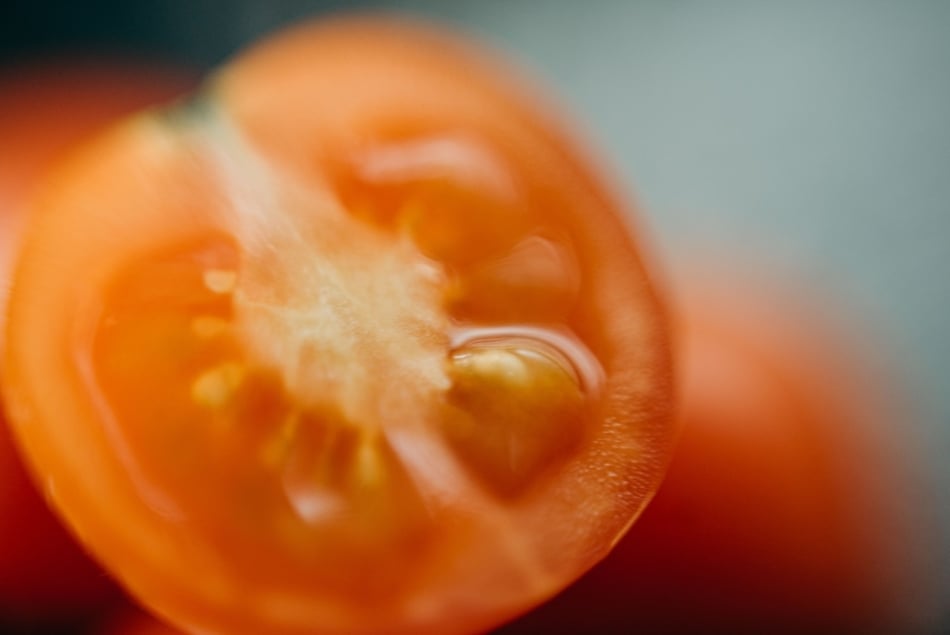
2. Tomatoes: Save Seeds From Your Best Fruit
Tomatoes are another excellent place to begin—especially open-pollinated and heirloom varieties.
Choose a fully ripe, healthy tomato from a vigorous plant with the characteristics you want to grow again: great flavor, good size, productivity, disease resistance, or perhaps simply sentimental value.
Scoop the seeds and surrounding gel into a small container. Tomato seeds have a gelatinous coating, so traditional seed saving usually includes a short fermentation period before the seeds are rinsed and dried. Seed Savers Exchange recommends allowing tomato seeds and pulp to ferment for roughly one to three days before cleaning them.
Afterward, rinse the seeds well and spread them in a single layer to dry thoroughly.
And yes—you can still eat the tomato.
For more tomato-growing advice, see our complete guide to growing tomatoes.
Seed-saving difficulty: Easy to moderate
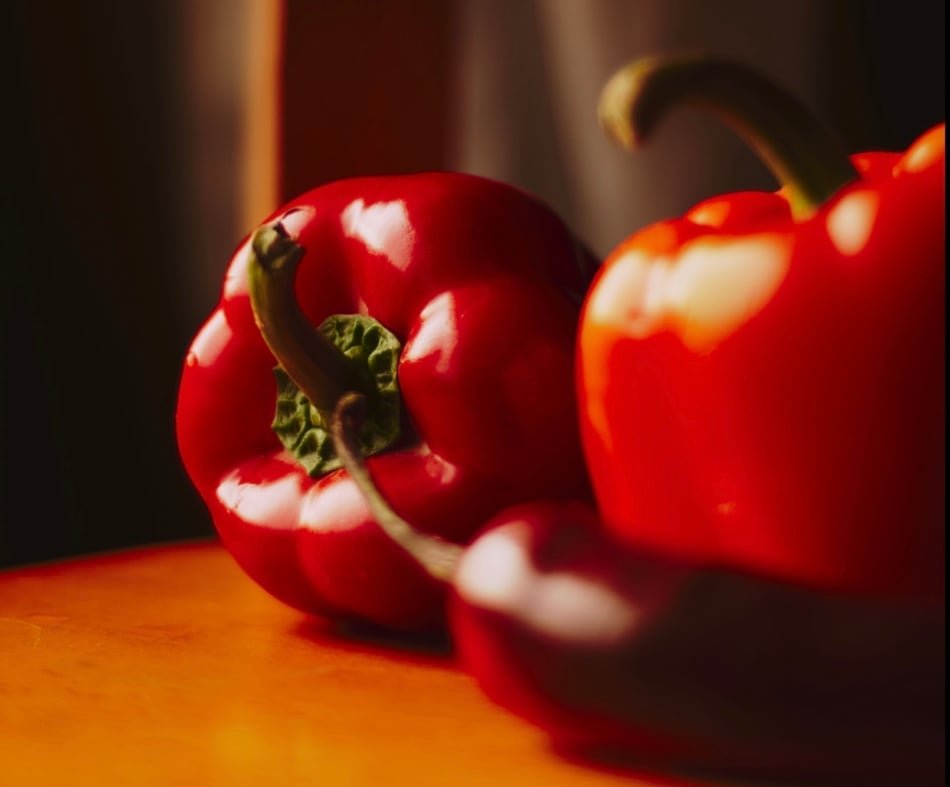
3. Peppers: Let Them Fully Ripen
If you’re saving pepper seed, patience pays.
Seeds are mature when the pepper has reached its final ripe color, rather than when an immature fruit is still green. Depending on the variety, that mature color may be red, orange, yellow, purple, brown, or another shade.
Choose a fully mature pepper from a healthy plant, cut it open, remove the seeds, and spread them out to dry.
Unlike tomato seeds, pepper seeds do not require fermentation.
If you’re working with hot peppers, wearing gloves is a wise precaution, and keep your hands away from your eyes and face.
Seed-saving difficulty: Easy
4. Lettuce: Catch It Before the Wind Does
That towering lettuce plant you forgot to pull isn’t necessarily a garden failure—it may be next year’s seed crop.
Once lettuce bolts, it eventually produces flowers followed by fluffy seed heads. The trick is collecting the seed after it matures but before the wind carries it away.
Clip mature seed heads into a paper bag and let them finish drying indoors. Rub or shake the dried heads to release the tiny seeds, then separate as much chaff as practical.
Seed-saving difficulty: Easy
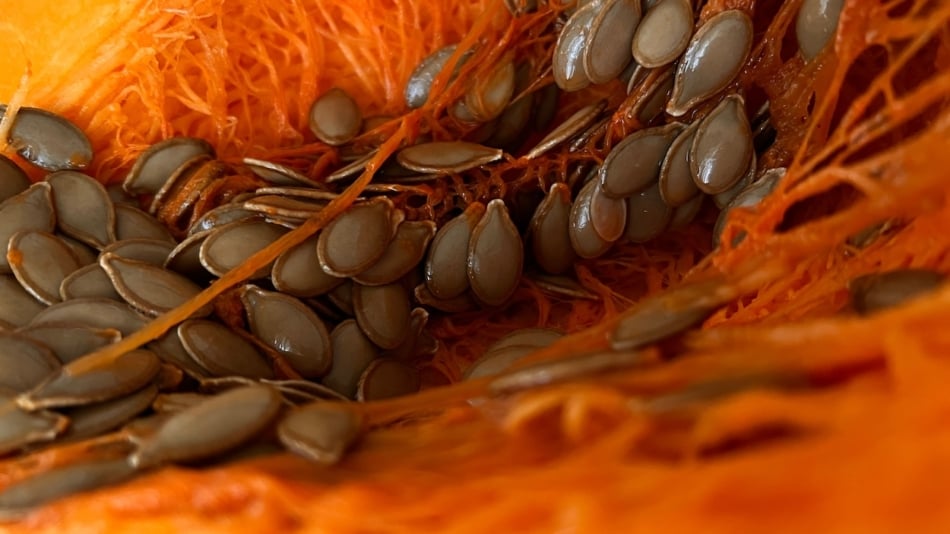
5. Squash and Pumpkins: Save With a Little Caution
A mature winter squash or pumpkin can provide plenty of seeds—but these crops are more complicated.
First, allow the fruit to mature fully. Seed Savers Exchange recommends harvesting squash before the first frost once the skin has become very hard; properly harvested fruit can continue maturing its seed during post-harvest storage.
Then scoop out the seeds, remove the pulp, rinse if needed, and dry them thoroughly.
The catch is cross-pollination.
Squash, pumpkins, cucumbers, and other members of the cucurbit family can cross with compatible varieties growing nearby. If maintaining a particular variety matters to you, isolation or hand pollination may be necessary. Seed Savers Exchange provides a helpful guide to seed isolation methods.
If you’re simply gardening for fun and enjoy surprises, saving crossed squash seed can still make an interesting experiment.
Seed-saving difficulty: Moderate to advanced
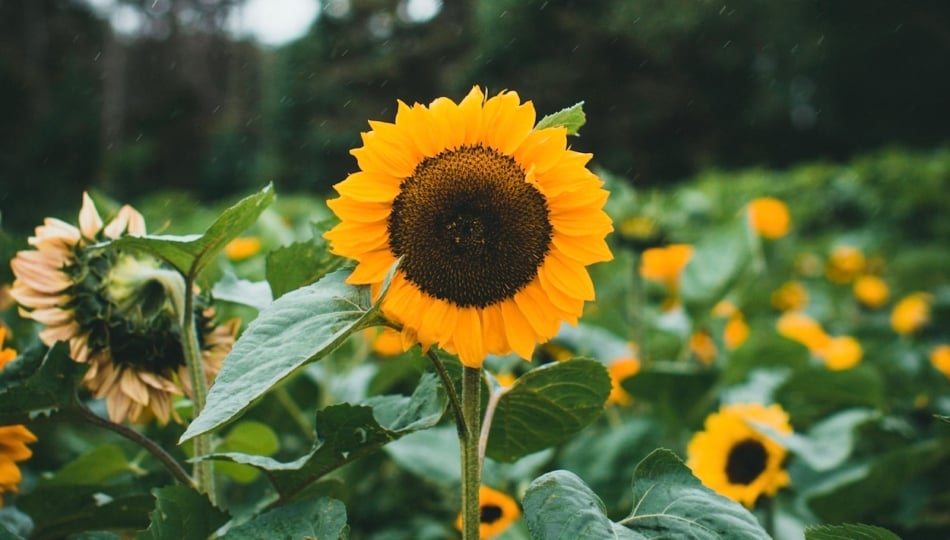
6. Flowers: Don’t Deadhead Everything
Before cleaning out the flower garden, take another look at those fading blooms.
Many common annual flowers produce seeds that are easy to collect, including:
- Marigolds
- Zinnias
- Sunflowers
- Nasturtiums
- Poppies
- Morning glories
- Snapdragons
University extension guidance lists many of these among good flowers for home seed saving.
Allow flower heads or seedpods to mature and dry as much as possible on the plant. Collect them on a dry day before autumn rain, wind, or garden cleanup scatters the seed.
Slip seed heads into labeled paper bags and allow them to finish drying indoors.
7. Don’t Forget Herbs
Some of your kitchen herbs can provide next year’s seed supply, too.
Annual herbs such as dill, cilantro, and basil can be allowed to flower and form mature seed heads rather than being continually pinched back.
When the seed heads turn dry and brown, clip them into a paper bag. Let them dry thoroughly, then gently rub or shake the seeds free.
Saving seeds from a favorite herb is one of the easiest ways to close the loop between this year’s harvest and next year’s kitchen garden.
The Golden Rule: Seeds Must Be Dry
The most important step comes after harvest.
Do not put damp seeds into sealed storage.
Remaining moisture can encourage mold and reduce germination. Seed Savers Exchange recommends keeping stored seed cool, dark, and dry and making sure it is completely dry before sealing it away.
Paper envelopes work well for organizing individual varieties. Those envelopes can then be kept inside a larger airtight container once the seeds are thoroughly dry.
Label every packet with:
Crop + Variety + Year Collected
You may think you’ll remember which little brown seeds are which come February.
You probably won’t.
What Should You Collect Before Frost?
If cold weather is closing in, prioritize:
Dry bean and pea pods that are mature enough to finish drying indoors.
Fully ripe tomatoes and peppers from healthy plants.
Mature pumpkins and winter squash with hard skins.
Dry flower and herb seed heads before wind and wet weather scatter them.
Lettuce seed heads that are beginning to mature.
And before heading outside with your basket and paper bags, check the Farmers’ Almanac Frost Dates chart. Frost dates are averages rather than guarantees, so paying attention to your local forecast is important, too.
A Garden Worth Passing Along
A packet of saved seeds doesn’t look like much in October.
But tuck it somewhere cool and dry for the winter, and those few beans, tomato seeds, or flower seeds become something entirely different by spring: possibility.
Perhaps that is why gardeners have been saving seeds for generations. It’s economical and practical, certainly—but it’s also a way of carrying the best part of one growing season into the next.
Save a few extra seeds and share them with a neighbor, friend, child, or grandchild. That’s how favorite varieties—and gardening traditions—keep growing.
When spring approaches, check whether older seed is still viable with our guide, Are Seeds Still Good? How To Test and Store Garden Seeds, then visit our Seed Starting 101 guide to get next year’s garden growing.
Learn More About Seed Saving
For gardeners ready to dig deeper, visit the Seed Savers Exchange Seed Saving Guide, the University of Maine Cooperative Extension’s Introduction to Seed Saving, or explore more Farmers’ Almanac advice in Easy Ways to Save Seeds.
What seeds are you saving from your garden this year? Share your favorites with us!


- Farmers' Almanac Staff

- Farmers' Almanac Staff
- Farmers' Almanac Staff
- Farmers' Almanac Staff