

Seed Starting 101: How to Grow Plants From Seed
A complete guide to starting seedlings, from sowing to transplanting.
Seed Starting Quick Reference
- When to start: one to two months before your last spring frost for most warm-weather crops.
- Containers: at least two to three inches wide and two to three inches deep, with drainage holes.
- How deep: plant seeds about four times their own diameter, one to two seeds per cell.
- Light: a south-facing or sunny window once seedlings break the soil, rotated every couple of days.
- Germination: most seeds sprout in seven days to two weeks.
- Hardening off: ease seedlings outdoors gradually before they go into the garden after your last frost.
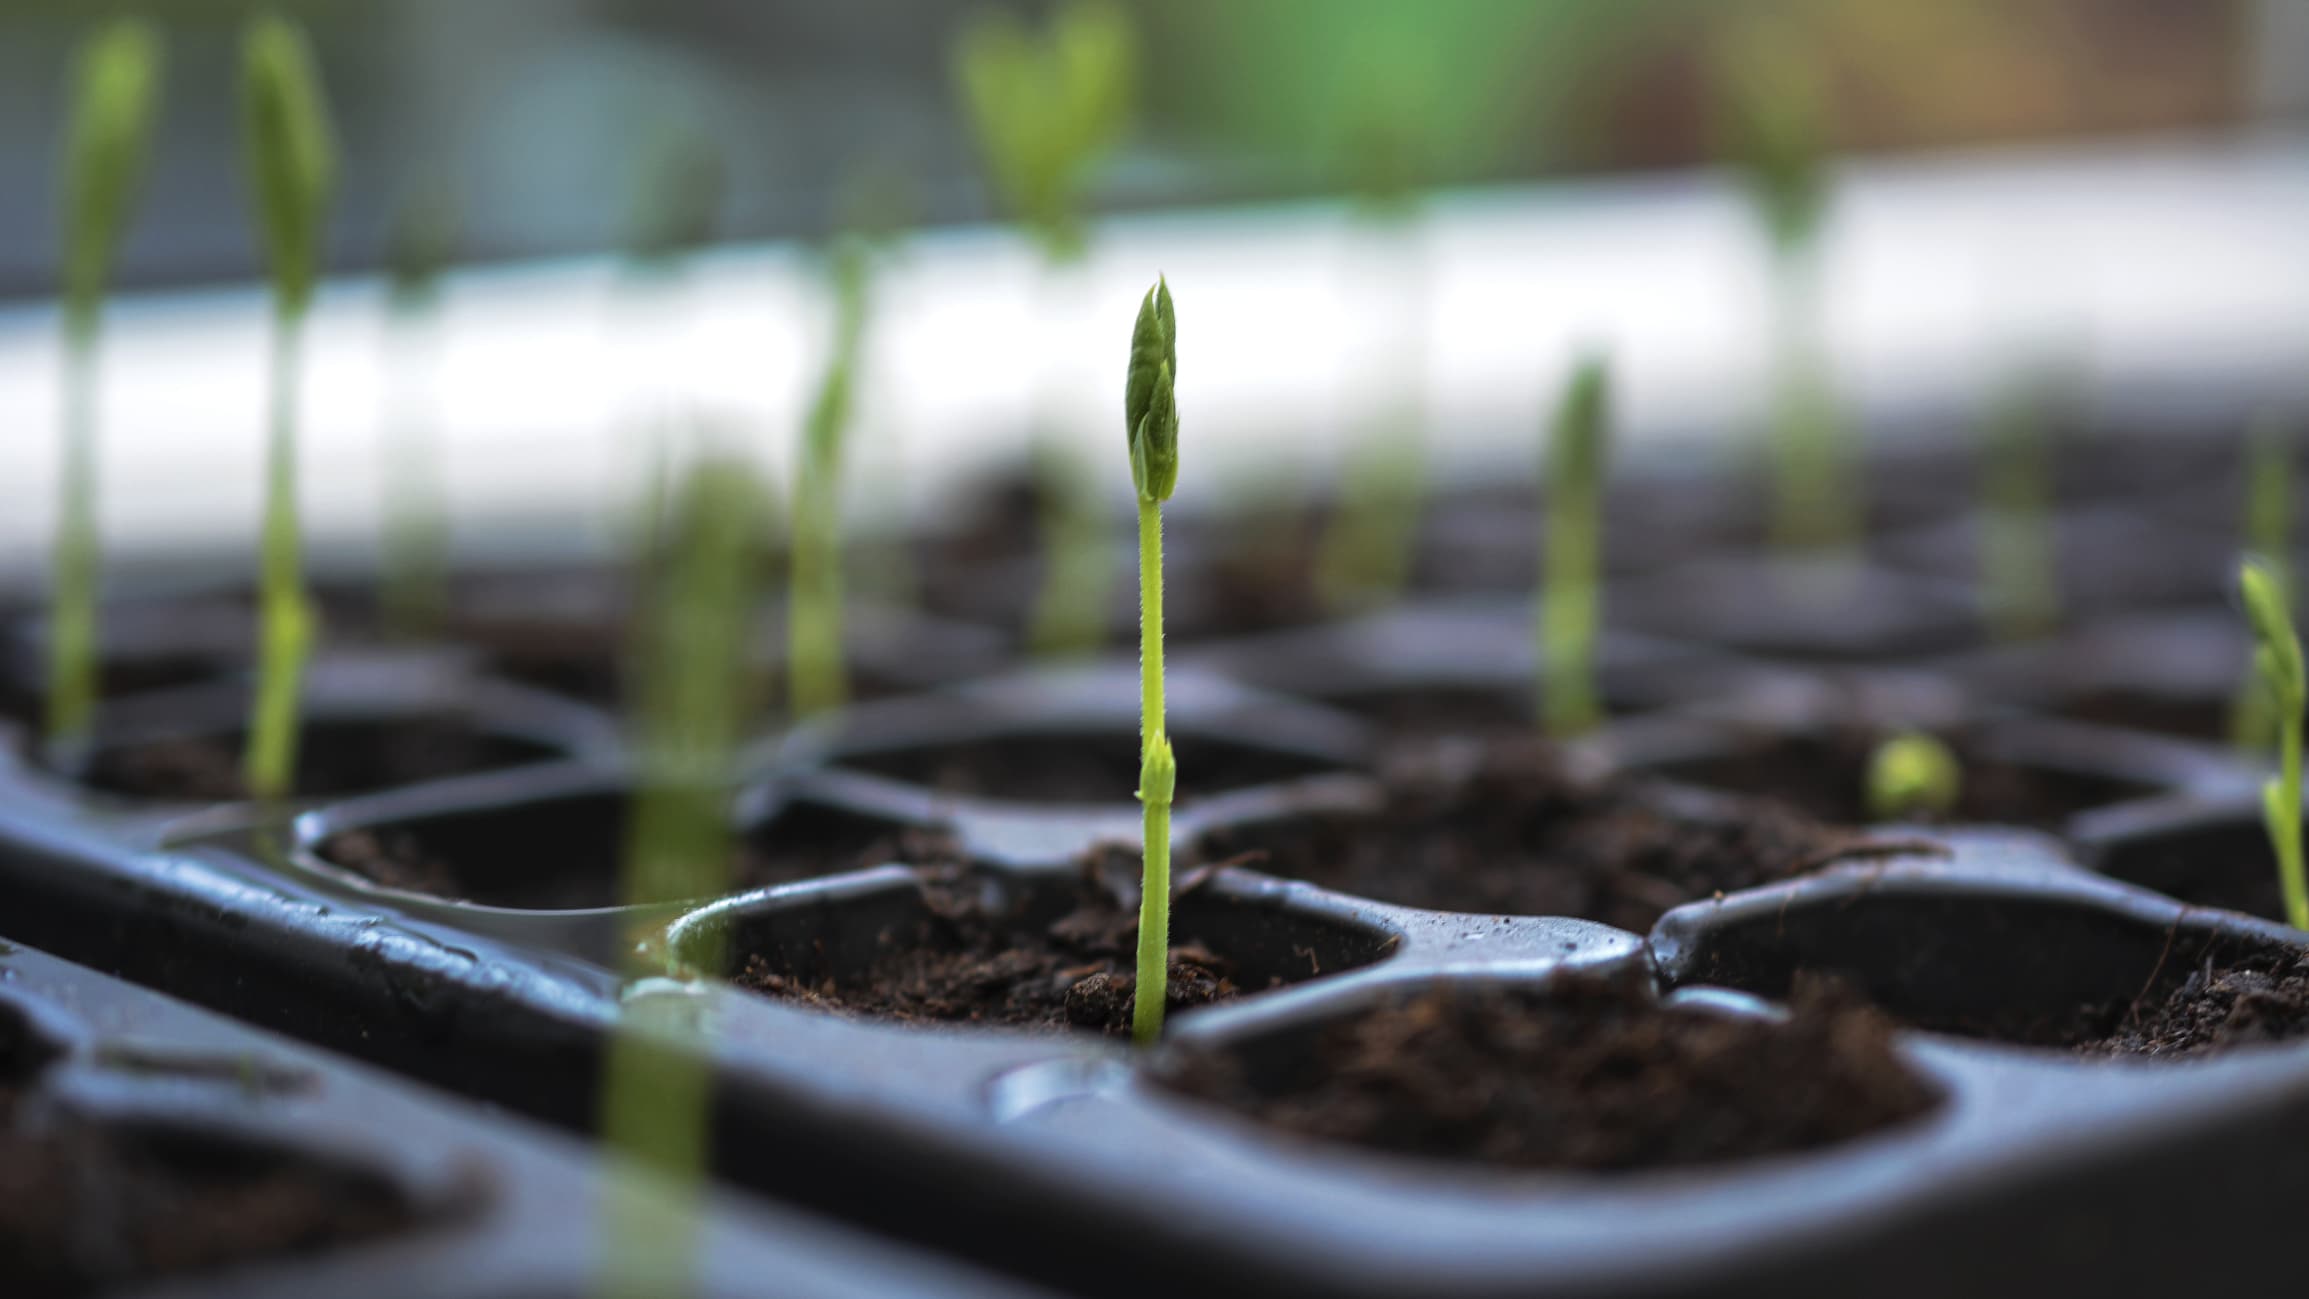
Seed starting is the simple practice of sprouting your own plants from seed indoors, weeks before the ground outside is ready for them. It is one of the oldest tricks a gardener has, and it still pays off in 2026. Starting vegetable seeds indoors gives you a jump on the season and stretches your harvest, which matters most where the growing season runs short, as it does here in Maine. Get a tray of tomatoes, peppers, or squash going early and you can fill a garden that the calendar would otherwise cut short.
There are other good reasons to start your own seeds a few months ahead. You save money by buying seeds rather than seedlings, you get a far wider selection of plants to grow, and you keep more control over germination so weather and pests do not derail you. Do not let it intimidate you. Seed starting is easy once you have the basics, and if you want a deeper look at the indoor side of the process, our companion guide to starting seeds indoors walks through it. This page covers the broader basics from sowing all the way to transplanting.
Get Started, It’s Easy
To get started, choose the vegetables you plan to grow and gather your supplies. You do not need a fancy high tunnel greenhouse or expensive gear to start your vegetables. A sunny window and a few clean containers will do.
Check our Planting Guides for how to grow these top 10 vegetables.
Make Sure Your Seedlings Have…
A safe, warm, dry place away from drafts and pets to set your seeds before they move to the window. Then plan on a south-facing or sunny window with a large ledge, or room for a small table in front of it.
Potting soil you trust. Look for a light, loamy texture with a blend of vermiculite. Avoid a mix reinforced with synthetic fertilizers if you want your plants to have an organic start.
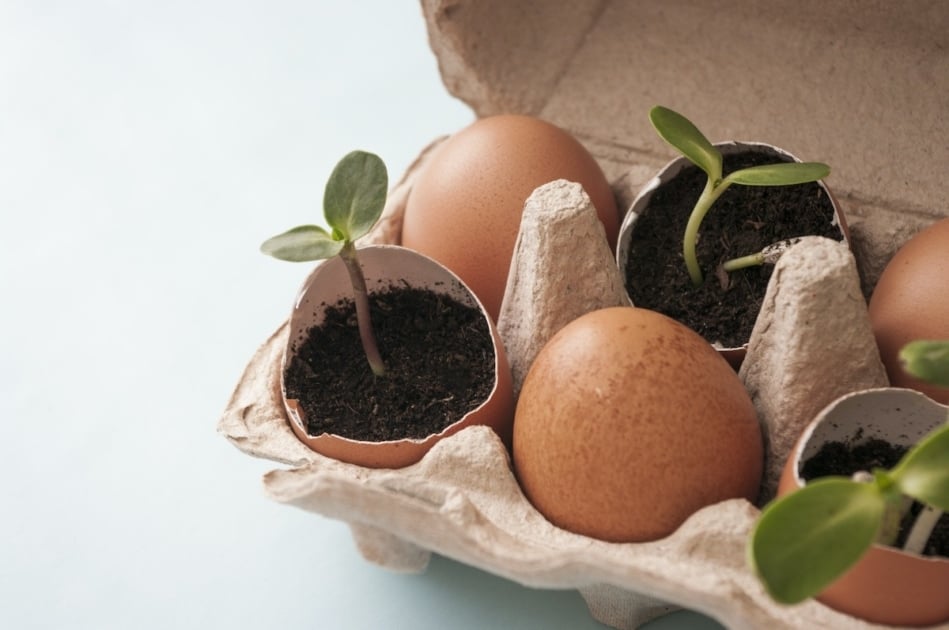
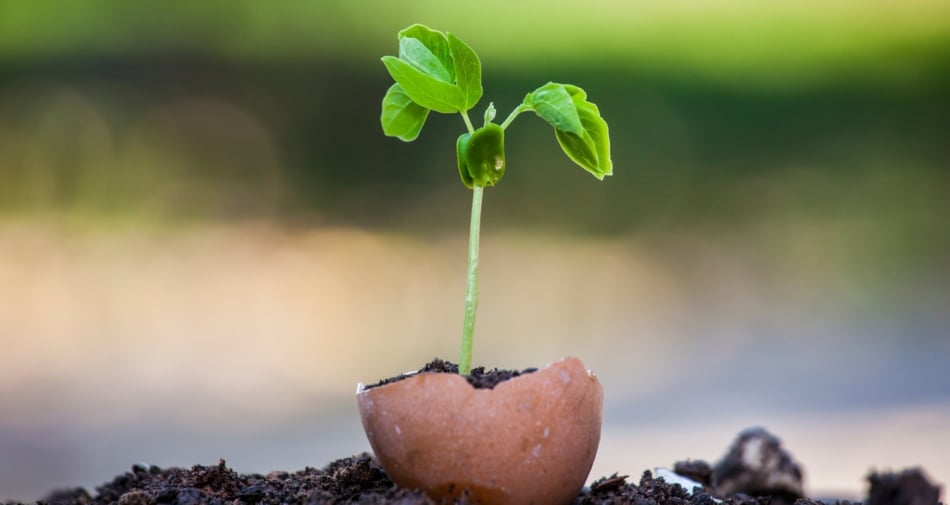
Pots and plant trays. You can buy these at any garden store, or you can recycle yogurt containers, eggshells, egg cartons, or cut-off milk cartons. You can even use toilet paper tubes. Whatever you choose, make sure your starter containers are at least two to three inches wide and two to three inches deep.
A plan for bigger pots. Eventually you will need slightly larger pots to transplant your seedlings into. Some people start their seeds in trays with individual cells, which you may prefer to starting in a flat and separating roots later. Whatever method you use, make sure your containers are clean and have adequate drainage holes. If you used them last year, wash them in a diluted bleach solution to clear out any disease.
Sticks for labeling your seedlings, also called garden markers. Use ice cream sticks, recycled plastic butter knives, or even chopsticks.
A label and a waterproof pen or pencil. Permanent marker works well.
A cover, such as clear plastic kitchen bags or clear plastic food wrap.
An organic fertilizer that is safe to use on seedlings. Fish and seashell emulsion is a good choice. It is a little stinky when you first open it, but it will do wonders for your plants.
Get Your Seeds
If you have not already bought your seeds, do that right away. Ask green-thumb friends whether they have prize heirloom seeds to share, or buy from a garden supply store or online.
Once you have your seeds, read your seed packet carefully to learn whether your variety handles transplanting well. Some vegetables, such as root crops, do not transplant well and need to be direct sowed, meaning they go right into your garden. From the seed packet, or from our Planting Guides, note the suggested planting times both indoors and outdoors for your variety and region.
Time It Right
Time your seeding to the final frost date in your region. In a cold-weather climate, you can start many seedlings one to two months before the final frost date. Your warm-weather crops, such as tomatoes, peppers, eggplant, squash, and cucumber, cannot go into the ground until the soil has warmed and the danger of frost has passed.
Cool-weather crops such as broccoli, cabbage, and cauliflower can go out even with some danger of frost. You may be able to start these earlier than your hot-weather crops and set them in the ground as soon as the soil is workable. For an outside reference, the University of Minnesota Extension keeps a clear guide to starting seeds indoors with timing tables you can match to your own ground.
Sowing (Planting) Seeds
Once you have a place to set your seedlings, your seed starting materials, and your seeds of choice, you are ready to plant.
- First, take your potting mix and moisten it evenly with plain water. You do not want the soil soggy, just moist like a damp sponge.
- Next, fill your pots or tray evenly with soil. Do not tamp the soil down, because you want it to stay light and fluffy in the container. You can make an indent in the soil with your finger where you plan to put the seed, or just rest it on the surface.
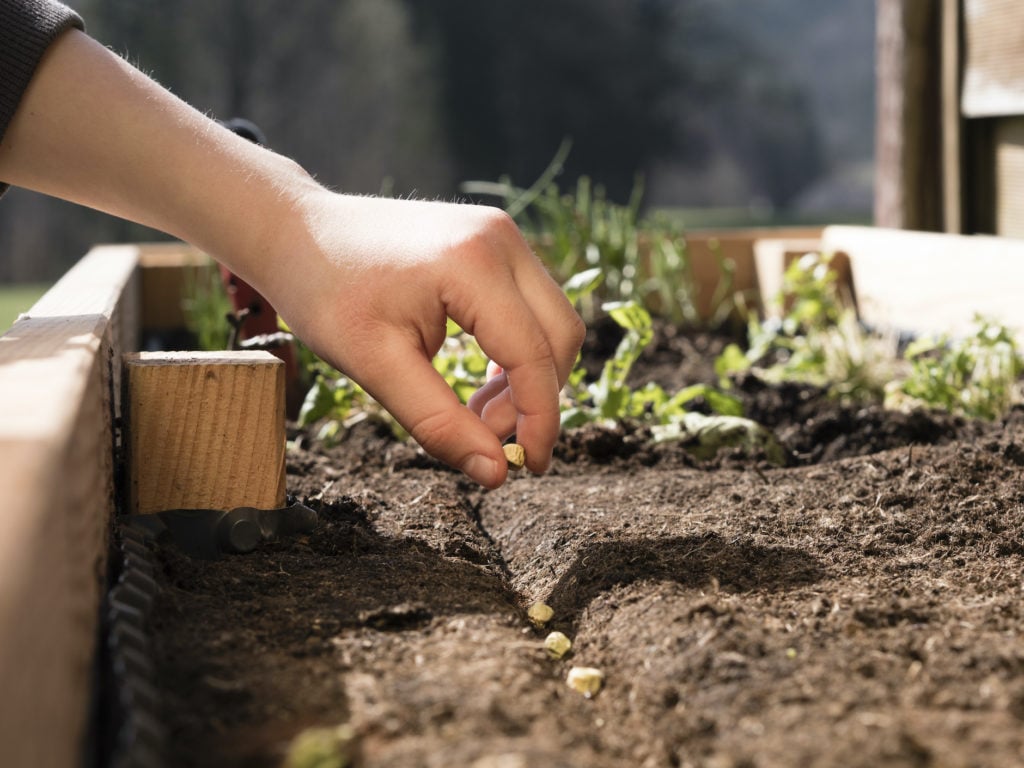
- Using dry hands, open your seed packet and drop one to two seeds in each cell of your tray, or in each pot. Read the seed packet to learn whether your seeds need to be planted deeply or shallowly. A rule of thumb is to plant seeds four times their diameter, so tiny broccoli seeds go in less deeply than larger cucumber seeds.
- If you are using a tray without individual cells, sow the seeds one to two inches apart to give them proper growing space.
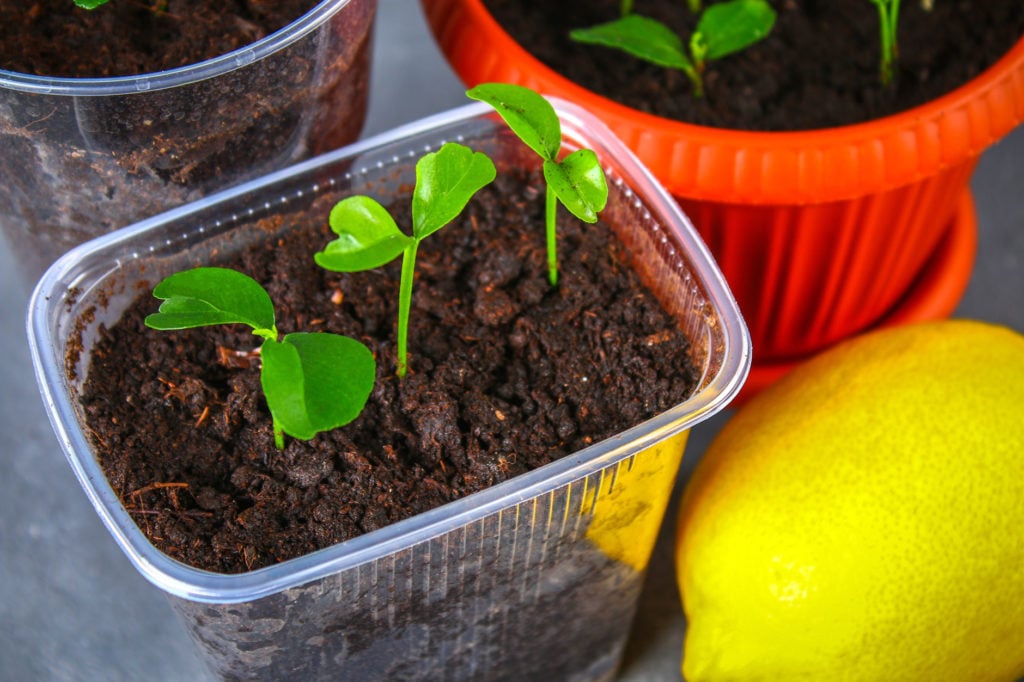
- Once your seeds are in the container, sprinkle more soil on top, enough to cover them.
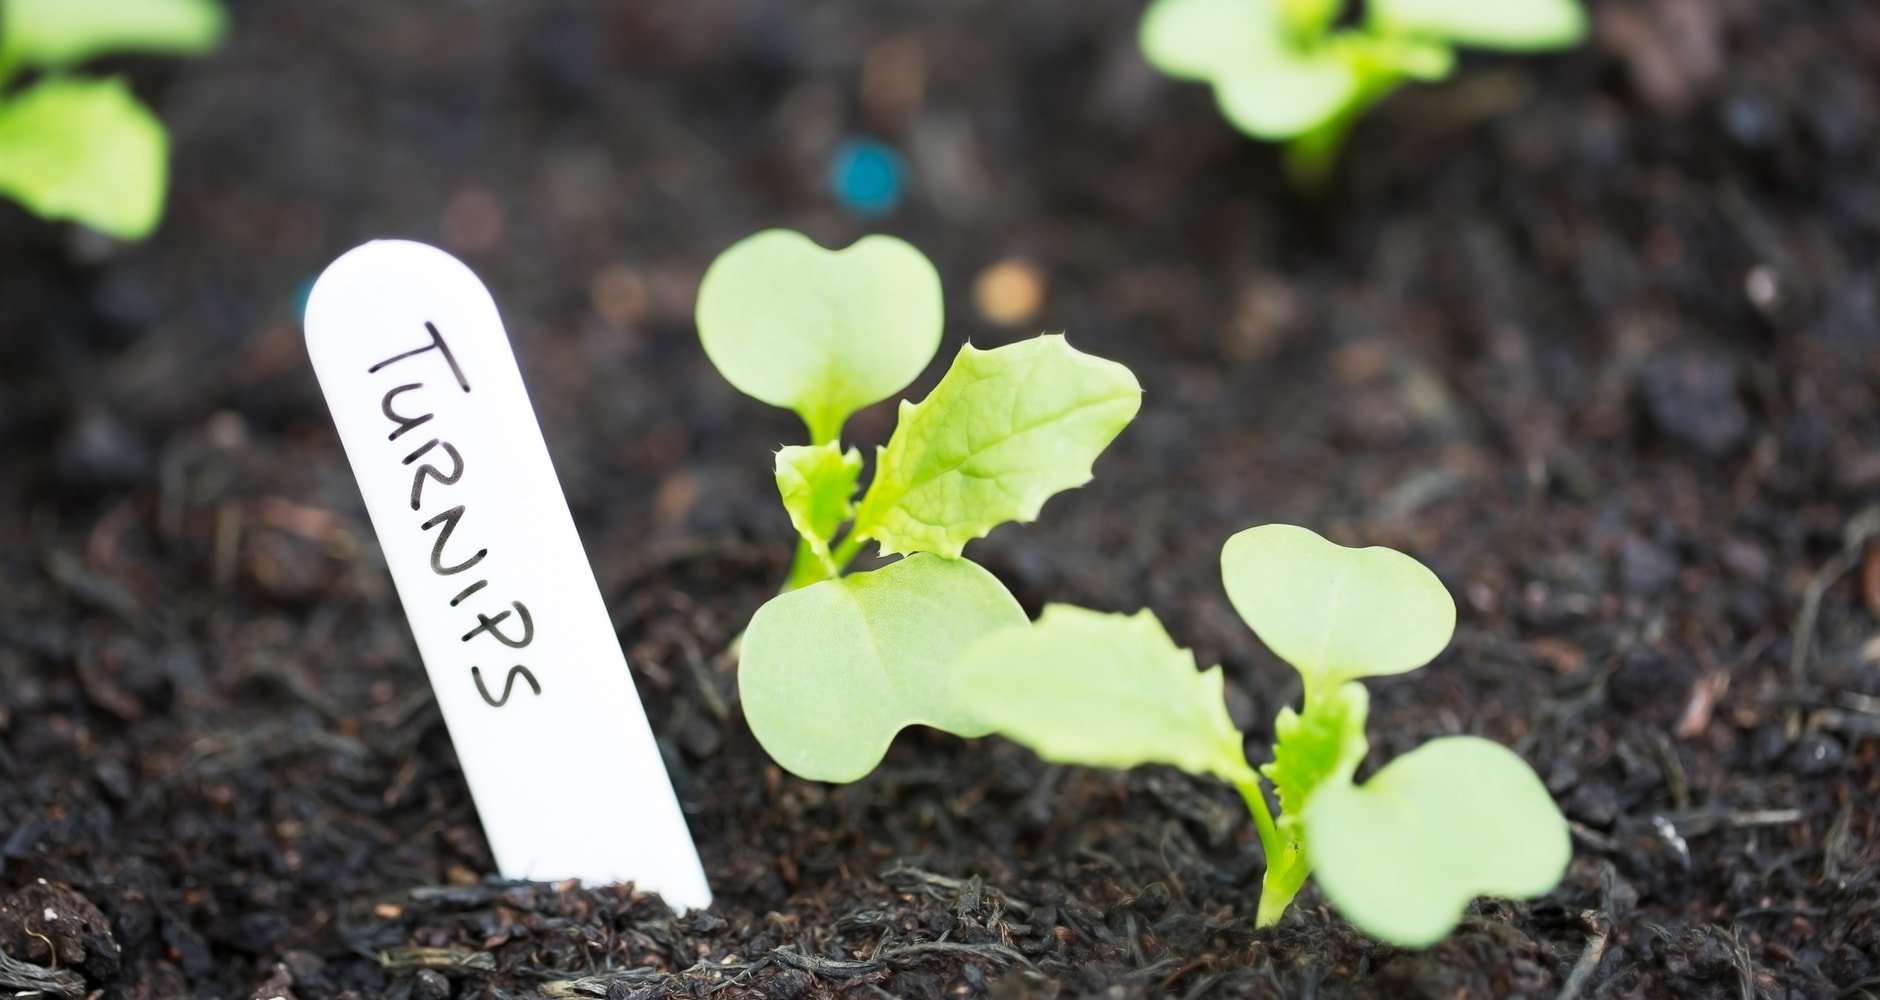
- Label your ice cream sticks or plastic butter knives with the vegetable variety and the date planted, then set them in the right container. Any labeling system works as long as you can track what was planted and where, since otherwise it is hard to give your seedlings the conditions they need once they reach the garden. We love this plant marker tip!
- Finally, put the planted container inside a clear plastic bag and tie it loosely around the rim, or cover the tray with plastic wrap kept off the soil surface. The plastic holds the temperature warm and the soil moist, so you most likely will not need to water again until the seedlings sprout.
Situating Your Seeds
Remember that item on the supply list, a safe, warm, dry place away from drafts? Now is the time to bring your flats or pots there and set your young, fragile seedlings away from kitty claws and curious kid hands. You start them here rather than at the window because windows are typically drafty, and direct sunlight can dry out your pots and flats or heat them up and drive moisture too high. A good spot is on top of your refrigerator or on a table in your kitchen.
Depending on the plant variety, seeds can sprout anywhere from seven days to two weeks. Do not fret if yours take a little longer. A home is never quite as predictable as a greenhouse, and natural temperature swings can slow germination.
If your seeds do not sprout, or far fewer come up than you wanted, simply replant the container and adjust the growing conditions if need be.
Hello, Little Sprout!
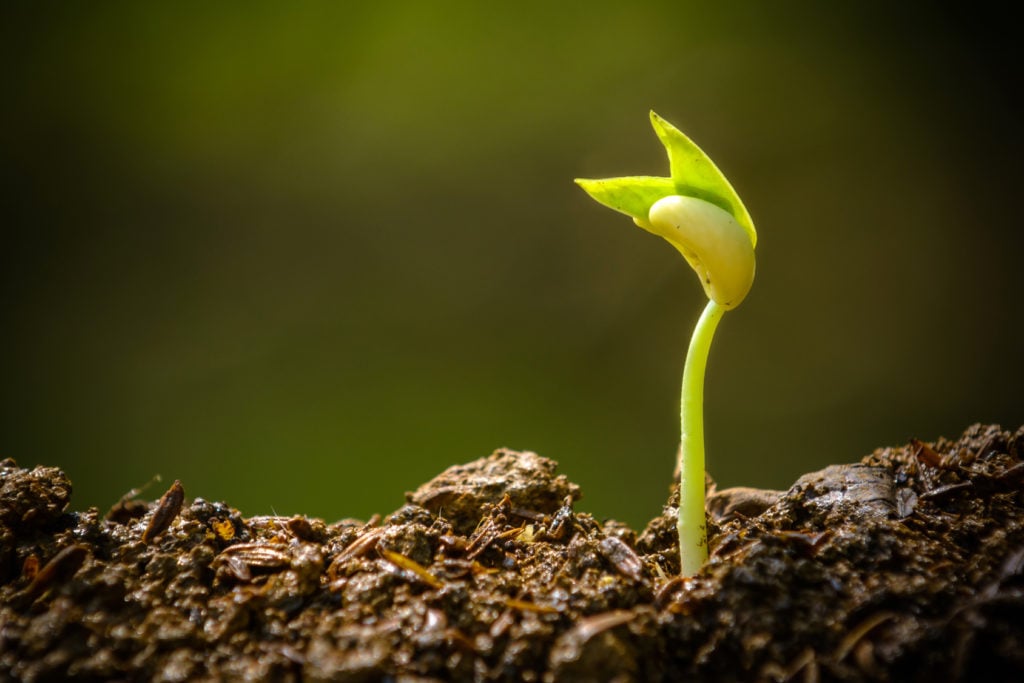
Once the seeds have sprouted and broken through the soil surface, remove the plastic and bring your containers to the window, where they can take in as much sunlight as your home allows. If your windows are drafty, lay a towel along the edge to cut the airflow, or pull the seedlings back from the glass a little. At night, move them somewhere warmer if need be. For a more evenly warm setup, some people buy a heat mat at the garden store. It sits under the flat and keeps the soil warm.
Caring for Your Seedlings
Now is the time to start caring for your little green babies. Seedling care comes down to three things: watering, feeding, and temperature control.
Check your seedlings daily. The goal is to keep the soil evenly moist, like a damp sponge, as consistently as you can. You do not want them to dry out too much, though letting them dry a little is okay. Water with room-temperature water when possible to reduce shock. When the seedlings are very small, take care not to drown or batter them with a harsh spray. A mister is an easy way to water tiny seedlings. You can also set your flat or pots in a larger container filled with a couple of inches of water and let it wick up through the bottom.
Rotate and Water
Once every couple of days, rotate your seedlings so they get even light on all sides from the window and are not forced to reach and lean one way. Two weeks after your seedlings have germinated, when the plants are well established, you can begin adding an organic liquid fertilizer to your water. A good rule of thumb is to water the seedlings once a week until they are ready to go into the garden.
Moving On Up: The Basics of Transplanting
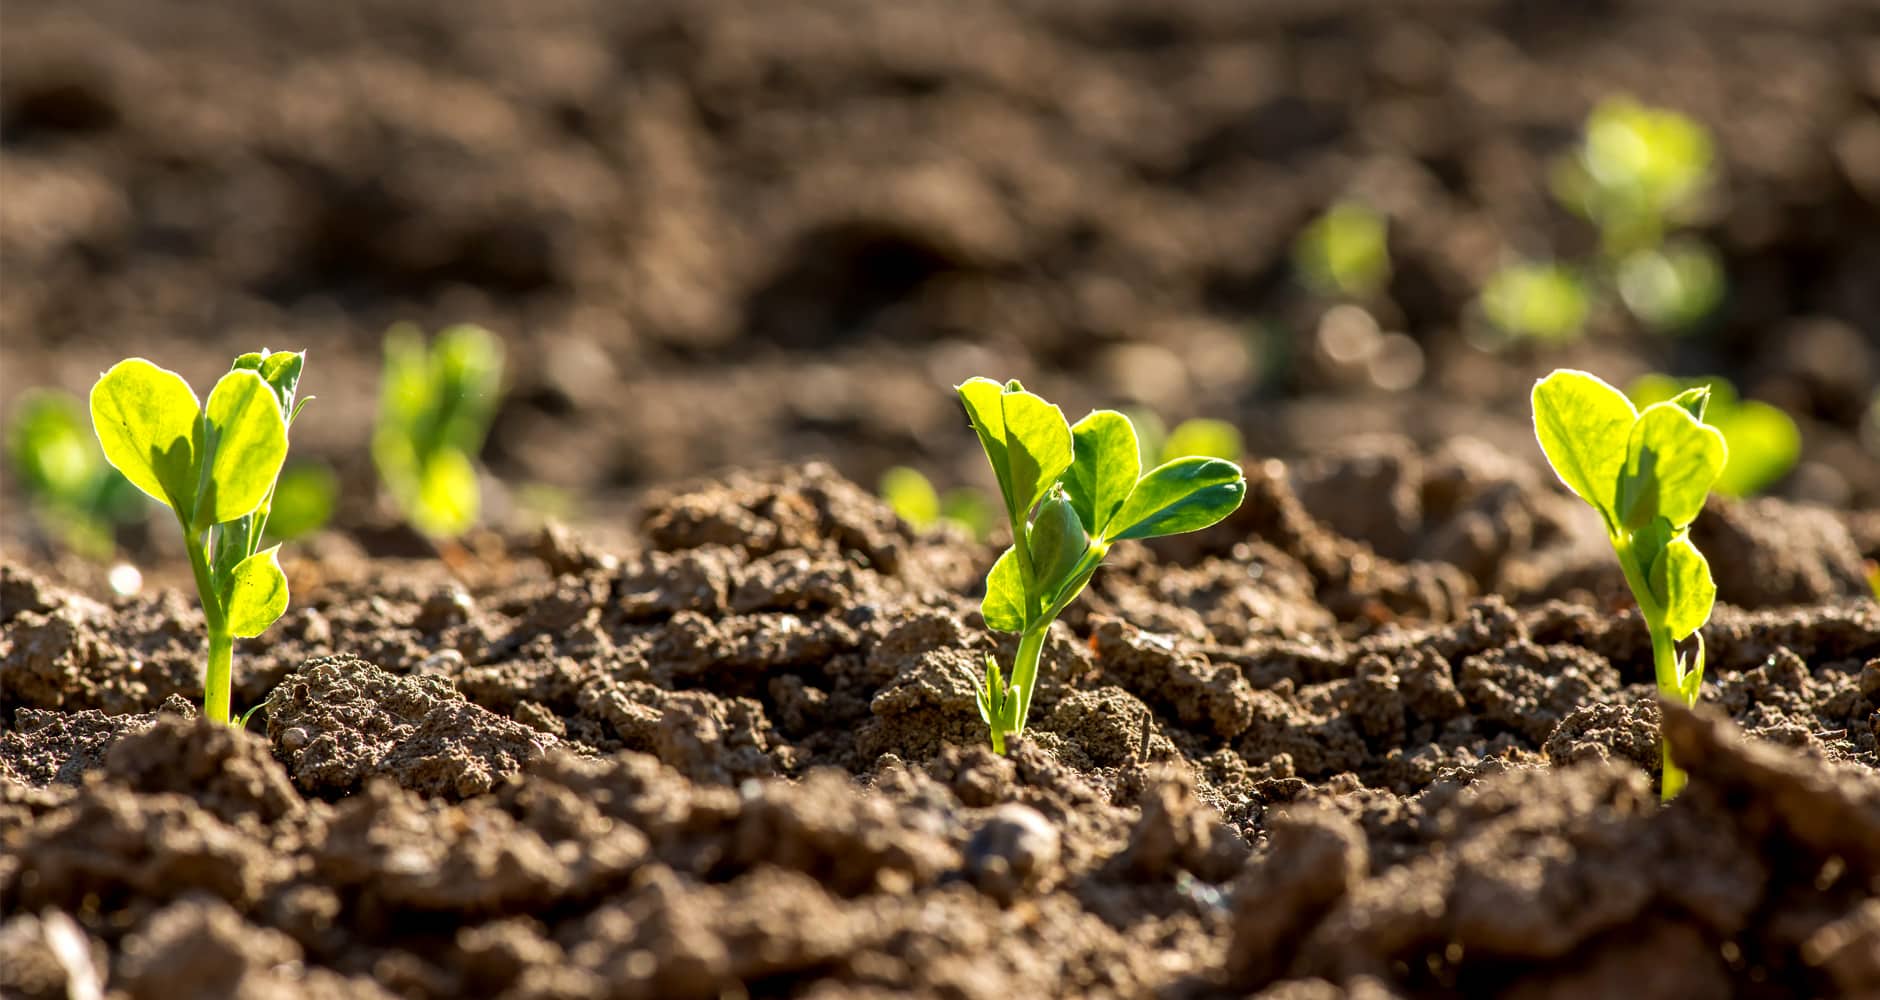
Like all living things that are nurtured and cared for, your seedlings will grow, and at some point they will need more space. If you started them in sizable pots, you may not need to move them. If you started them in flats, they will most likely need a move to bigger pots at least once before going in the ground, so they do not get rootbound and stressed. No plant likes its roots disturbed, but you will find seedlings hardy for their small size, and they bounce back just fine afterward as long as they keep getting good care.
When They’re Ready To Transplant
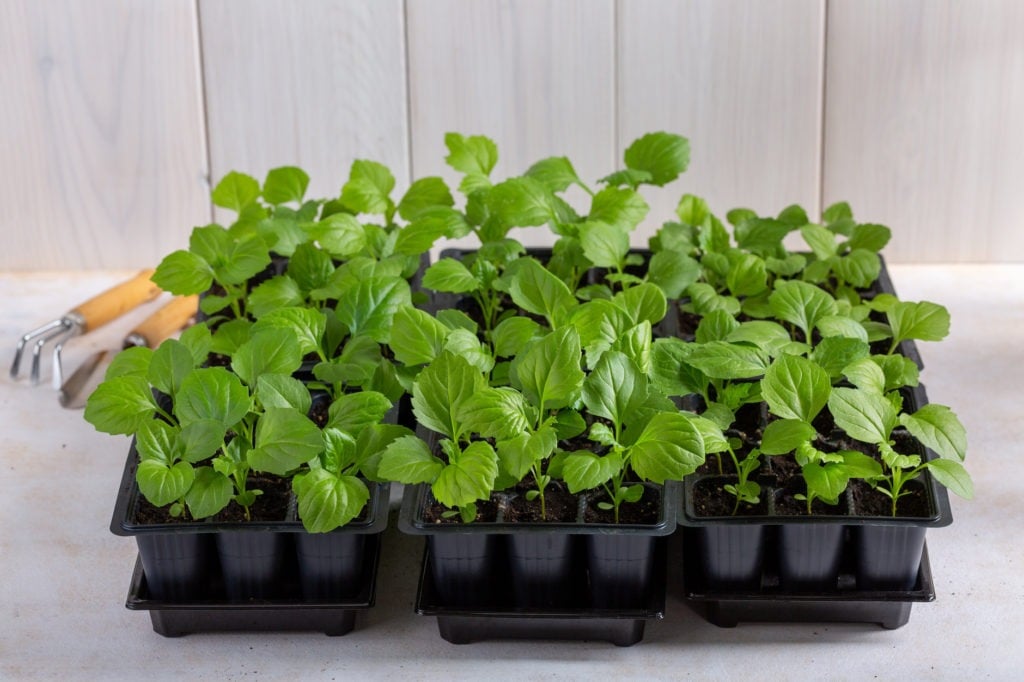
Your seedlings are ready to transplant when they look too big for their flats or you can see roots making their way out of the bottom. The process is easier than you would think, and it takes only one tool: a butter knife. Start by filling the new pots halfway with soil.
Next, take your butter knife and cut around your seedling as though it were a piece of cake. The important part is to pick the seedling up by its leaves, not the stem. It may feel wrong, since a stem seems much stronger than the leaves. But a damaged leaf recovers far more easily than a damaged stem, which can stunt the whole plant.
So take your little seedling’s leaves between your pointer finger and thumb, and use the knife to gently guide the root ball out of the flat and into your pot. Fill the pot the rest of the way with soil, tamping it very gently so the seedling feels secure in its new home.
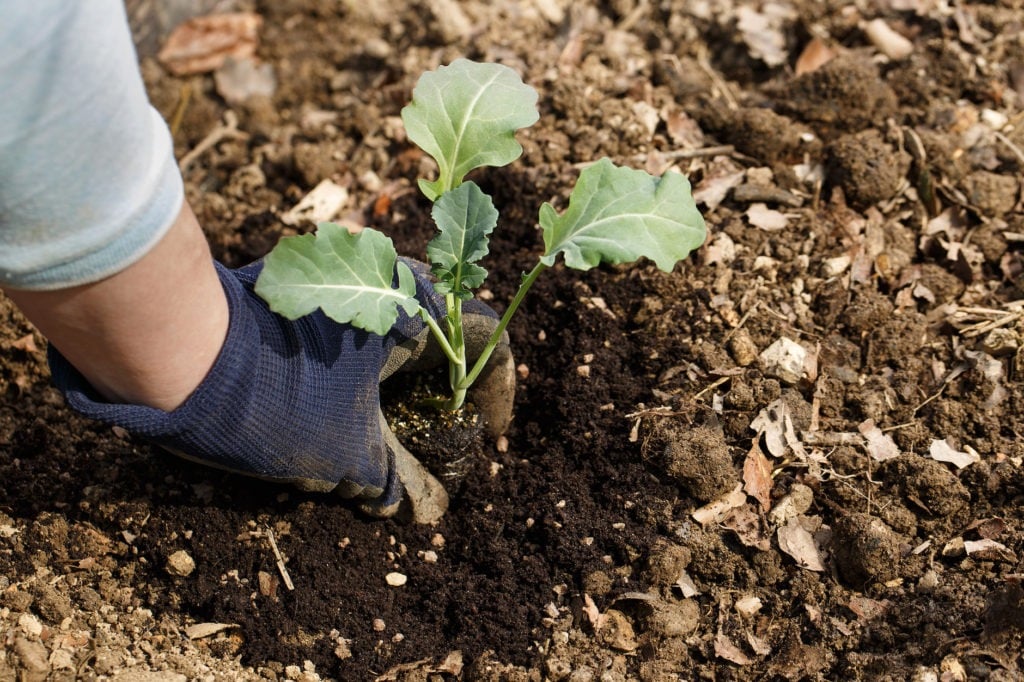
And there you have it: a newly potted seedling waiting for its next move, into the garden. Keep watering, feeding, and loving your seedlings, and you will have started your garden off right this season.
Hardening Off Your Seedlings
Before a seedling raised on a warm windowsill can live in the garden, it needs to toughen up to wind, stronger sun, and cooler nights. This step is called hardening off, and it is the difference between a seedling that shrugs off transplant and one that wilts. Start about a week to ten days before you plan to set plants out, once the danger of frost has passed.
Set the seedlings outside in a sheltered, shady spot for an hour or two on the first day, then bring them back in. Each day after, give them a little more time outdoors and a little more direct sun, working up to a full day and night by the end. Keep the soil from drying out, since wind and sun pull moisture faster outside than on your windowsill. By the time they have spent a full day and night out, they are ready to go into the ground for good.
More Helpful Links
8 Best Homemade Garden Fertilizers
Average Frost Dates
10 Easiest Fruits and Veggies To Grow In Pots
22 Ways To Combat Garden Pests
Why Do We Garden By The Moon?

Seed Starting: Frequently Asked Questions
When should I start seeds indoors?
Start most warm-weather crops one to two months before your last spring frost date, which shifts by region. Tomatoes, peppers, eggplant, squash, and cucumber cannot go outside until the soil has warmed and the danger of frost has passed. Cool-weather crops like broccoli, cabbage, and cauliflower can start earlier and go out while there is still some risk of frost. Read your seed packet for the exact window for your variety.
How deep should I plant my seeds?
A reliable rule of thumb is to plant seeds about four times their own diameter. Tiny broccoli seeds go in shallowly, while larger cucumber seeds go deeper. Drop one to two seeds per cell or pot, and if you are sowing in a tray without individual cells, space the seeds one to two inches apart. Always check the seed packet, since some varieties have their own depth instructions.
How long do seeds take to germinate?
Most seeds sprout in seven days to two weeks, depending on the variety. Do not worry if yours take longer, since a home is less predictable than a greenhouse and temperature swings can slow things down. If nothing comes up, or far fewer seeds sprout than you hoped, replant the container and adjust the growing conditions.
What kind of light do seedlings need?
Once seedlings break through the soil, move them to a south-facing or sunny window and give them as much light as your home allows. Rotate the containers every couple of days so the plants get even light and do not lean toward the glass. Before sprouting, keep seeds in a warm, draft-free spot away from the window, such as on top of the refrigerator, since direct sun can dry out or overheat the soil.
Do I need to harden off my seedlings before transplanting?
Yes. Hardening off eases a windowsill seedling into outdoor wind, sun, and cooler nights so it does not go into shock. Start about a week to ten days before transplanting, after the danger of frost has passed. Set seedlings outside in a sheltered, shady spot for an hour or two the first day, then add more time and more direct sun each day until they can take a full day and night out. Then they are ready for the garden.
How often should I water seedlings?
Keep the soil evenly moist, like a damp sponge, and check seedlings daily. Once the plants are established, watering once a week is a good rule of thumb until they go into the garden. Use room-temperature water to reduce shock, and water small seedlings with a mister or by setting the flat in a couple of inches of water so it wicks up from the bottom. Two weeks after germination, you can add an organic liquid fertilizer to the water.
Why pick up a seedling by its leaves and not the stem?
When transplanting, always lift a seedling by its leaves rather than its stem. A damaged leaf recovers far more easily than a damaged stem, and a crushed stem can stunt the whole plant. Cut around the seedling with a butter knife as though it were a piece of cake, hold the leaves between your finger and thumb, and guide the root ball into its new pot.
Get Gardening in your Inbox
Be sure to sign up for our weekly e-newsletter to get gardening and other tips and advice in your inbox every Wednesday!
Join the Discussion
What is one of your favorite tips for seed starting? Share in the comments!

Sherie Blumenthal
Sherie Blumenthal is a Food Access Coordinator with Lots to Gardens, an urban gardening and community nutrition initiative sponsored by St. Mary’s Health System in Lewiston, Maine.
- Sherie Blumenthal

- Sherie Blumenthal
- Sherie Blumenthal
- Sherie Blumenthal


How do I stop leggie seedlings
Leggy seedlings come from the plants stretching to find light. We recommend supplementing with a grow light – that is closer to the plants. If you notice a stretch in one direction, turn them around to help build stronger stems. Other causes could be a too warm environment, inconsistent watering, and overcrowding. Best of luck!
I started some onions (3 days ago) and lettuce indoors already. Lettuce is about 2 inches tall. I’ve had brussel sprouts growing all winter indoors. I only have 1 southern facing window so I put up some wire shelves in front of it. The ground is too saturated to plant anything unless it’s in containers or planter box above ground. I used cardboard/fiberboard egg trays and cartons to start seeds in last year, easy to cut or tear apart and plant. It’s a good idea to plant tomato seeds in egg shells as they can use the calcium – especially if you grew tomatoes in the same area. Bathroom disposable cups can be used too.
I just pray for a decent garden this year, last year my organically grown garden tested for having herbicide use. I have a neighbor 2 doors down that used herbicides to kill weeds along her and my neighbor’s fence line. It caused most of my tomato, pepper and corn to die or poorly produce. Our poultry uses the garden area in the winter so we would never use chemicals that can harm or kill them. If she goes to doing it again this year, we’re letting her know what happened and ask her not to use harmful chemicals, there’s organic things available.
Oh no! We are sorry to hear that you had a rough go at the garden last year. We hope she keeps her herbicides far from your fence line – and that you have a bountiful, successful garden this year!
My seedlings always brown at the soil level, keel over & die. How can I prevent/stop that?
Hi Jeanne, are you reusing soil from previous years? Check this article to see if this is what’s going on with your seedlings.
What are the best days to start flower seeding? I live in the north central region.
Hi, some ladies at my church are doing Winter Sow Seeds Outdoors, and had great harvest of lettuce and veggies. Please give us the Tips we need and the seeds to buy in the Zone 4 (Northeast NY). They just put dirt in milk container, water, seed, close up and put outside. I just don’t know when I should transplant them.
i have never have a vegetable garden and some day i want to have one your tips helpd
After reading this article I’ve gained confidence in growing this season. We live in a very limited growing season: northern Nevada ( high desert/ mountainous) and its very hard to grow a really prosperous garden , hopefully with this knowledge the veggie garden will be good. If you have any good tips for growing in this difficult climate or soil it will be much appreciated, thanks!
I am excited to say that after reading your website, I began my vegetable garden. I have a small space to work with and so far I have seedlings. The garden includes: spinach, tomatoes,cucumbers,beets, carrots, pumpkins and watermelon. Thank You for your help. Rancho Cucamonga,California
this is my first doing my own vegetable garden. not sure exactly what needs to be done. i would appreciate any helpful hints on how i need to go about getting ready to plant my garden. thanks,
sandy
Loved it. This will be the first year that I start seedlings in the house. As I read through the instructions I wrote down a chronological list of things to do. My parents always had a Farmer’s Almanac on hand. Thanks for your free website. Cleveland Ohio.