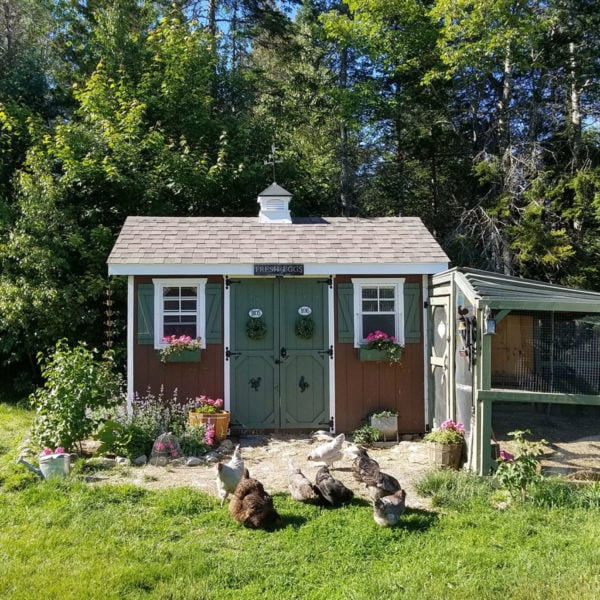
DIY Chicken Coop: Convert a Shed Into a Working Coop in a Weekend
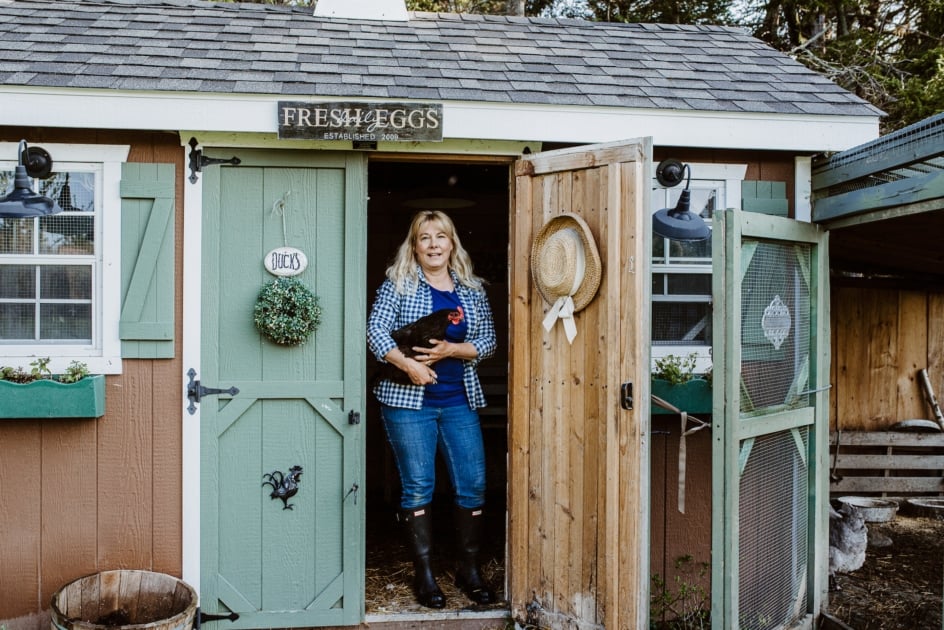
We checked in with author and chicken keeper, Lisa Steele, of Fresh Eggs Daily, for tips to converting an existing structure on your property into a safe, predator-proof coop for your new flock!
Quick Reference: Shed-to-Coop Conversion
- Space needed per bird: 4 sq ft inside coop + 8 to 10 sq ft outdoor run per bird (per UMN Extension).
- 5 essential conversions: chicken door, nesting boxes (1 per 3 to 4 hens), roost bars (8 to 10 inches per bird), ventilation, predator-proof latches.
- Floor: seal concrete floors. Wood floors need linoleum + bedding.
- Best beddings: pine shavings (NOT cedar, toxic to birds).
- Tool: the Almanac’s Best Days calendar for moon-aligned farm tasks.
On this page
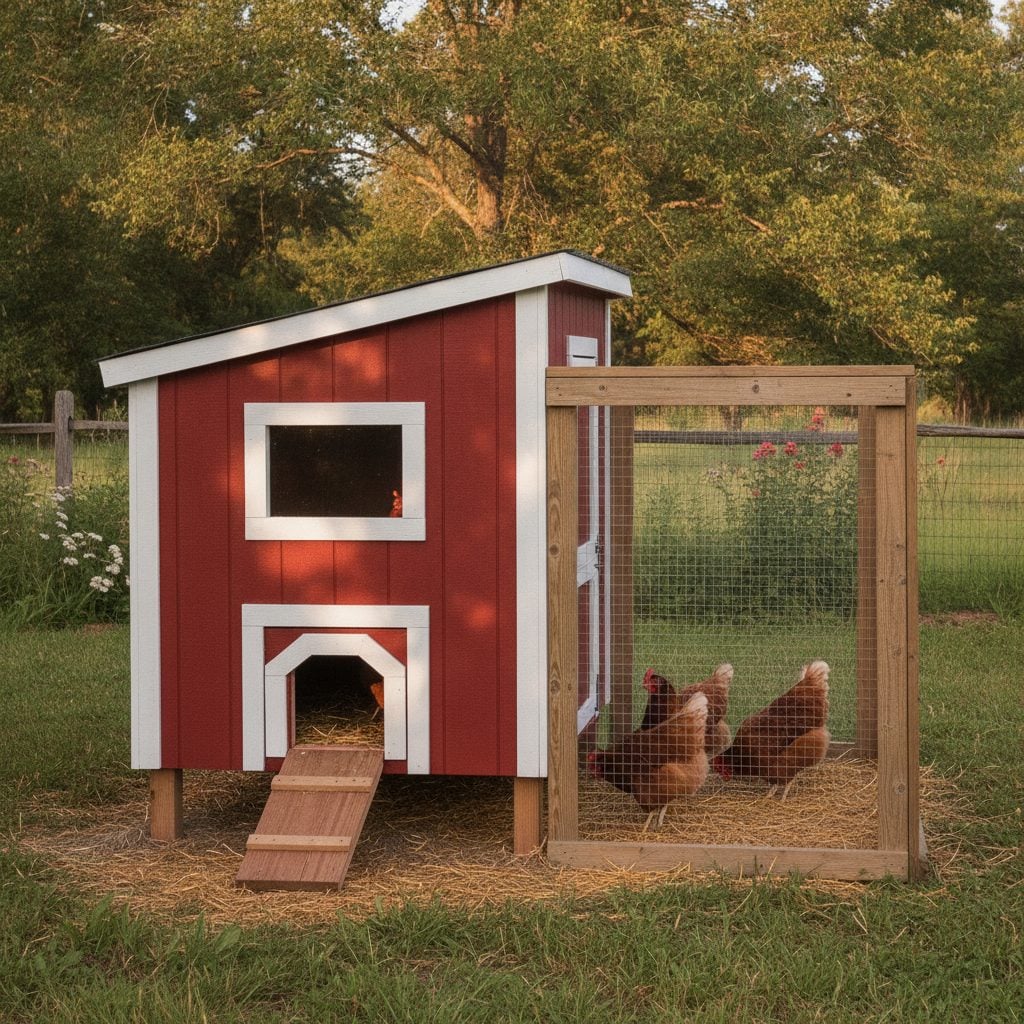
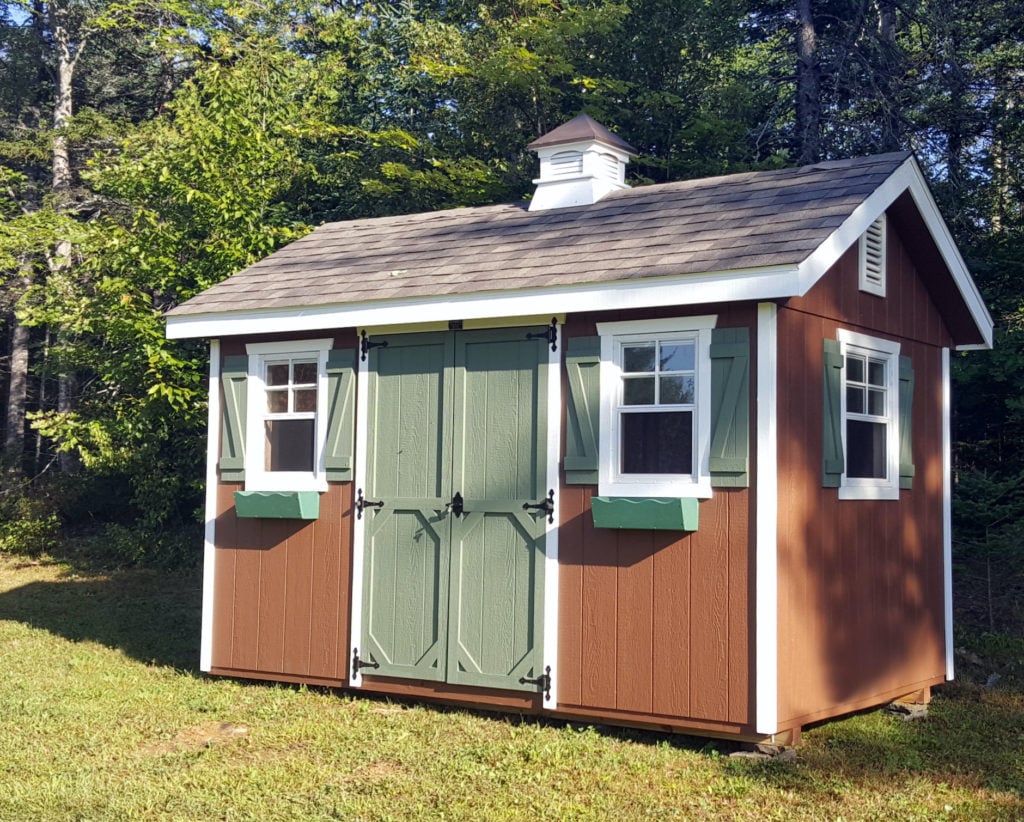
Converting an existing garden shed into a chicken coop is the fastest and cheapest path to a working backyard flock. The structure already gives you a roof, walls, and a foundation. The conversion adds 5 chicken-specific features: a chicken-sized door, nesting boxes, roost bars, ventilation, and predator-proof latches. This guide is the step-by-step UMN and Penn State extensions both recommend, with the dimensions and dimensions per bird that decide whether your flock thrives.
Sizing the Shed for Your Flock
Per UMN Extension small-flock housing research, undersized coops are the single biggest cause of behavioral problems and disease.
- Indoor space: minimum 4 sq ft per standard bird (bantams: 2 sq ft). 6 sq ft is more comfortable.
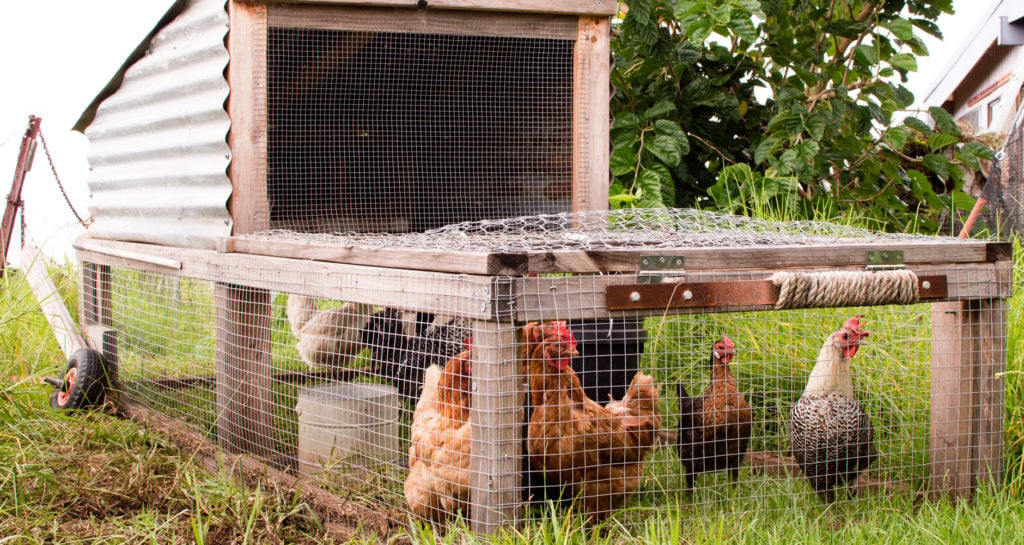
- Outdoor run: minimum 8 to 10 sq ft per bird; more is better.
- Ceiling height: at least 4 feet for human access; 6+ is comfortable.
- An 8×10 ft shed: houses up to 20 standard birds with proper run space.
- An 6×8 ft shed: houses up to 12 standard birds.
The 5 Essential Conversions
Per Penn State Extension backyard poultry guidance, these 5 features transform a basic shed into a working coop.
- Chicken door (pop hole). 12 inches wide by 14 inches tall. Cut low at floor level. Add a sliding or hinged predator-proof door.
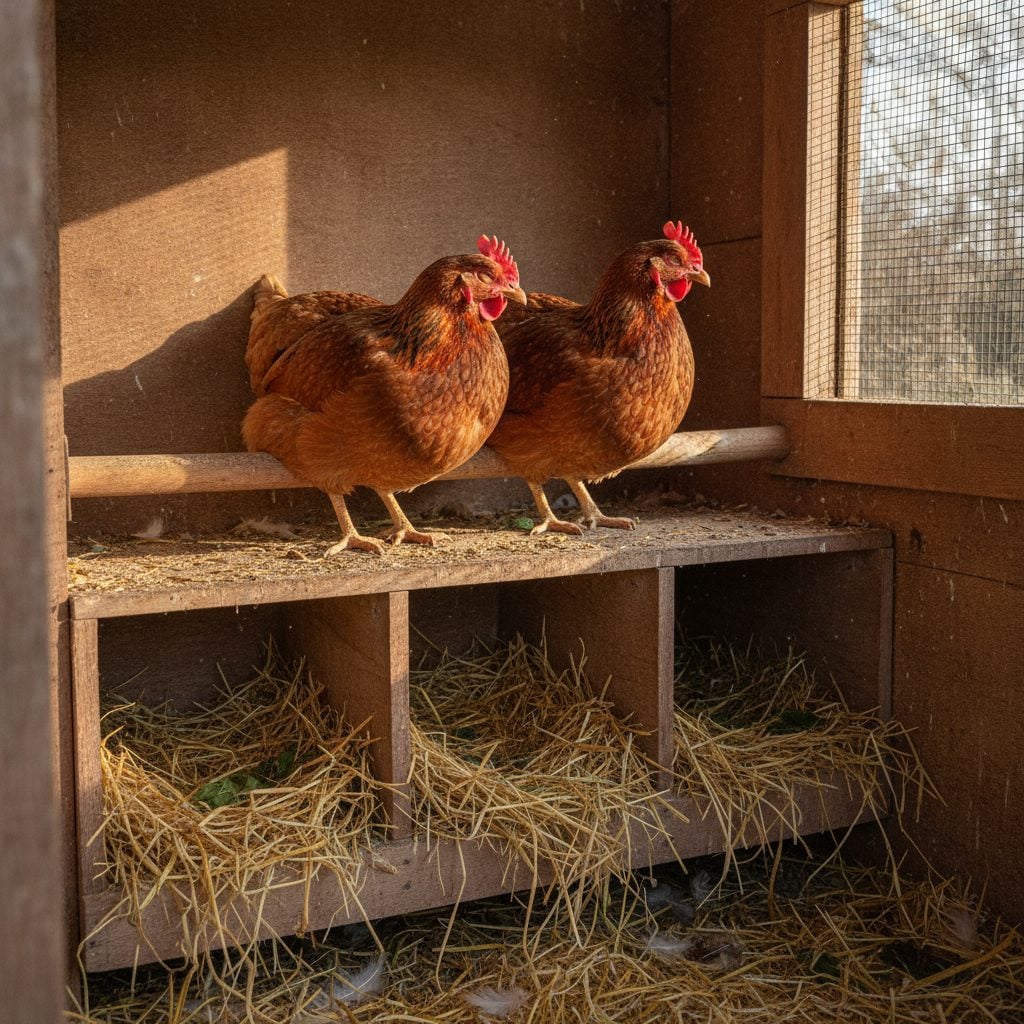
- Nesting boxes. 12x12x12 inches each. 1 box per 3 to 4 hens. Mount lower than roosts. Front opening for egg collection from outside is a nice add.
- Roost bars. 2×2 inch lumber with rounded edges. 8 to 10 inches of roost length per bird. Higher than nesting boxes (chickens prefer to roost above their nesting spots).
- Ventilation. Permanent venting at the top of walls (under the eaves) totaling about 1 sq ft per 10 sq ft of floor. NO drafts at roost level.
- Predator-proof latches. Two-step latches on doors and nesting boxes. Raccoons can open simple slide latches.
Shed-to-Coop Conversion: Full Step-by-Step (Detail)
Below are the original step-by-step sections covering structure types, ground-up prep, chicken door, latch replacement, nesting boxes, roosts, windows, and vents.
Start From The Ground Up
First, you’ll need to move everything out of the building. Sweep the floor clean and remove any pieces of wire, string or rubber, along with any loose screws, nails, or other debris. Chickens will eat anything and are especially attracted to shiny things. It’s also important to check the area outside the building and rake any odds and ends you find in the grass into the trash.
Your chicken coop will need a solid floor so predators like skunks, dog, or fox can’t dig in from underneath. If the building has a dirt floor that’s easily breached from underneath by digging predators, simply lie some wooden pallets on top of the dirt and then cover them with sheets of plywood. Screw the plywood in place using 1×1 boards or furring strips to secure it.
This will prevent your floor from rotting and also prevent predators from gaining access. A sheet of inexpensive vinyl flooring on top of the plywood makes for easy cleanup and prevents mites and other parasites from burrowing into the wooden floor. Add a nice layer of pine shavings or straw, and your coop now has a nice secure floor covering with nice soft bedding material.
As far as floor space in your coop goes, you’ll want to allow for 3-4 square feet per chicken.
Little Chicken Door
In addition to the regular “human-sized” door in your coop, you’ll likely also want a smaller “chicken-sized” doorway for your flock to use to access their pen. The chicken door is usually located on one side wall of the coop and can simply be a hole cut through the wall, measuring 12” x 12” or similar in size.

Keep the piece of plywood you cut out, attach hinges to one side, and position it over the hole you cut to make a basic door that can be locked at night to keep your chickens safe. You’ll also need to install a predator-proof latch on the door that a wily raccoon can’t open. A latch with a carabiner or a locking eye hook is a good choice.
Alternatively, you can install an automatic solar- or battery-powered chicken door that will open at sunrise and close at sunset. Automatic doors are available commercially from various companies.
Replace the Front Door Latch
You’ll also need to add a latch on the front door of your coop that a raccoon can’t open, assuming there isn’t one already. So again, an eye hook with a spring-loaded latch, a deadbolt secured with a carabiner, a padlock or other type of predator-proof latch is a must.
Nesting Boxes
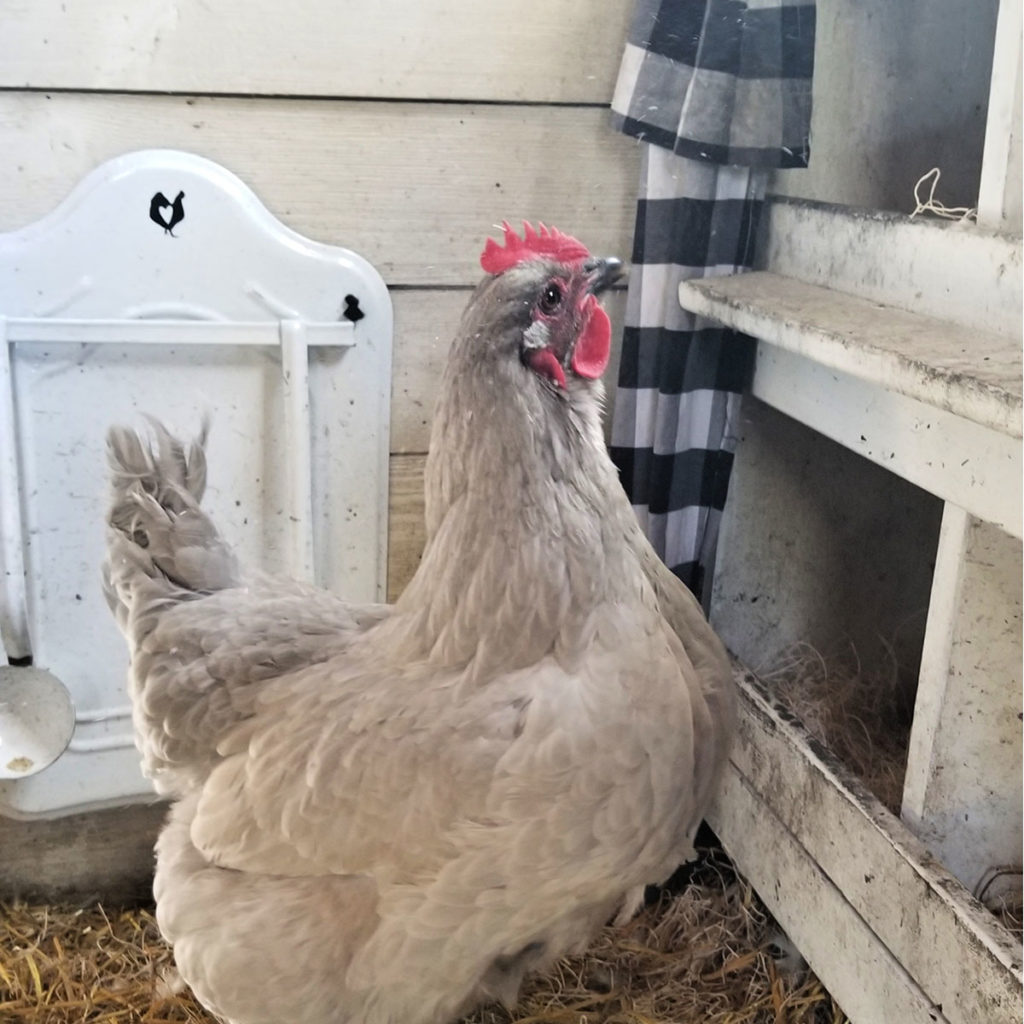
Next, you’ll need to set up a place for your chickens to lay their eggs. Nesting boxes should be about 12” x 12” and filled with nice soft bedding such as pine shavings, straw or a nesting pad. They can be set at ground level, or raised off the ground a bit to make egg collecting a little easier.
If you’re handy, you can build a row of wooden boxes and screw them into one wall of the coop, otherwise, consider repurposing 5-gallon plastic buckets, storage totes, kitty litter boxes, or wooden crates set on their sides and secured.
Place some fake eggs, golf balls or even stones in each of the boxes to entice your chickens to lay their eggs in them.
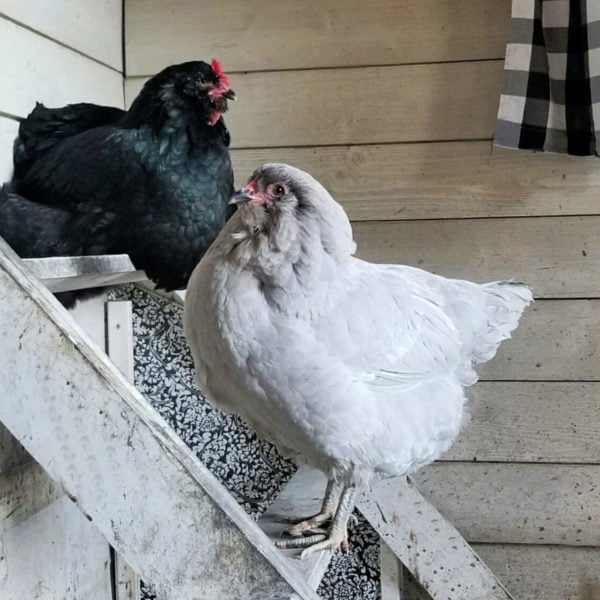
Roosting Bars
Next, you’ll need to build roosts for your chickens to sleep on. Chickens naturally seek the highest ground they can to sleep, so to avoid them sleeping in their nesting boxes (which need to stay clean for them to lay eggs in), be sure you position the top roosting bars higher than the boxes.
Staggering the roosts in a laddered design makes it possible for the chickens to hop from one roost to the next to get up or down. You should allow for a minimum of eight inches roosting bar per hen.
The easiest way to build roosting bars is to use 2 x 4 boards. With the 4-inch side facing up, secure the boards to the back or side wall of your coop.
Angling the roosting bars allows for more chickens to fit. Construct a slanted ladder with the steps about 15” apart so that your chickens can roost one row above the other without pooping on each other when the roost is leaned up against the wall.
Alternatively, you can lean a few wooden ladders against the wall for your chickens to roost on. Be sure to secure them to the wall so they stay in place. Metal ladders are okay in the warmer climates, but would be too cold in northern areas in the winter.
Windows
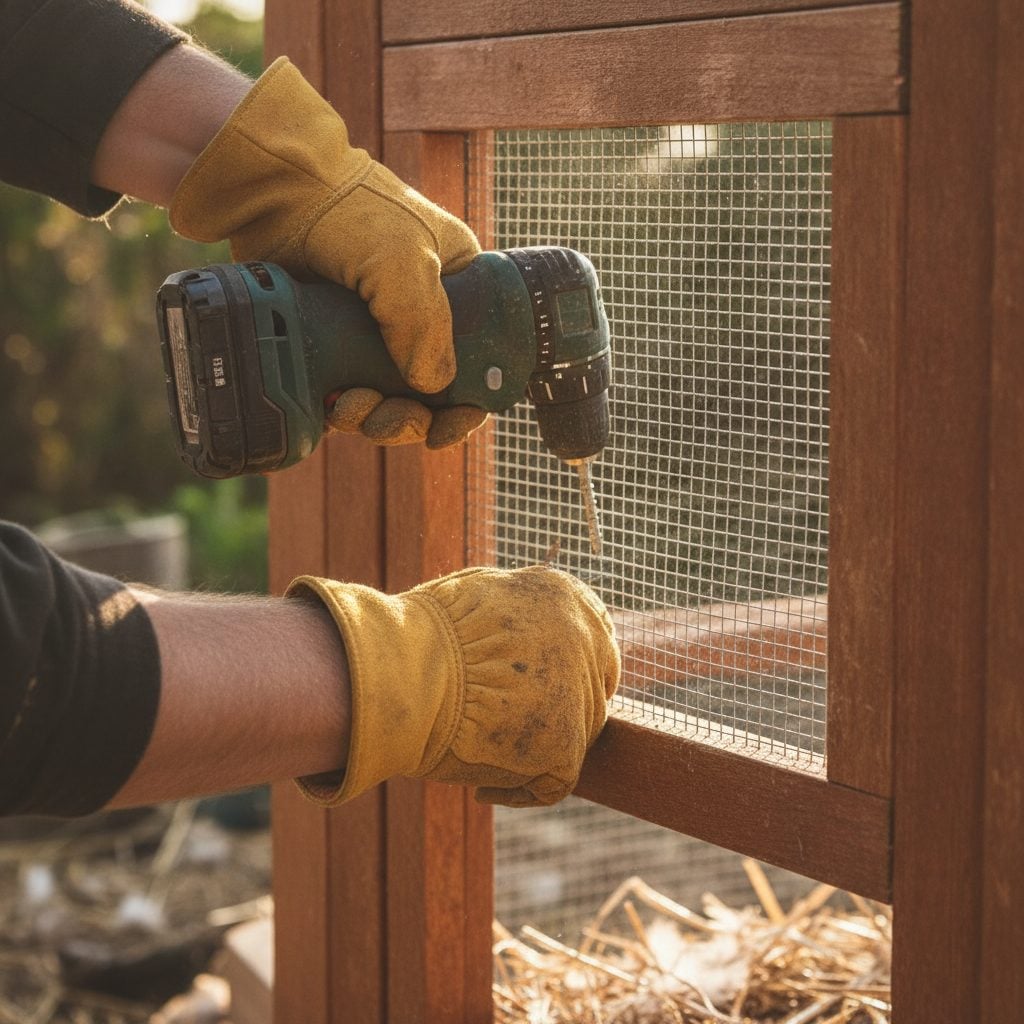
It’s likely that your structure already has windows. It’s very important that a chicken coop has good ventilation. At least 1/5th of the total wall area should be doors, windows or vents. It’s also unlikely that the windows are predator-proof, so you’ll need to cover the windows with ½” or ¼” welded wire even if the windows have screens in them. The welded wire will keep even the smallest predators like weasels, snakes, and mice out of your coop.
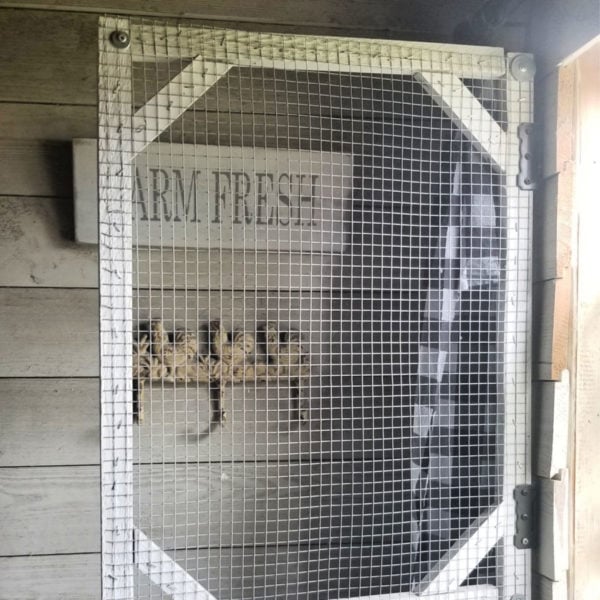
You can staple the welded wire up, but securing it at the corners with a screw and washer is a good idea because raccoons are strong and can easily rip wire down.
If your structure doesn’t have any windows, then simply cut openings in the wall, ideally above the level of the top roosting bars so your chickens don’t get a draft while they sleep, and cover them with the welded wire. In warmer climates you can leave the windows open year round, while in colder climates you’ll want to close the windows in the winter.
Vents
In addition to windows, you will need vents in your chicken coop. It’s important to have good cross ventilation in the coop to allow fresh air to flow in and ammonia fumes from the chicken manure to escape. The vents should be right up under the eaves of your coop, ideally one each wall, and again covered with welded wire. They don’t need to be large–just 4×8 or so is adequate–but should stay open year-round. In lieu of covering the vents with welded wire, metal floor grates screwed over the vent holes will work well also.
Lastly, check every inch of the structure for any holes larger than an inch and close them up to be sure nothing can get into your coop. Once you’ve done that, you’re ready to introduce your flock of backyard chickens to their new home!


Shed-to-Coop Conversion FAQ
How many chickens can I keep in a shed?
Per UMN Extension, 4 sq ft per bird is the minimum standard for indoor coop space, plus 8 to 10 sq ft per bird outdoor run. An 8×10 ft shed (80 sq ft) houses up to 20 birds with proper run access. A 6×8 ft shed houses up to 12. More space always works better than less.
Do I need to insulate a shed-coop?
Generally no, even in cold climates. Chickens tolerate cold well; they handle damp poorly. Insulation can trap moisture and create the conditions for frostbite and respiratory disease. Permanent top-of-wall ventilation is more important than insulation.
What is the best floor for a chicken coop?
Sealed concrete is the gold standard (easy to clean, predator-proof, durable). Wood floors are fine if sealed with linoleum or epoxy. Dirt floors are workable for very small flocks but harder to clean and offer predator-tunneling risk.
How do I predator-proof a chicken coop?
Three layers. Hardware cloth (1/4 inch mesh, NOT chicken wire) on all openings including ventilation vents. Two-step latches on all doors. An underground apron of hardware cloth extending 18 inches out from the base of the run prevents digging predators (raccoons, dogs, foxes).
How often do you clean a chicken coop?
Deep clean monthly. Spot-clean the droppings board (under the roosts) weekly. Replace bedding when it gets damp or smells. Some keepers use the deep-litter method (continuously add fresh bedding on top through winter, full clean-out once a year).
Can I keep chickens in the suburbs?
Most US suburbs allow 4 to 6 hens (no roosters) under residential zoning. Some require a permit, some require coop setbacks from property lines. Check with your city before you build.


Lisa Steele
Lisa Steele is an author and 5th generation chicken keeper who shares a farm in Maine with her husband, mixed flock of chickens and ducks, two dogs, and a cat. She writes the natural chicken keeping blog Fresh Eggs Daily. Visit www.FreshEggsDaily.com.
- Lisa Steele

- Lisa Steele
- Lisa Steele