Trench Composting With Kitchen Scraps
Known as the "lazy man's" method" of composting, trench composting may be just what you're looking for. We've got the basics and start getting nutrients into your garden soil!
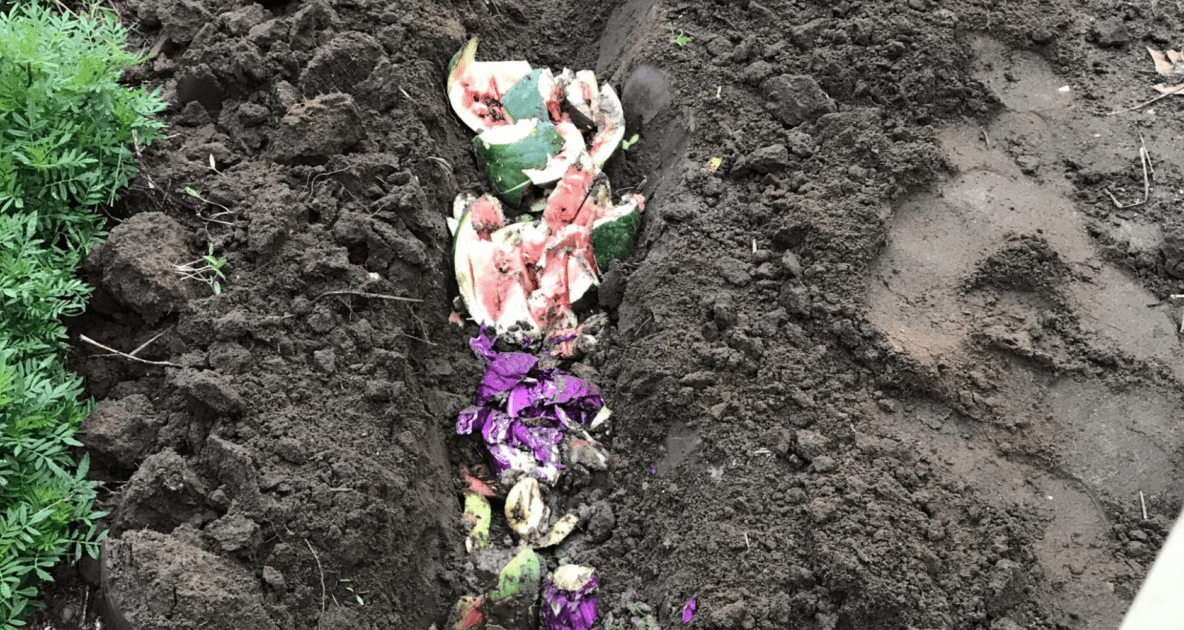
While plenty of gardeners have dabbled with composting to some extent, achieving that sought after “black gold”—rich, nutrient-dense soil—is every gardener’s holy grail. But not everyone with a green thumb knows that there are a variety of ways to compost. If you don’t like having a constant pile of compost “cooking” in your backyard, trench composting may be just what you’re looking for.
Trench Composting: The “Lazy Man’s” Method
Trench composting is known as the “lazy man’s” method of composting because you’re burying your kitchen scraps directly into the soil, right in the garden. This hassle-free method is an easy way to enrich your soil without the odors, turning and watering, and the unsightly view of a large compost bucket or pile in your backyard.
While this method may be new to you, trench composting is far from a new method. In fact, it has been used to enrich soil by almost every civilization for thousands of years. In fact, when Native Americans buried fish under their mounds of corn, they were trench composting.
Why Choose Trench Composting?
Burying organic waste and waiting for it to decompose to add nutrients back to the soil creates an underground band of nutrients for your plants. It is one of the easiest ways to utilize your waste while returning organic material back to your soil. Your plants also get the nutrients they need without the hassle of aerating and sifting like you have to do with other compost methods.
Best of all, your pile of disintegrating kitchen scraps is out of sight and can fit just about anywhere you have diggable dirt. There are no wafting odors emanating from your decaying matter and, if buried correctly, it won’t attract vermin like other compost techniques sometimes can.
Trench Composting Methods
The term “trench” is used loosely, as it is basically digging a hole, filling it with kitchen scraps and garden waste, then filling it back up with soil. There are multiple ways you can effectively use this type of composting. The one you choose depends on what time of year it is and what type of gardens you have.
1. Dig and Drop Method
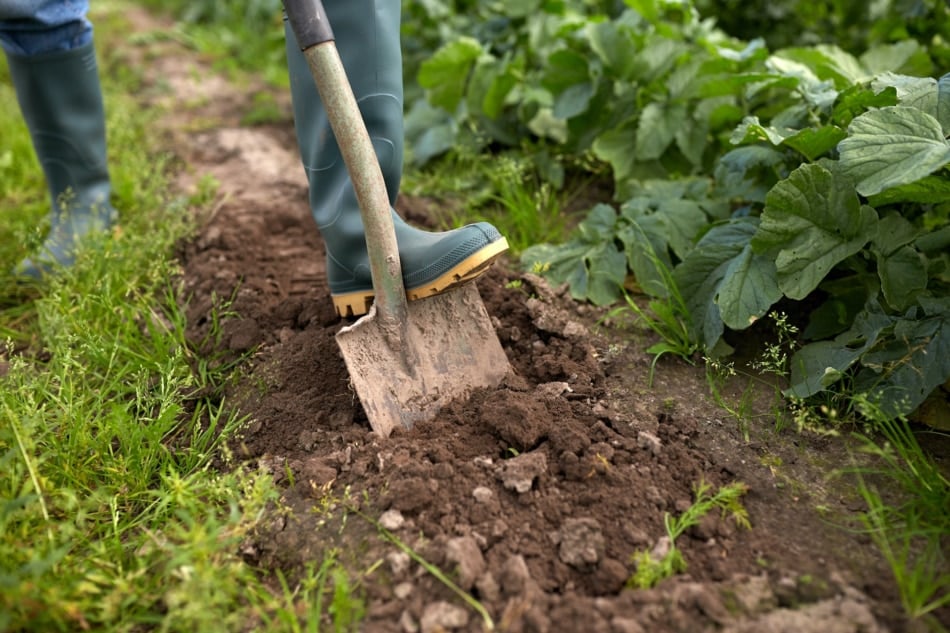
This is the simplest method of trench composting. It is a great way to compost large amounts of material at once, and an effective way of adding nutrients to your garden off-season. First, gather a week or two’s worth of scraps in a five-gallon bucket or composting pail. Dig a hole roughly 12 inches deep and wide enough to bury whatever scraps you have collected, dump in 4-6 inches of compostable material, and cover it back up with dirt.
Within a few months, the composting material will have broken down and enriched your soil with no extra work from you. Not sure what to do with your leaves in the fall? This method also works well. Simply bury them around your garden or flower beds. Mowing them up first will help them decompose quicker.
2. Trench Between Rows/Side Dress Method
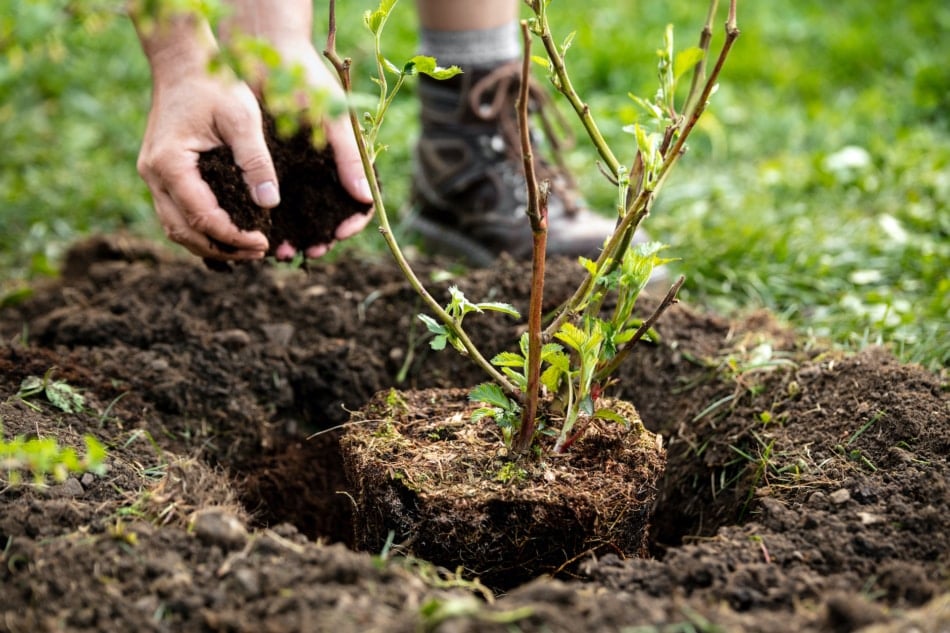
These methods are effective during your growing season. It fertilizes and adds nutrients to existing plants. Simply dig holes or trenches a few inches out from the roots of your vegetable or flower plants and bury your everyday compostable material. As it breaks down, it will feed extra nutrients to the plants nearby as they grow. Used coffee grounds (filter and all) are an especially great side dressing for plants, providing extra nitrogen and improving soil structure. Crushed eggshells add a boost of calcium as they break down, great for preventing blossom end rot in tomatoes and peppers. If trenching between rows, be sure to plant rows far enough apart so that you don’t harm roots while digging.
3. Trench Rotation Method
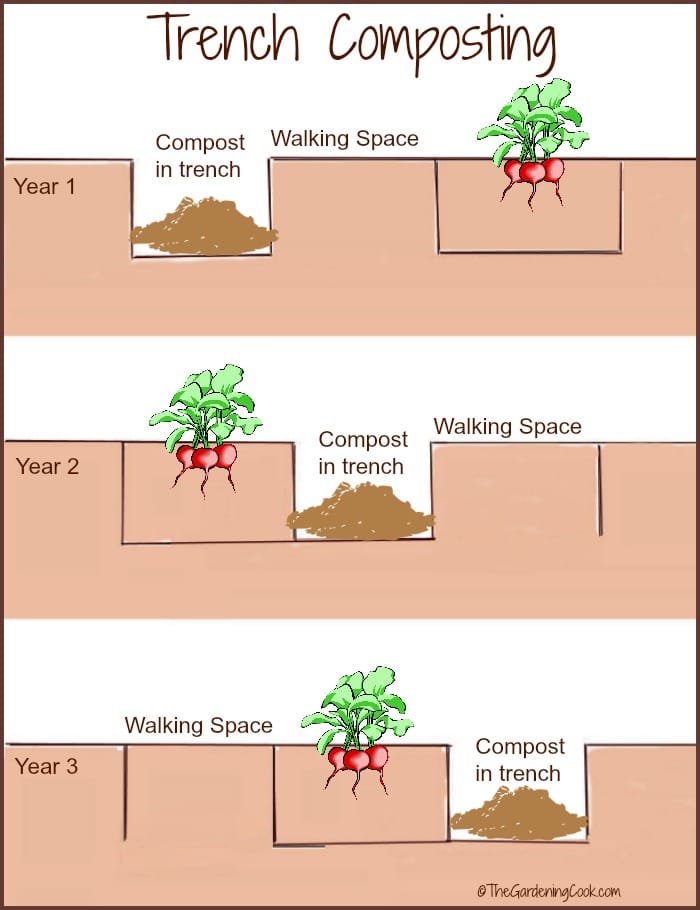
This is another great way to incorporate organic matter into your garden’s soil while it’s growing. First, divide your garden into three zones: trench composting zone, pathway zone (where you’ll walk), and growing zone. Each year you rotate your zones, moving your trench zone to a different part of your garden, while also shifting your pathway and growing zones as well. After three years, you will have compost under every part of your garden. Just keep rotating and nourishing your soil.
Here’s What You Can Add To Your Trench
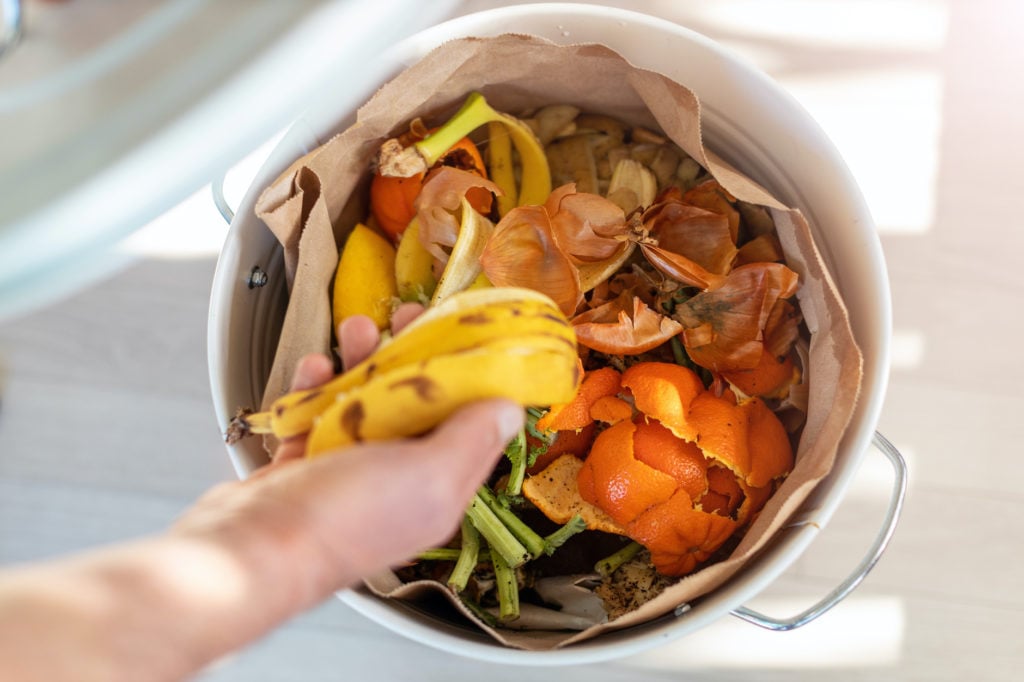
As with regular bin composting, trench composting is the perfect way to dispose of organic kitchen waste, including these items:
- Kitchen Scraps such as fruit and vegetable scraps, coffee grounds, and eggshells.
- Grass Clippings: Leave an open space in your garden to bury grass clippings this summer. Rotate your spot each year to help nourish your soil.
- Fall Leaves: Raked up and mowed leaves can also go in your trench compost. As with bin composting, leaves are considered “brown,” so it is helpful to balance them with some “green” so that all of the nitrogen in your soil isn’t taken up to help decompose the leaves. If you do add leaves in the fall, simply cover the leaves with other nitrogen rich items, such as grass clippings, vegetable waste, and coffee grounds.
- Surprise! Tea bags, cotton or wool rags, dryer lint, fireplace ash, hair, and animal fur—all can be added to your trench compost.
Here’s What You Can’t Add To Your Trench
As with any composting, with the exception of Bokashi composting, there are a few things you will want to avoid throwing in your trench compost.
- Animal Waste: In order to avoid the risk of pathogen spread, animal feces should not be planted within ten feet of any edible crops. It can be used, however, in trenches along ornamental gardens or in landscaped areas of your yard as long as it stays buried and can’t be dug up by young children.
- Diseased Plant Material: If you suspect any plant of having a disease, you will want to avoid tossing that in your compost. Unlike pile composting, trench composting produces very little heat and is not very effective at destroying pathogens. You don’t want to risk spreading the problem.
- Weeds with Seeds: If a weed has gone to seed, leave it out. After all, you don’t want to be putting weeds back into your garden (we spend enough time pulling them out)!
- Vegetable Seeds: While these seeds are friendly seeds, you don’t want vegetables to sprout where they aren’t intended. Try and avoid tossing veggie seeds in with your scraps, particularly tomato seeds.
- Wood: Sticks, branches, and wood chips, while organic, often take way too long to decompose, robbing your soil of nitrogen in the process. Also, avoid adding commercial-grade lumber to your pile, as it is usually chemically treated.
- Certain Paper: While newspaper and brown bags can enhance your soil, avoid magazine and catalog paper as these are often made with toxic materials.
- Used Cooking Oil and Fat: Fats and grease don’t easily breakdown and can also coat other materials, slowing decomposition.
- Meat and Dairy: The jury is still out as to whether you can bury meat and dairy in your trench compost piles. With the food buried directly into your garden, you won’t have to worry about unpleasant stenches coming from the quickly decaying products, however it is still possible to attract vermin and other unwanted pests from digging up your garden. While some gardeners use trenches to compost meat and dairy, if your gardens are near your house, it is probably best to err on the side of caution and leave them out.
- Inorganic Materials: For obvious reasons, you’ll want to avoid adding any inorganic materials to our trenches. Plastics, cleaning solutions, fertilizers, and pesticides can all transfer toxins to your soil and ultimately into whatever you grow.
Trench Composting Tips
- If you wish, you can line your trenches with newspaper to help retain water.
- The more shredded the material, the more quickly it will decompose.
- While you can trench compost all year, even during growing season, fall is a great time to amp up your digging. After you have harvested most of your plants, you will have plenty of room to dig large holes or trenches to fill with leaves, organic kitchen waste, and grass clippings. Fill your hole before the ground freezes, leaving all that nutritious waste to decompose over winter leaving you with better soil come spring!
The Downside of Trench Composting
Some common drawbacks of trench composting are that you have to dig holes and cover them with dirt every time you bury your kitchen waste, which isn’t for everyone. Those holes cannot be refilled until everything you have buried has decomposed or you will create a big mess digging it back up.
While trench composting is a great way to add nutrients to your soil in the off-season, once the ground freezes, digging holes can be tricky. Also, because there is little aeration in trench composting, items take longer to decompose than traditional compost piles. However, if you have the space and the time, trench composting is an inexpensive and easy way to create beautiful nutrient-rich soil for your plants.
Tell Us
Which method of composting do you swear by? Tell us in the comments below.

Natalie LaVolpe
Natalie LaVolpe is a freelance writer and former special education teacher. She is dedicated to healthy living through body and mind. She currently resides on Long Island, New York, with her husband, children, and dog.


Just saw an article where folks were praising the Johnson Wu method to make compost. Many measurements, lot of stuff to buy at hardware store, specific ingredients & methods of making pile, etc. The method I use of: store kitchen waste in plastic can, dig trench and pile soil nearby, shovel stored wastes into trench, cover with excavated soil, wait 6 weeks for earthworms to eat and poop it all out sure seems much simpler.
Yes, that does seem significantly easier (which will usually be our vote for best choice!)
We live in a region that usually does not get ground freezes but sometimes close which slows down my compost bin. If I notice it’s going slow, I’ll take as much of the slow stuff out as I’m willing to work with and trench compost it til the end of winter. Works like a charm and usually has something of a head start having been in the compost bin for a while to get started.
Trench composting. I save kitchen waste in a small bin in the pantry. No meat/grease/oil/cooked food, etc. When it is full, I empty it outside in a large plastic bin and layer it with browns, maybe 1/2″. I have a small garden 12′ x 4′ and I rotate two 12′ x 2′ sections. After I harvest 1 section, I dig a 12′ x 8″ trench and layer the collected waste in the bottom, and then cover with the soil I dug out to make the trench. Do not compact! Cover soil is 5-6′ and no pests. Earthworms love it–it’s their Earthworm Cafe–a 24/7 buffet! Six weeks later, the only things you can recognize are eggshells. I have been doing this for 3 years after we moved. I do have a problem–my tomato plants have taken over my garden.
Sounds like a terrible problem to have! Thank you for sharing how you compost – and we’re happy to hear that it works so well for you!
I had been planting 8 tomato plants in a line in my small garden for a few years. All was OK. In 2022, the plants were outgrowing the cages, so this year–2024–I planted only 6 plants. Trench composting has made the soil so rich that I used long wooden stakes/strings to “contain” the plants. The 6 plants are more crowded than the 8 plants of last year! I cannot enlarge the garden, but I will control those tomato plants at all costs. I will plant only 5 next year.
It’s my understanding that dryer lint is full of microplastics and should never be used the way you’re recommending here. It should also never be given to birds and squirrels as nesting materials for the same reason.
The squirrels dig up my trenches, I just rebury them and go about my business…
I have a big problem with ants getting into my compost. I have tried the the cat composting with single small holes and it didn’t seem to attract any but I wonder if this would?
We “trench” compost all year long (as long as the soil’s not frozen) using the dig and drop method. We don’t gather weeks worth of scraps, but instead compost as it’s created. Generally we use cereal bowls, sometimes small mixing bowls, and even plates to pile veggie and fruit peels from recipes and snacks, used tea bags, that half used zucchini that was forgotten in the back of the vegetable draw, etc. The bowls of compost then end up downstairs on the porch in our mini fridge, if not buried right away. To compost we simply go out into the garden, pick a spot that wasn’t recently used, dig just deep enough that it won’t be dug up, empty the bowl(s) of compost, and rebury. Sometimes more than one hole will be dug, as we have multiple gardens spread around the yard, to give each a little love.
Great information! Thanks for going deeper in explaining how to, and more than one way, to compost. While in no way an expert, I’ve been composting for years. Because my soil is mostly clay I have a limited garden area where I have amended the clay with many of the items you suggest. Therefore bin composting (on top of the clay beside the garden) has been the only method that I am able to use.
I like your list of “what you can’t add to your compost”. When I find myself explaining to others how they can compost it is sometimes easier when I tell them: 1) check if it is organic, and 2) I tell them the “don’t add” items.
Regarding your list of items not to add, I like that you included woods, I can’t believe how little this is mentioned by others. If you happen to have a chipper that does an excellent job shredding twigs, sticks and branches to small shavings they will decompose much faster, similar to dense leaves, but still no where near as fast as the kitchen scraps.
Also, dryer lint, I do not compost because it invariably contains synthetic fibers.
Thanks again!
Im not clear on when to cover the trench. If I read correctly, you said to place the compost in trench and then cover. In another area, I think I read to NOT cover the compost trench until all compost is decomposed. I like the idea of burying the compost so rodents nor deer get into my gardens. ALSO, I’m starting to use grow bags to accommodate my age and health limitations. I’m very hopeful this will work. I’m thinking of burying the compost in the bags along with dried crushed leaves and kitchen fertilizer earthworms and some soil. Please advise. I LOVE gardening and am hopeful I can continue to grow herbs and vegetables. Please advise
I started trench composting about a year ago. I keep a compost container next to my kitchen sink for coffee and tea grounds, egg shells and vegetable scraps. It’s so easy to just go out and dig a hole, dump it in and cover it back up with the soil. I never got into regular composting as it sounded to complicated to me! I’ve also added worm castings a few times. I have clay soil so this has been very helpful. Thanks for your post!