Easy Ways to Preserve Summer’s Bounty
Learn how to enjoy fresh foods all year-long and save money while doing so!
In the summertime, nothing is better than fresh food straight from your garden or the local farmers’ market. Wouldn’t it be great to have these delicious fruits and vegetables available year round? Well, you can. Save money and eat healthy, tasty meals all winter long by preserving those homegrown fruits and vegetables. It’s easier than you think!
Freezing
Freezing is a simple and convenient way to preserve food for several months. It slows food deterioration and stops the growth of bacteria. Food can be frozen in containers such as freezer bags (these are heavier duty than the thinner sandwich bags), plastic containers (butter tubs and whipped topping containers work well), canning jars, aluminum foil, or freezer paper. Remember — food expands as it freezes, so do not overfill containers.
Freezing Fruits
Prevent cut fruits such as apples, peaches, and pears from darkening by first soaking them in a commercial anti-darkening agent or make your own solution by combining one teaspoonful of lemon juice to one quart of water. For many fruits, it is best to add sugar or a sugar syrup (see recipe below) to enhance taste and help the fruit retain its color.
Sugar Syrup Recipe
Light Syrup: Boil 2 cups sugar and 4 cups water. Makes 5 cups syrup.
Medium Syrup: Boil 3 cups sugar and 4 cups water. Makes 5 ½ cups syrup.
Heavy Syrup: Boil 4 ¾ cups sugar and 4 cups water. Makes 6 ½ cups syrup.
Cool syrup, then pour over fruit before freezing.
Freezing Vegetables
Fresh vegetables must be blanched before freezing. Blanching involves submerging vegetables into boiling water for a short period of time, then immersing them into cold water to stop the cooking process. Blanching kills enzymes that age the produce, resulting in fresher tasting food.
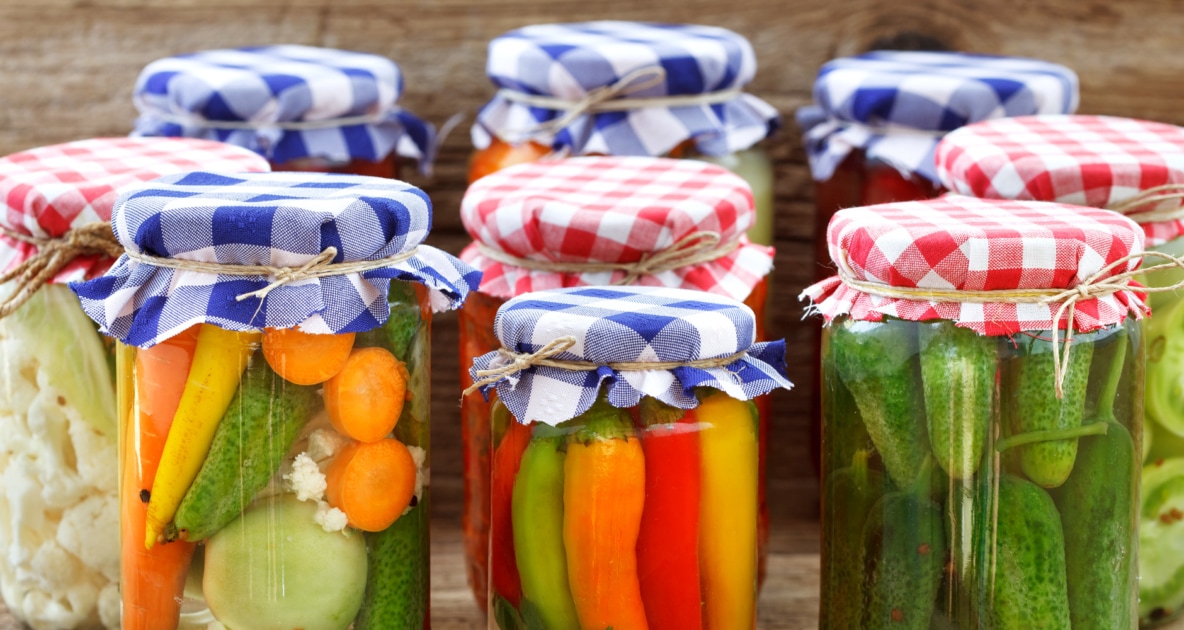
Home Canning
Home canning is another great way to preserve food. With canning, the food is placed in jars and is heated to a specific temperature in which food-spoiling germs are killed. This heat forces the air out of the jar, sealing it once it cools. Since bacteria cannot enter a sealed jar, the food can be preserved for a number of years.
There are two types of canners: a boiling-water canner and a pressure canner. The boiling-water canner is a huge pot in which jars can be covered with boiling water. This type of canner cannot reach temperatures high enough to completely kill all bacteria in jars no matter how long they are boiled, so this method is used primarily for canning fruits and pickles since they contain natural acids that will prevent growth of bacteria.
Vegetables are more safely canned in a pressure canner where higher temperatures can be reached through the use of its tightly locking lid that holds steam inside the pot. A modern day pressure canner has a safety valve that will pop off if the pressure becomes too great, so do not worry about the unit exploding. However, precautions must still be taken. Never open the canner until it is fully depressurized. Once all pressure is released, open the lid away from your face so as not to be burnt by the release of steam.
What You Will Need for Canning:
- Canning Jars — Canning jars are made with thicker glass than standard jars to prevent breakage at high temperatures. Jars are available in different sizes and can be purchased by the dozen or found at garage sales.
- Lids and Bands — Lids and bands should fit the jars perfectly in order to obtain a good seal. Lids (or “flats”) should always be purchased new and must never be reused, as they may not seal properly a second time. Bands (or “rings”) may be washed and used again as long as they remain in good condition.
- Canning Salt — Canning salt is optional and enhances the flavor of the vegetables. Do not use regular table salt as this will result in soggy vegetables.
Canning Tips
- Be sure jar rims are not chipped, nicked, or cracked, as this will prevent the lid from sealing.
- Do not fill jars to the top. Leave headspace so food will have room to expand while cooking.
- Remove air bubbles from the jar by sliding a plastic spatula between the food and sides of the jar. Releasing air bubbles will help ensure food stays covered in liquid.
- Wipe off food debris or salt from rims of jars so sealing will not be hindered.
- Before placing lids on jars, first heat them by simmering (not boiling) in hot water. Let lids sit in the hot water until ready to use. Any remaining bacteria will be killed during canning.
- Check jar seals within 24 hours of processing. Any jars that did not seal properly should be reprocessed (using a clean jar and new lid) within one day, or else the food should be refrigerated and eaten within several days.
- Thoroughly read all operating and safety instructions that come with your canner.
Now that you are armed with knowledge on how to preserve that delicious summer bounty, go ahead and plant those extra veggies or buy an extra bushel of fruit at the farmers’ market. When wintertime comes, you’ll be eating garden fresh!

This article was published by the staff at Farmers' Almanac. Do you have a question or an idea for an article? Contact us!
- Farmers' Almanac Staffhttps://www.farmersalmanac.com/author/fa-admin

- Farmers' Almanac Staffhttps://www.farmersalmanac.com/author/fa-admin
- Farmers' Almanac Staffhttps://www.farmersalmanac.com/author/fa-admin

- Farmers' Almanac Staffhttps://www.farmersalmanac.com/author/fa-admin