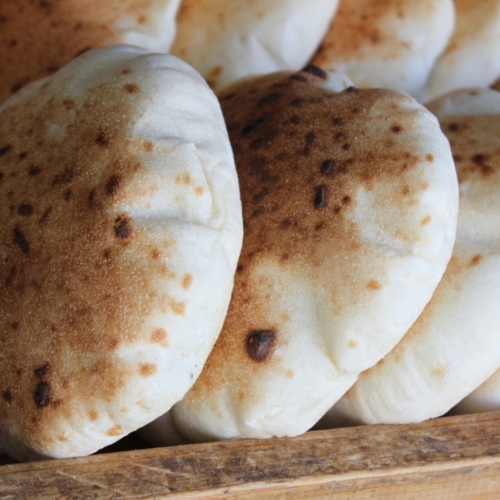
Make Your Own Pita Bread!
Warm, homemade pita is superior over store-bought, which can be loaded with preservatives. Try our recipe -- no oven needed!
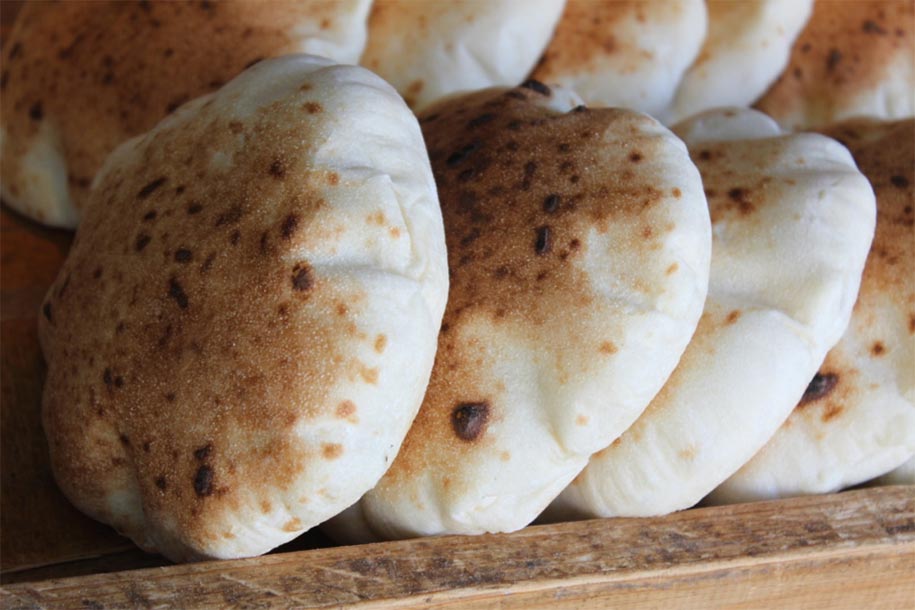
Pita bread is a wonderful alternative to ordinary sliced bread. It’s a top choice for sandwiches because it makes your lunch versatile and portable, with all the goodies stuffed in the pocket, but it’s great for dipping, creating pizzas, and much more. However, pita bread is one of those foods that no matter what you do, the store-bought version is never as good as homemade. Good pita bread should be flavorful, warm, soft, and chewy. Besides the taste difference, homemade pita will be void of the preservatives you find in most of the breads on your local store shelves. And it’s fun to make.
Save some money and eat healthier with this tasty recipe, no baking necessary!
Pita Bread
Ingredients
- 6 cups bread flour
- 2 1/2 tsp salt
- 2 tablespoons sugar
- 1/3 cup plain yogurt
- 2 packets rapid rise yeast
- 2 1/2 cups lukewarm water
- 1/4 cup olive oil, plus more to coat dough
Instructions
- Directions:Place dry ingredients in bowl of stand mixer* and whisk together briefly, with a hand whisk. Then, install the bowl into the mixer, and using the dough hook attachment, turn the mixer on low and add yogurt, oil, and water. Mix about 6 minutes until a smooth, soft dough forms. You may have to stop the mixer at intervals and push the dough down off the hook.Turn the dough out onto a work surface and form into a smooth ball. Put 1 tsp of oil in the bowl, and roll the dough around to lightly coat. Place bowl in a warm spot covered with a plate and a kitchen towel. Allow dough to rise until a bit more than double in size, about 1-2 hours.Turn dough out onto a work surface and punch down and squeeze/knead into a log shape. Dough should be smooth and elastic. Divide this into 8 or 16 equal pieces, depending on the desired size of the loaves.Form each piece into a smooth ball by gathering edges and bringing them to the center, pinching and squeezing as you go. Set the dough balls, smooth side up, on the board. Brush lightly with oil and cover with plastic wrap. Allow to rest for 1/2 hour.Lightly flour an area of your work surface, and one by one, flatten the balls into disks using fingertips and the heel of your hand.Preheat a large cast-iron skillet on the stovetop over medium-, to medium-high heat.Then lightly flour the top of each disk, and roll with a rolling pin to about 1/4″ thick and about 4- 6″ around. You can roll a bit bigger than you need, the dough will contract. Let the rolled out loaves rest again briefly, while the skillet heats.Wipe the skillet with a little oil on a paper towel before the first loaf, and between loaves to clear any residual flour from the skillet as you make them.Stretch each loaf a bit by hand, slapping off any excess flour between your hands, and lay the loaf flat in the hot skillet. Wait about 30 seconds and flip. There should be just a few small speckles of brown. Wait another 30 seconds and flip again. This time wait until the loaf rises to about 3/4″ thickness, flip again. Be careful not to overbrown — if you see black your pan is too hot.As each loaf cooks, allow the internal steam to create the pocket. You may have to flip again, maybe not. Usually one area will bubble up, and you press on this area with your spatula, gently, to coax the steam toward the unrisen areas, to inflate them. When the whole loaf puffs up like a balloon, wait a few seconds, then remove the pita onto a pan or rack to cool and deflate. No pocket is forming? No worries — you now have a warm, delicious loaf of flatbread. Best if eaten while still warm.Store any leftover loaves in the freezer. Just allow them to cool completely, then store in a zipper-top bag. To reheat, simply wrap in foil and place in the oven or toaster oven for 10 minutes, or until hot, soft, and pliable. Your hummus, falafel, and gyros will thank you!*If you don’t have a stand mixer, use a large mixing bowl to combine ingredients. Knead the dough by hand in the age-old way on a lightly floured board, for about 5-7 minutes, before the first rise. The dough should feel smooth and elastic. Add more flour as needed to keep the dough from sticking to your hands or the work surface, but try to be sparing. It’s better to use too little than too much. After the rise, knead briefly by hand again and let the dough rest a bit before forming into loaves.


Edward Higgins
Edward Higgins is a freelance writer, artist, home chef, and avid fly fisherman who lives outside of Portland, Maine. He studied at Skidmore College and Harvard University. His article 10 Best Edible Insects appears in the 2020 Farmers' Almanac.
-
Edward Higgins#molongui-disabled-link

-
Edward Higgins#molongui-disabled-link
-
Edward Higgins#molongui-disabled-link
-
Edward Higgins#molongui-disabled-link


Please- UK translation? a “cup” means nothing to me!
Hi Sue, a cup is 128 grams.
I am on a very low salt diet, l leave out all the salt and use one packet of yeast because salt restricts yeast . The rest of it is pretty much the same and I have a bread l can eat. I have made it with half oat flour and it is a really nice nutty flavor.
Recipe sounds easy but all those steps makes it sound complicated
Do i have to use yogurt? I don’t like it. Any substitutions for yogurt? Thanks!
You don’t even taste the yogurt at all in the finished Pita. You can use sour cream as a similar substitute, works the same to bind ingredients together & adds moisture.
The pitas really only last a day or two at room temp. I usually make a full batch and immediately freeze the leftovers. Reheating is a snap, I just wrap one or two of the frozen loaves in foil and heat in the oven or toaster oven at 400° for 10 minutes or until piping hot.
This is one of the best recipes I have seen and so easy to make. I made a batch yesterday and they came out beautifully. One note: the Rapid Rise yeast does not require 1-2 hrs to rise. My dough doubled in under an hour. I also ended up using nearly 7 cups of flour in order to have a workable dough.
How long can they be stored at room temp? If we use them for lunches during the week will they be good?
Add the yeast with the rest of your dry ingredients at the beginning… 🙂
When do you add the yeast? do you add it with the flour or mix it with the water?
I made this tonight and it turned out great. A bit time consuming to cook all 18 at one time if you are using just one skillet, so make sure you plan your cooking time properly.
Isn’t there a little more condensed version of this??
When do you add the yeast? do you add it with the flour or mix it with the water?
Could this be made using the dough setting on a breadmaker?
Can this be made with whole wheat flour?
Hi Jeanne, Yes, absolutely. But for the best texture, try half white and half wheat flour.
My family LOVES pita’s i use them several times a week. I’ll have to try this recipe! Thanks!
I will have to make this.