Canning 101 – A Beginner’s Guide To Preserving Food
These expert tips will help you create shelf-stable food to stock your pantry with these two preserving methods. Learn which one you should be using for different kinds of foods.
This helpful and valuable step-by-step information comes from Angi Schneider, author and creator of the blog SchneiderPeeps where she shares tips on gardening, real food cooking, preserving food, herbalism, and more. She has written for Countrysideac magazine and participated in the “Beyond Off the Grid” summit. She is the author of Pressure Canning for Beginners and Beyond and The Ultimate Guide to Preserving Vegetables.
Why Can?
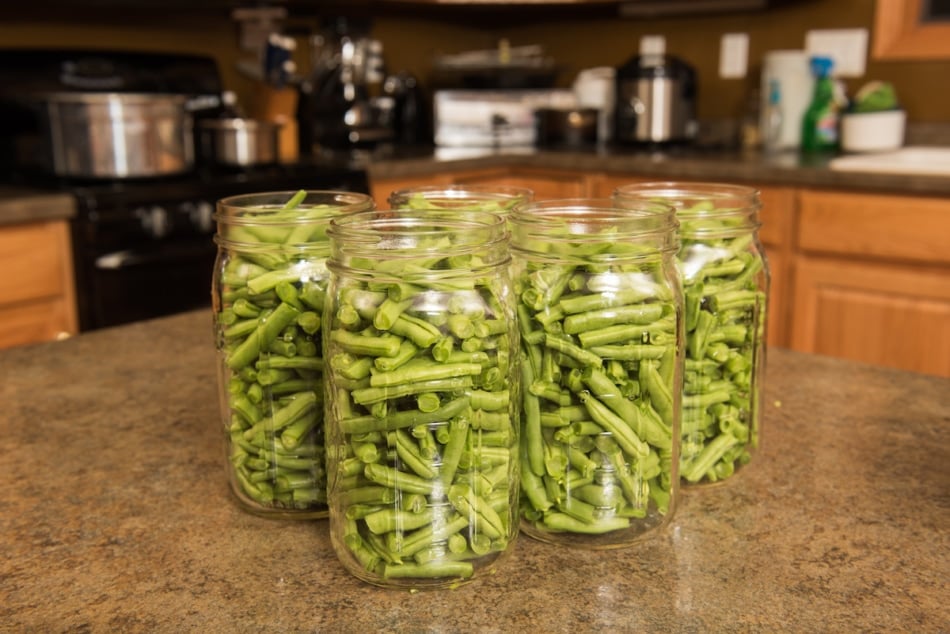
Canning is an incredible skill to possess and it stands out as the most versatile of all the preservation techniques. With canning, you have the power to transform an abundance of summer green beans and cucumbers into a delightful assortment of pickles and relishes that your family will absolutely adore. From tangy sour dills to delectable sweet gherkins, the possibilities are endless when it comes to canning. Alternatively, you can take the fruit you’ve gathered through foraging, harvested from your own garden, or purchased at the market, and craft delectable jams, jellies, and butters that are simply irresistible.
And when hunting season comes around, you can fill your pantry with shelf-stable jars of plain meat, yes, but also hearty soups and meals in jars. Truly the possibilities of canning are endless!
Canning—2 Popular Methods
There are two different canning methods—water bath canning and pressure canning. Here’s when and how to use each one.
1. Water Bath Canning
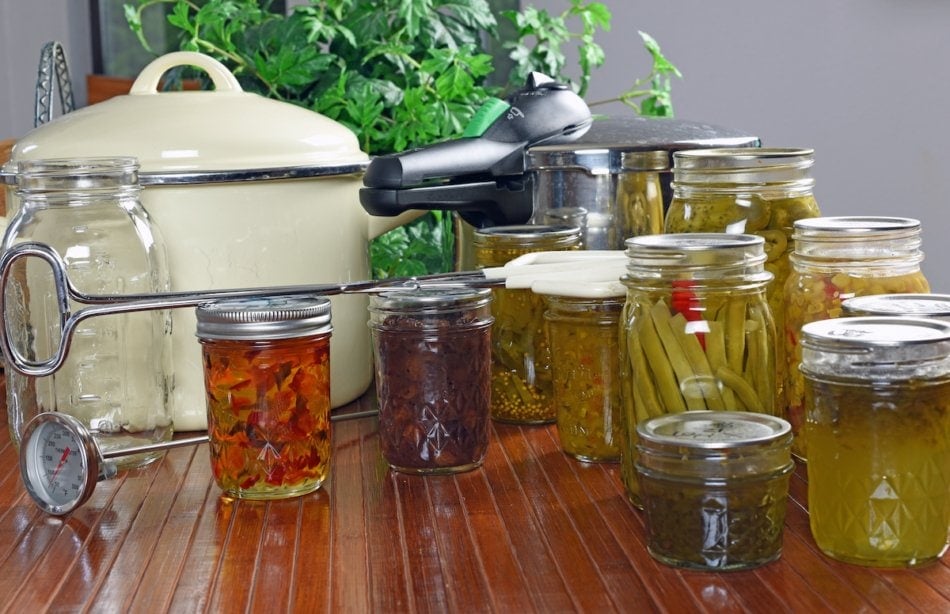
Water bath canning involves placing filled jars into a pot of water that completely covers them by at least one inch. The water is then brought to a boil, and the jars are boiled for the recommended processing time. During this process, the internal temperature of the jars reaches 212 degrees Fahrenheit, which is the boiling point of water.
● Most fruits (apples, pears, peaches, berries, citrus, etc.)
● Pickled vegetables
● Most BBQ sauces and salsas
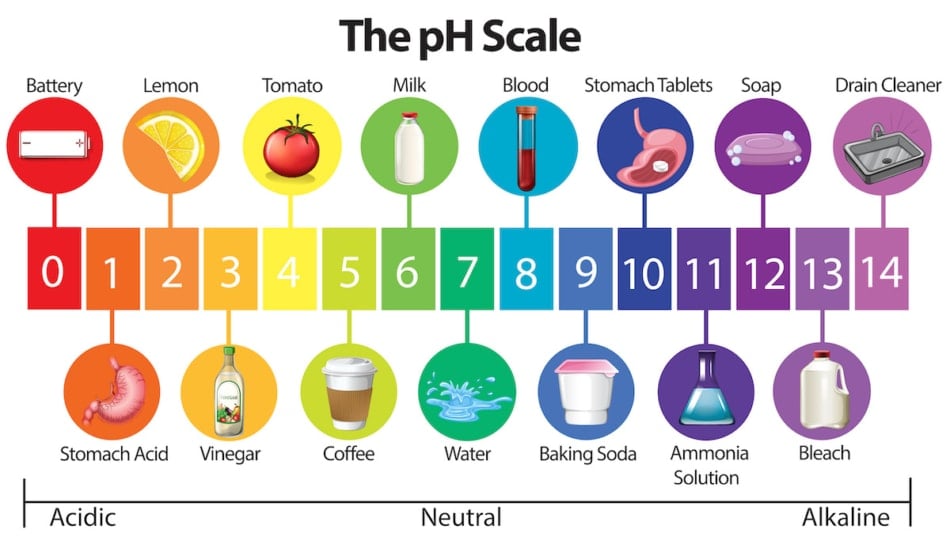
There are some fruits that are on the 4.6 line and those need to have additional acid, such as vinegar or lemon juice added to them to ensure they are safe for water bath canning. Those fruits are….
● Bananas* (see note, below)
● Dates
● Melons
● Persimmons
● Papaya
● Pineapple
● Tomatoes
*There is no scientifically tested process for home-canning banana on its own, even any recipes that call for “pressure canning.”
2. Pressure Canning
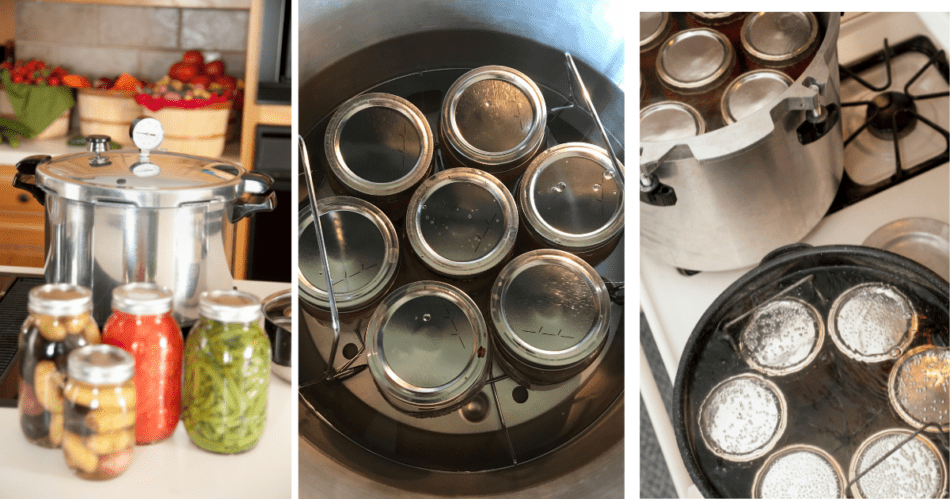
Pressure canning is performed by using a specialized pot that can be pressurized. Unlike a water bath canner that requires filling with water, a pressure canner only needs a few inches of water. The pot’s lid securely locks in place, creating an airtight seal. As the water is heated, steam builds up pressure, elevating the internal temperature above the boiling point of water. This step is crucial as it ensures that C. botulinum spores are effectively killed, as they require a temperature of 240 degrees F to be eliminated. This is precisely what a pressure canner is designed to achieve.
C. botulinum thrives in a moist, low-acid, anaerobic environment – precisely the conditions created when canning low-acid foods. Thus, it is vital to utilize a pressure canner for such foods and adhere to the latest guidelines. By doing so, you can confidently preserve low-acid foods at home. Examples of low-acid foods include…
● Vegetables (corn, carrots, green beans, etc.)
● Legumes (dried beans, lentils, peanuts)
● Meat (beef, lamb, pork)
● Poultry (chicken, turkey)
● Seafood (fish, oysters, clams, shrimp)
● Wild Game (venison, elk, hog, duck, etc.)
Preparing to Can
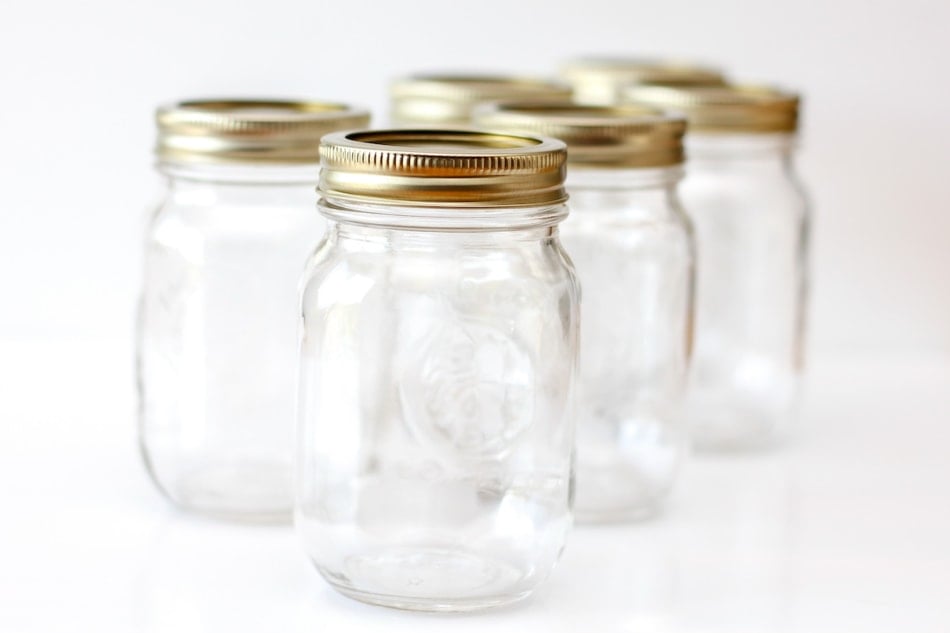
Step 1 – Start With An Approved Recipe
Always begin with an approved recipe and guidelines for the specific food you plan to can. While there are options to modify approved recipes for experimenting with flavors, it is crucial to first understand the guidelines for preserving the food.
Step 2 – Prepare Your Tools
Next, gather your canning tools and recipe ingredients. Clean the canner and rack with hot, soapy water. Place the canner on the stove over medium heat and add water. Fill a water bath canner up to 2/3 with water. A pressure canner usually requires more water, possibly 3 quarts. It’s best to refer to the instructions from the manufacturer of your pressure canner to determine the exact amount of water needed. The water does not need to reach boiling point, it is best to keep it just below boiling.
Step 3 – Clean
Wash the jars and lids in hot, soapy water. After washing, the jars need to stay hot to avoid thermal shock. A good place to put them while you work on the recipe is in the canner that’s being heated on the stove. The lids do not need to be kept hot, so set them aside until they’re needed.
Step 4 – Make Your Recipe
Follow the recipe to make the jar contents. When the recipe is complete, remove the jars from the canner and place them on a towel on the counter near the stove.
Step 5 – Fill Your Jars
Ladle the contents into the jars ensuring the recommended headspace. Remove any bubbles using a bubble removal tool and double-check the headspace. If the headspace is excessive, add more to the jars. If the recipe doesn’t yield enough to fill all jars properly, use one jar to fill the others. Place the partially filled jar in the refrigerator for immediate use. Avoid canning jars with excessive headspace.
Step 6 – Wipe and Add Lids
Wipe the rims of the jars with a clean, damp cloth. Add the lids and bands to the jars. The bands should be put on finger tight – like you would put a lid on a mayonnaise jar.
Then do the following…
For Water Bath Processing
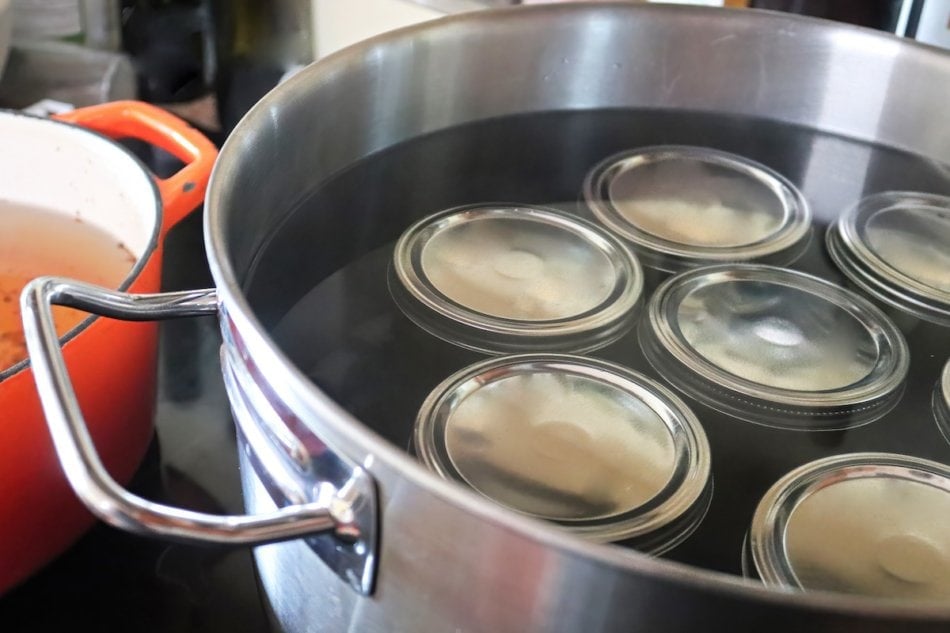
Using canning tongs, lower each jar into the water bath canner. Once all the jars are in the canner, the water should cover them by at least 1 inch. If it doesn’t, add more water to the canner.
Turn the heat to high and bring the water to a boil. Once the water is boiling, set a time for the correct processing time. When the timer goes off, turn the heat off from under the canner, and let the contents rest for 5 minutes.
For Pressure Canning Processing
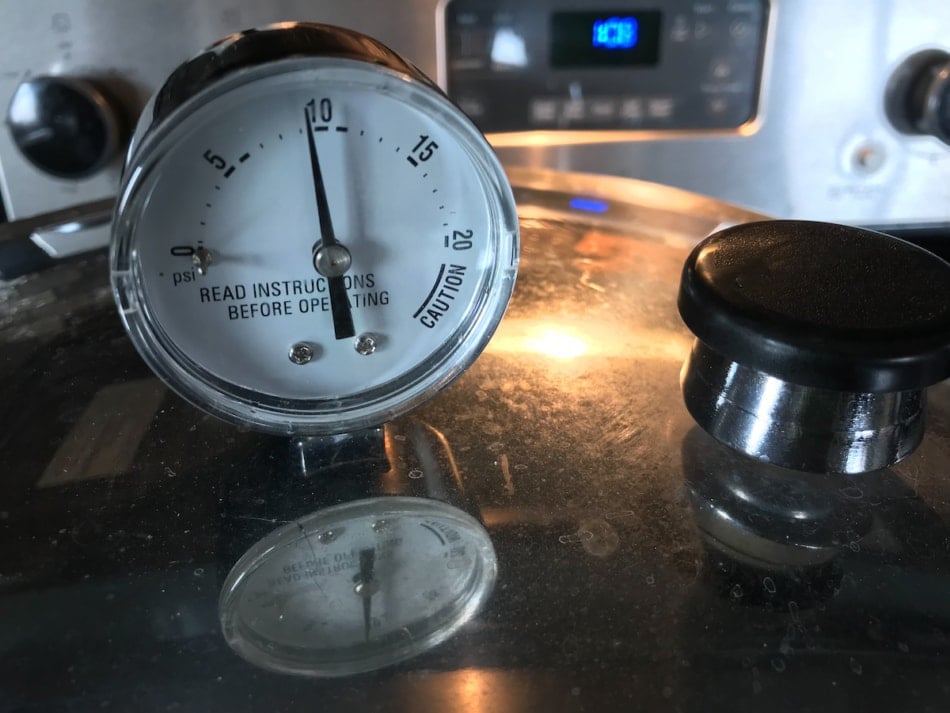
These are general pressure canning instructions, be sure to refer to the manufacturer’s instructions that came with your canner for specifics for that canner. Using canning tongs, lower each jar into the pressure canner. Lock the lid in place and turn the heat up to high.
As the pressure builds there will be steam that begins to escape – this is called venting. Let the canner vent for 10 minutes.
After 10 minutes, place the proper weight according to the recipe and adjusted for altitude on the canner. If your canner has a petcock, close it. If you have a weighted gauge canner, the weight will start jiggling when it’s at the correct pressure. If you have a dial gauge canner, use the dial to know when it’s at the correct pressure.
Once the correct pressure has been achieved, set a timer for the processing times according to the recipe. When the processing time is complete, turn the heat off and let the canner depressurize naturally. Depending on the canner, this can take an hour or longer. The canner is fully depressurized when the dial gauge is at zero or when the weight is gently nudged and no steam escapes.
When the canner is completely depressurized remove the weight from the vent or open the petcock and let it sit for 2 minutes. Then unlock the lid and carefully remove it by lifting it away from you to keep the steam away from your face.
Removing the jars from the canner
Using the tongs, remove the jars from the canner and set them on a towel on the counter where they will not be disturbed. There is no need to cover them with a towel, clean them, tighten the bands, turn them upside down, or touch them in any way for the next 12-24 hours. Just let them be. You may hear the lids pop and you may not – either way is okay.
Step 7 – Check Seals, Label and Store
The next day, remove the bands and check the seals. When you gently press your finger on the top of the lid, there should be no movement. Next, gently pick up the jar by the lid. The lid should stay on the jar.
If any lids failed to seal, the food is still good. Just put it in the refrigerator to use first. The jars that have sealed properly can now be cleaned with a damp cloth, labeled, and stored in the pantry.
Is It Safe To Pressure Can Using Your Instant Pot?
While some electric pressure cookers (Instant Pots) have a canning option and can be used for water bath canning, they should not be used for pressure canning. Watch the video below to learn why.
Canning – Versatile and Money Saving!
Canning is a versatile and safe method to preserve your garden’s harvest, prepare for emergencies and power outages, reduce reliance on the grocery store, and have a variety of shelf-stable meals available for busy days when the drive-thru is tempting. There is room to experiment with flavors within the recommended guidelines, but it’s important to start with the basics and understand the guidelines for each food. Enjoy the process!
This article was published by the Staff at FarmersAlmanac.com. Any questions? Contact us at [email protected].


Thank you so much for this article! I have watched many videos and read many articles, none stated where the water line should be.
good information